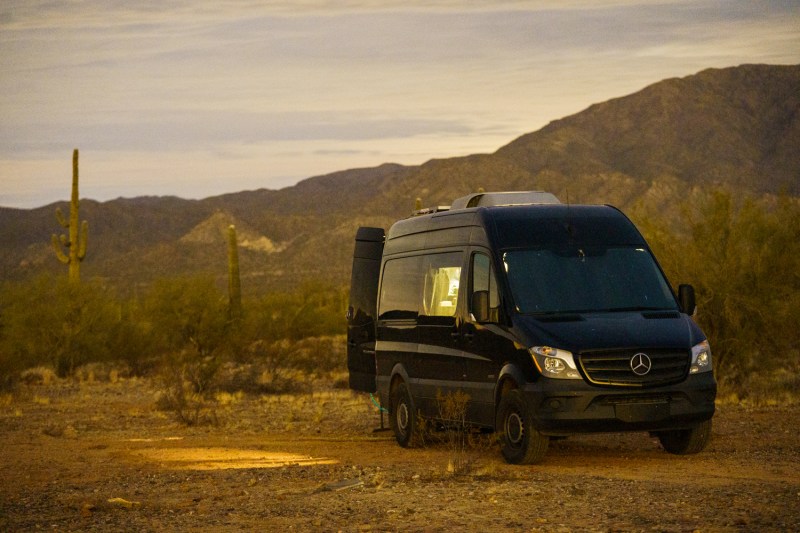
If the whole van life thing was a hot trend before COVID-19, the pandemic, with its travel bans and social distancing, drove people’s interest in van life even higher. Now that the pandemic has ebbed, and people have been able to travel again, you might think that the van-life trend may have ebbed, but that’s not the case — people are still taking to the open road. While some call it “van life,” others call it “overlanding,” — but by any name, it’s a great way to see the country.
But converting a van into a camper that is comfortable enough for months on end of travel isn’t easy. To do so requires the proper gear and a well-built conversion. To that end, here are a few helpful van conversion tips along with recommendations for some standout van-life gear.
Choose the right rig
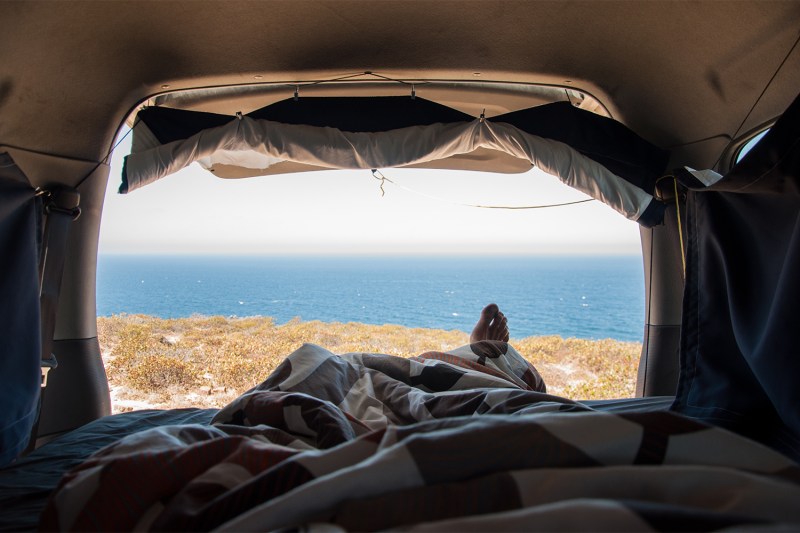
The quality of your conversion all starts with choosing the right vehicle. While VW Buses and Sprinter vans have more or less set the standard for van living, these tend to be rather expensive options to properly convert, drive (i.e. fuel), and repair. There are plenty of vans, SUVs, and even hatchbacks out there that can make solid conversion picks.
Choose a rig that offers a decent amount of space, solid reliability, and reasonable gas mileage. The Honda Element, for example, has emerged as a surprisingly common van-life vehicle thanks to its open, boxy space, outstanding reliability and performance, and competitive fuel economy.
Plan your build first
Make sure you consider what you want to pack along and where you want to store it before you start cutting wood and screwing it together. Get too far into your build, and you might realize that you’ve left out space for something important like your fridge or battery.
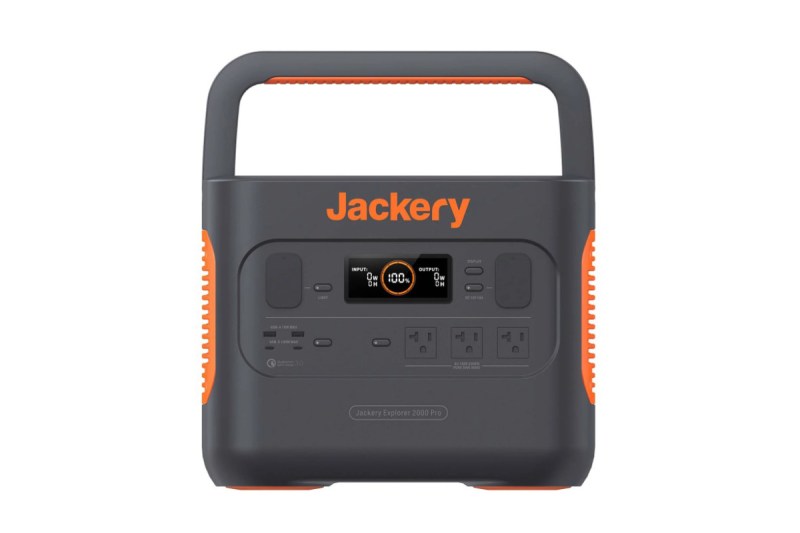
Speaking of your fridge and battery, you’re going to need power. A few years ago it was more complicated to electrify a van setup, but portable solar power generators have made it increasingly easy. Jackery’s lineup of portable power stations suits a wide range of budgets and power needs, and the new Jackery 2000 Pro will pack plenty of power. The Jackery 2000 Pro can power up to eight devices, it can recharge in as fast as two hours with an AC wall plug, and it has the capacity to recharge with optional solar panels.
Once you have power, you can add in all the appliances, lighting, and devices you need. A fridge is arguably the most essential appliance, taking over the role of your endlessly ice-hungry cooler. Dometic makes some awesome powered coolers, with the CFX3 fitting most van-lifers’ needs (and space).

Recycle materials and enjoy the outdoors
These days, lumber can be expensive, so instead of shelling out for all-new wood, look around for furniture that can be repurposed. For example, a desk bought from a secondhand store can easily be cut to fit a conversion, providing a tabletop and drawer space to boot.
Even if you manage to construct a supremely comfortable camper, you’re going to want to spend time outside. Depending on where you are, however, rain, intense sun, or mosquitos might make that impossible.
In the event of the first two, a simple sunshade will get the job done. There are many companies that produce roll-out shades that are easy to affix to a roof rack. If you’re battling mosquitos, pack along the Roadhouse Screen Tarp from Slumberjack, which attaches to most vehicles to provide both shelter and insect netting.

Add on the upgrades
And speaking of a roof rack, a solid rack can vastly expand your vehicle’s capabilities, allowing you to affix cargo carriers, bike or kayak carriers, showers, sun hades, and more. OEM racks, however, tend to be too fragile to depend on for any significant load. Yakima makes some of the best racks and cargo box options out there. Their LockNLoad System, for example, is extremely heavy-duty. The Lock N Load system comes in a variety of styles to fit almost any vehicle and it can be installed to the crossbars of your existing roof rack, or if you don’t have crossbars, to the roof rack towers on your vehicle with an adapter.
Don’t forget you need to clean
When you’re traveling and living out of a van, things tend to get messy. The longer you go, the messier things get.
Build your camper so that it’s easy to clean. That means you can access everything, and as much as possible is raised off the floor to make it easy to sweep or vacuum. And get a vehicle vacuum. There are a million of them out there, and they’re cheap, take up virtually no space, and make it much easier to keep your van life from dirtying into disarray. When you spend weeks or months on end in the driver’s seat, spills will happen. Keep your upholstery clean by covering it up. There are seat covers available to fit the seats of most vehicle models, but if you can’t find one, take it upon yourself to engage in a DIY sewing project.
How much will it cost?
Ah yes, the big question. How much will it cost to get started living the van life? A lot of that depends on the price of the van. Obviously, used vans that need some work will come much cheaper than newer ones, which can be a huge cost savings if you can fix up the van yourself. Going the DIY route to convert the van for van life can also save a bunch of money. According to the Van Conversion Guide, the cost of having a van professionally converted can range from $30,000 for a low-end conversion to over $100,000 for higher-end jobs, and this doesn’t include the price of the van.
If you decide to do the conversion yourself, the Van Conversion Guide estimates that a low-cost conversion can run between $4,000 and $12,000. This includes a budget of between $2,000 and $10,000 for a used van and just over $2,000 to convert it. If you want to convert a newer van that is in better shape, you can expect to spend between $20,000 and $30,000 for the van and just under $7,000 for a midrange conversion. Higher-end, more luxurious conversions can cost anywhere from $60,000 to $100,000, and this assumes a budget of $45,000 to $80,000 for a new van and just under $17,000 for the conversion.


