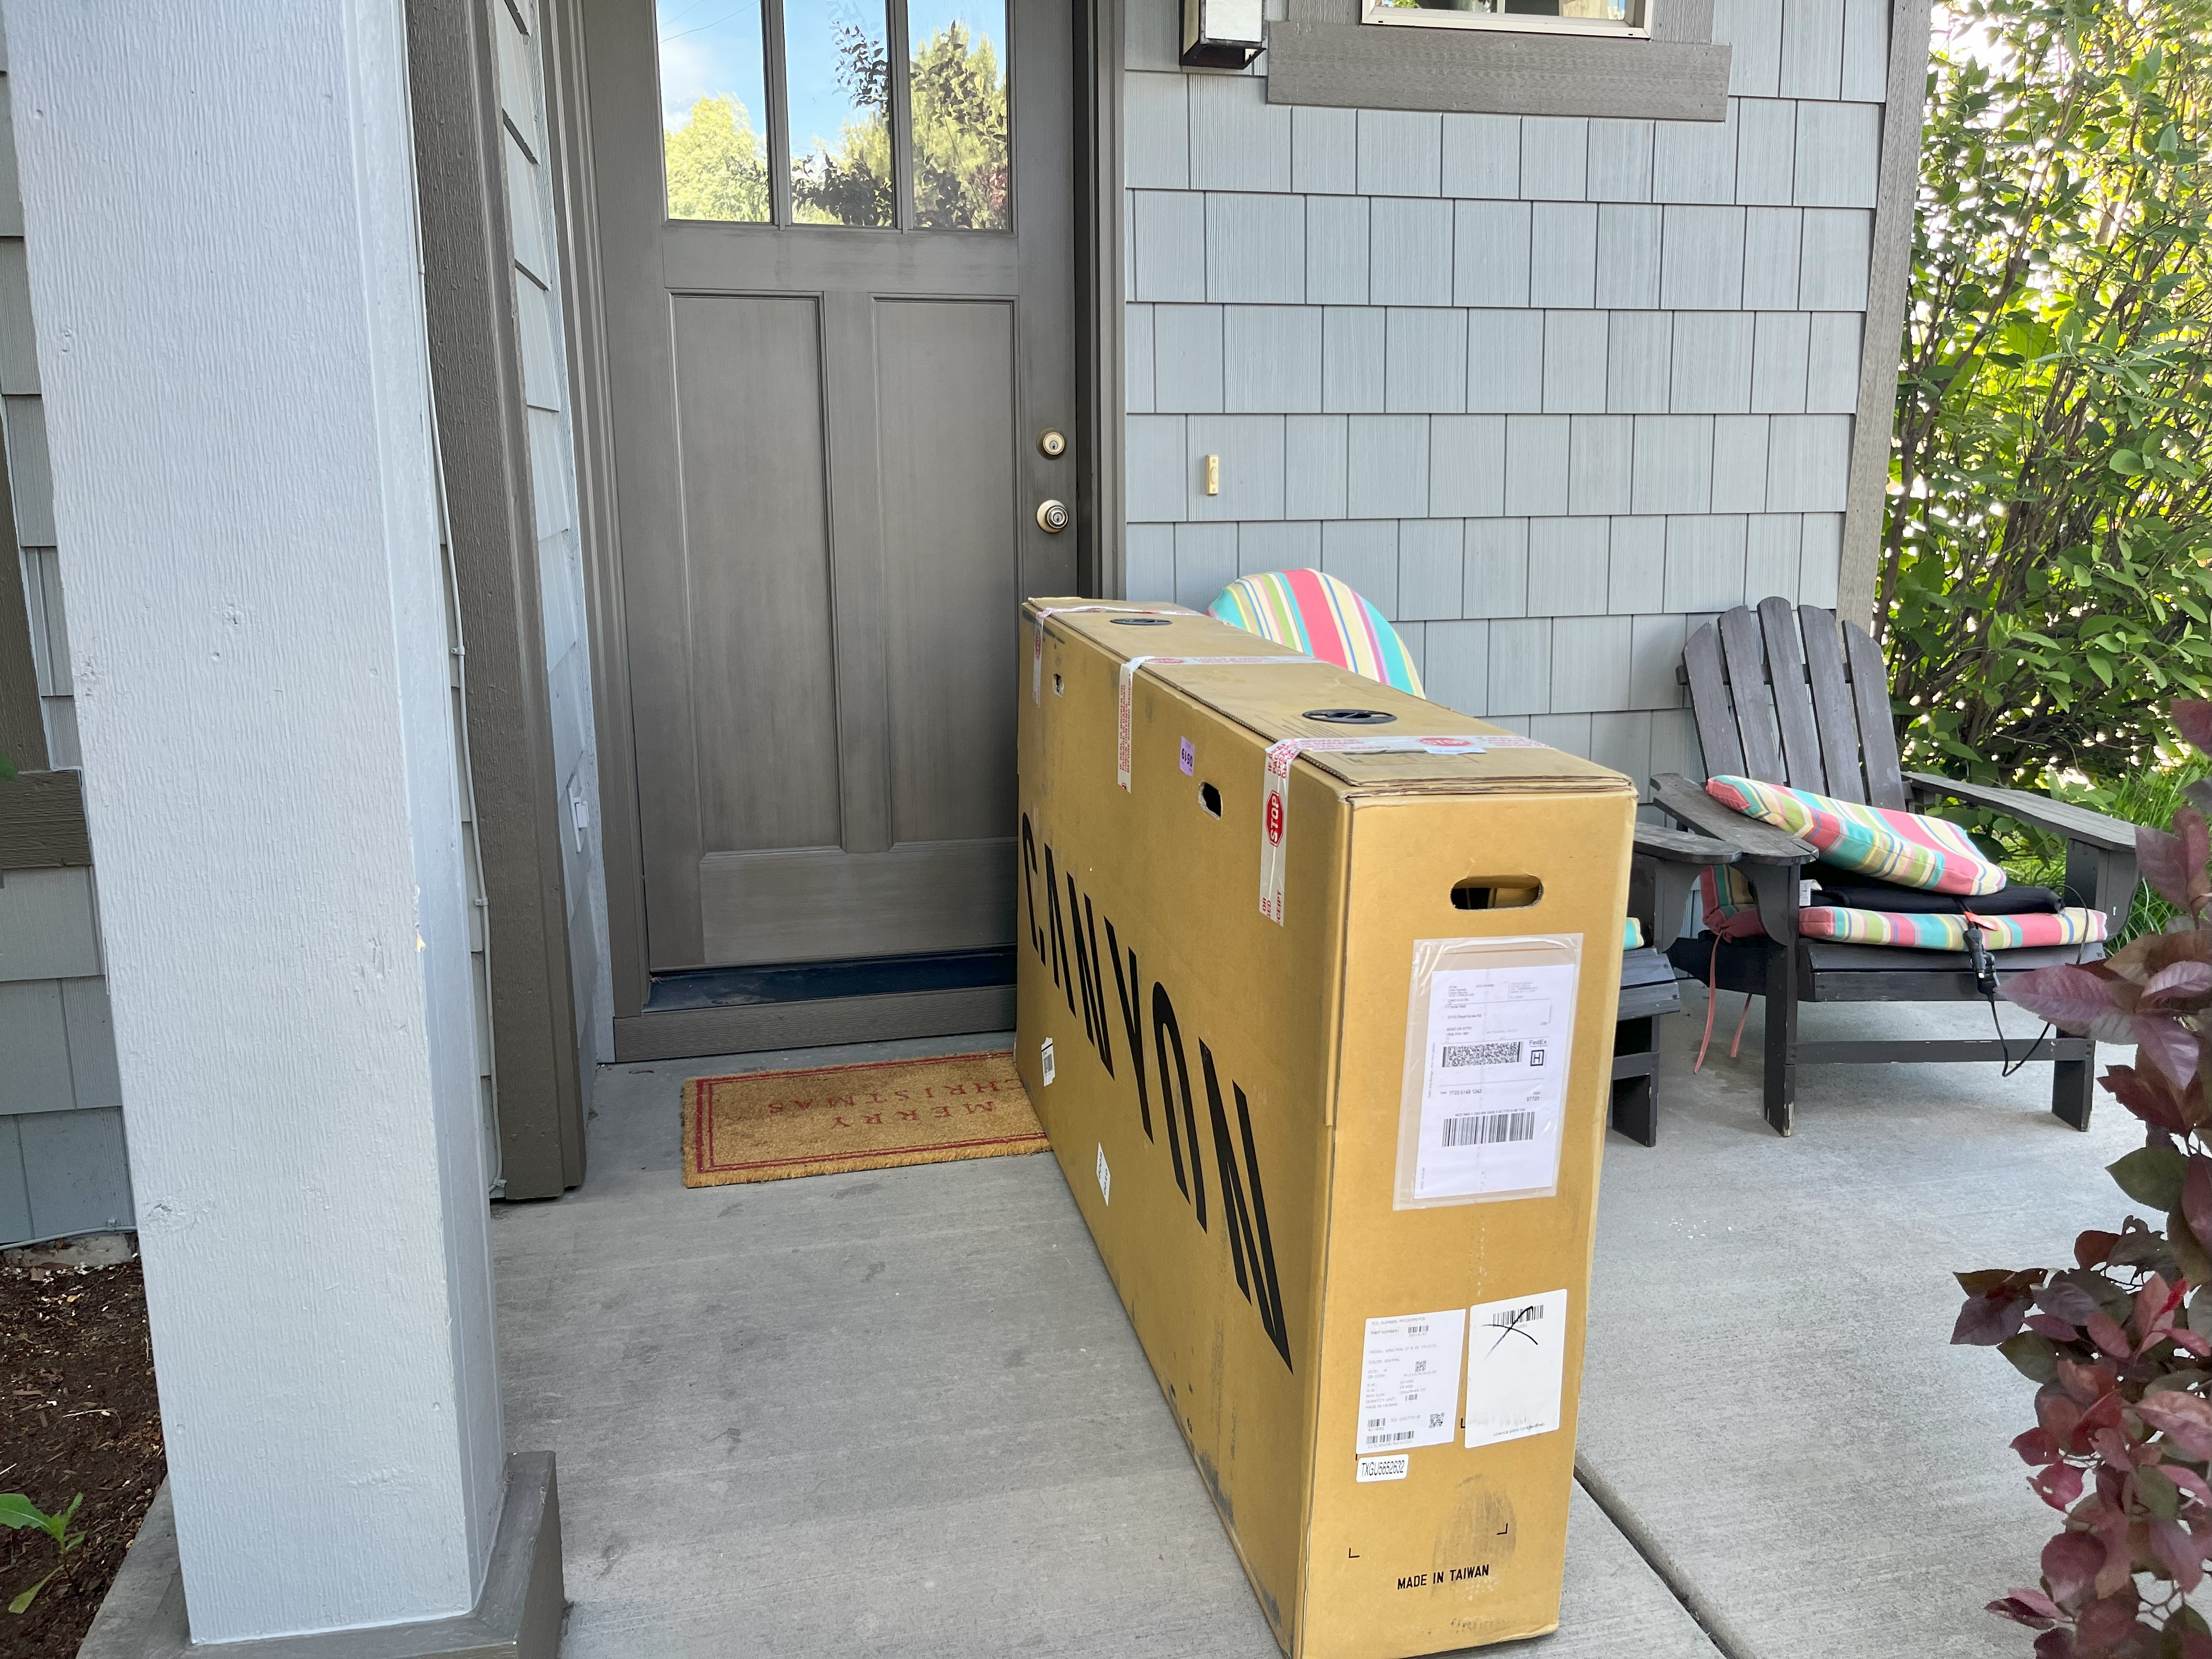
So, you have purchased a new mountain bike and are now ready to hit the trails. But before your tires hit that excellent singletrack dirt, don’t neglect taking care of a few things on your new mountain bike.
Let’s face it: mountain bikes are expensive. They can easily cost several thousand dollars, even reaching five-digit numbers for price. When you invest that large, you want to protect that investment, prolonging the life of your mountain bike as much as possible.
In other instances, when you make such a large purchase, you anticipate the item living up to your expectations. When you spend thousands on a new mountain bike, there certainly is an expectation that the bike will perform well. So, set yourself and your mountain bike up for success by ensuring it will perform at peak level.
Here are three things every rider must do before setting off down the trail on that new mountain bike.
Set your mountain bike tires up tubeless

No more pinch flats; no more heavy inner tubes. The vast majority of mountain bike tires are now tubeless. Instead of an innertube holding air and giving a tire its shape, the bead of the tire hooks onto the rim, creating an air-tight seal.
However, a big reason to set up your mountain bike tires tubeless is the ability to run lower tire pressures. Lower pressures allow your mountain bike to grip the trail, providing higher levels of traction.
Lower pressures weren’t possible with tubes between the tire and rim because they could cause the tire to fold, pinching the tube between the rim and the ground. This is the dreaded pinch flat we are all familiar with. With tubeless, pressures can be dropped, and your mountain bike can be leaned over in the turns with no worries.
A tubeless setup is relatively simple but requires tubeless rim tape, tubeless valves, and tire sealant. And while people can do this with a floor pump, an air compressor is recommended.
- Make sure the rim is clean, and securely apply rim tape.
- Cut a small X through the rim tap where the valve hole is, inserting and securing the valves. Remove the valve core.
- Put the tire on the rim, with both beads of the tire on the inside of the rim. Make sure the direction of rotation is correct.
- Use the air compressor on the valve to get the tire beads set on the rim. You will know they are set when you hear the distinct popping noise.
- After the beads are set, remove the compress nozzle—air will escape, and that is ok. Once all the air is out, add 2-4 ounces of sealant through the valve.
- Replace the valve core and air the tire back up.
Mountain bike frame protection

You’ve just gotten back home with your brand-new mountain bike. Damn, it looks good sitting in your garage, and you can’t wait to get out on the trails. But remember, your mountain bike will never again look as good as it does right now.
However, there is a way to keep it close—frame protection. Think of frame protection as a clear vinyl wrap going on a car; remove the car and add your mountain bike…you get the idea.
While frame protection won’t wholly cover every part of your mountain bike frame, it will come close. Most importantly, it will cover the areas most likely to take rock strikes. This means the frame protection will absorb the impact, leaving the paint untouched.
Then, when it comes time to sell your bike and move on, peel off the old frame protection to reveal a nearly new-looking paint job.
Bedding your brakes and setting up the suspension

Lastly, two things are absolute musts before you hit the trail. If you don’t do them, not only will your mountain bike not perform well, but you might also be risking life and limb.
First, make sure your suspension is set up correctly. You can do this at home, look up manufacturer’s recommendations, or get help from your local bike shop. If you purchased your bike from a bike shop, they will almost always help you set up your suspension—just ask.
We’ve already covered how to set up suspension…check it out here.
One could argue that the more important task is to bed in the brakes on your mountain bike. When you get those first pedal strokes in on your new mountain bike, you’ll notice that nearly nothing happens when you touch the brakes. This can be especially true on direct-to-consumer mountain bikes, as they’ve literally had no other person ride them.
Bedding the brakes is fairly straightforward, however. While it is a good idea to check with your brake’s manufacturer to see if they have specific bedding instructions, the process is pretty basic across brands.
- Pick an open, paved area (trying to prevent dust) to ride around, and apply the brakes firmly.
- Do this for 15 or 20 minutes; you will notice a change in the brakes’ responsiveness. They are bedded once they start biting hard, stopping you on the initial pull.
Failure to bed your brakes will result in your mountain bike not stopping and preventing you from staying upright on the trail.
Don’t be too eager.