A few years ago, while I was riding my mountain bike, something was loose on the back of my bike. As I pedaled down the trail, it seemed as if there was quite a bit more movement than the normal motion of my full-suspension mountain bike.
I got out the tool I carry on every ride—trailside mountain bike repairs will eventually happen—and got to checking and tightening different bolts. Despite giving my mountain bike what I thought was a thorough once-over, the feeling of extra movement persisted, coming close to turning into a rattle.
My assumption was a loose rear hub or cassette, neither of which I had the tools for.
So, I took the bike to my local shop, where mountain bike repairs are plentiful. They called a few hours later, letting me know my mountain bike was fixed. Apparently, I had a rather loose linkage bolt that I missed on my trailside check. And, best of all, the cost to me was zero.
Fortunately, I have a pretty cool bike shop. I diagnosed the bike as having a loose hub or cassette, and they could have charged me for “checking” those components. They could have just tightened up the loose linkage bolt they found and charged me for “checking.” I am thankful for their honesty.
This got me thinking about all the other reasons a mountain bike finds its way into a shop for repairs when it might be something as minor as a loose bolt. So, if your bike is making creaks, cracks, and groans, clicks, and clanks, check out these common issues before spending money to get them fixed.
Bottom bracket

Older mountain bikes were notorious for having creaky bottom brackets (BB). Many older mountain bikes had press-fit BBs, where the BB bearing is pushed into its housing. This meant minimal tolerances between the BB and its housing and, of course, eventual creeks and groans and loose BBs.
As modern mountain bikes moved toward threaded BBs, many previous issues disappeared. However, dust finds its way into anything, and the BB area is still a common place where noise can be heard.
But before you take your BB apart or drop some money at the bike shop to have them check it out, another culprit could be responsible for the noise. You know how I mentioned that dust gets in everything? That includes your dropper post.
I have had this happen on different occasions with different bikes I am testing. As I am pedaling up, I start to hear a creak coming from underneath me. The first thing I do when I get back home is pull out my dropper post, clean it and the seat tube opening thoroughly, and regrease the dropper post before reinstalling it.
Often, this takes care of the “creaking BB.”
Tires

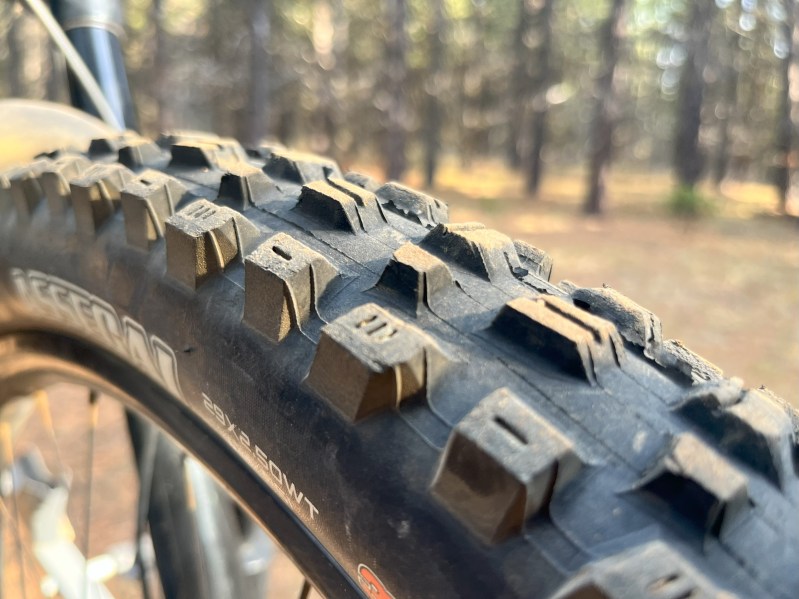
Tubes are a thing of the past. Modern mountain bikes are set up tubeless. But, with a tubeless setup, there are some compromises.
Tubeless tires are known to lose air pressure a bit faster than traditional mountain bike tubes. So, it isn’t uncommon to go out on a ride, store your bike in your garage, and find it the following day with a bit softer tires.
Before you try reinstalling the tires, adding more sealant, or, god forbid, buying a new set of tires because your current ones must leak, know that losing tire pressure is normal. Instead of spending money on new tires, spend money on a quality floor pump and pressure gauge.
Start incorporating checking your tire pressure and inevitably adding a bit more before each ride. Not only will this be necessary because your tires will likely lose some air pressure, but ensuring your tires are properly inflated will result in a better ride.
Drivetrain

Clunky, chunky, and grinding when shifting gears are signs of drivetrain problems. Nothing is worse than heading out on a ride, expecting to put in some significant mileage, and your mountain bike won’t even shift gears.
If you are like me, mountain bike repairs aren’t your specialty. I can do quite a bit when it comes to setting up a bike, but fiddling with cables and limit screws are not my specialty. Regarding drivetrain issues, I usually take my mountain bike into the pros.
But, before you do that, set an hour aside to wash your bike, focusing specifically on the drivetrain thoroughly. Use a drivetrain degreaser to get all the gunk and grime off your drivetrain, being careful not to get any on your disc brakes. After cleaning your drivetrain thoroughly, dry it and apply some chain lube.
You would be surprised how much better your mountain bike shifts with a clean, lubed drivetrain. Cleaning your bike is typically the first step in most bike repairs. Besides, if you take a dirty mountain bike into a bike shop, they’ll clean it for you and charge you for it.


