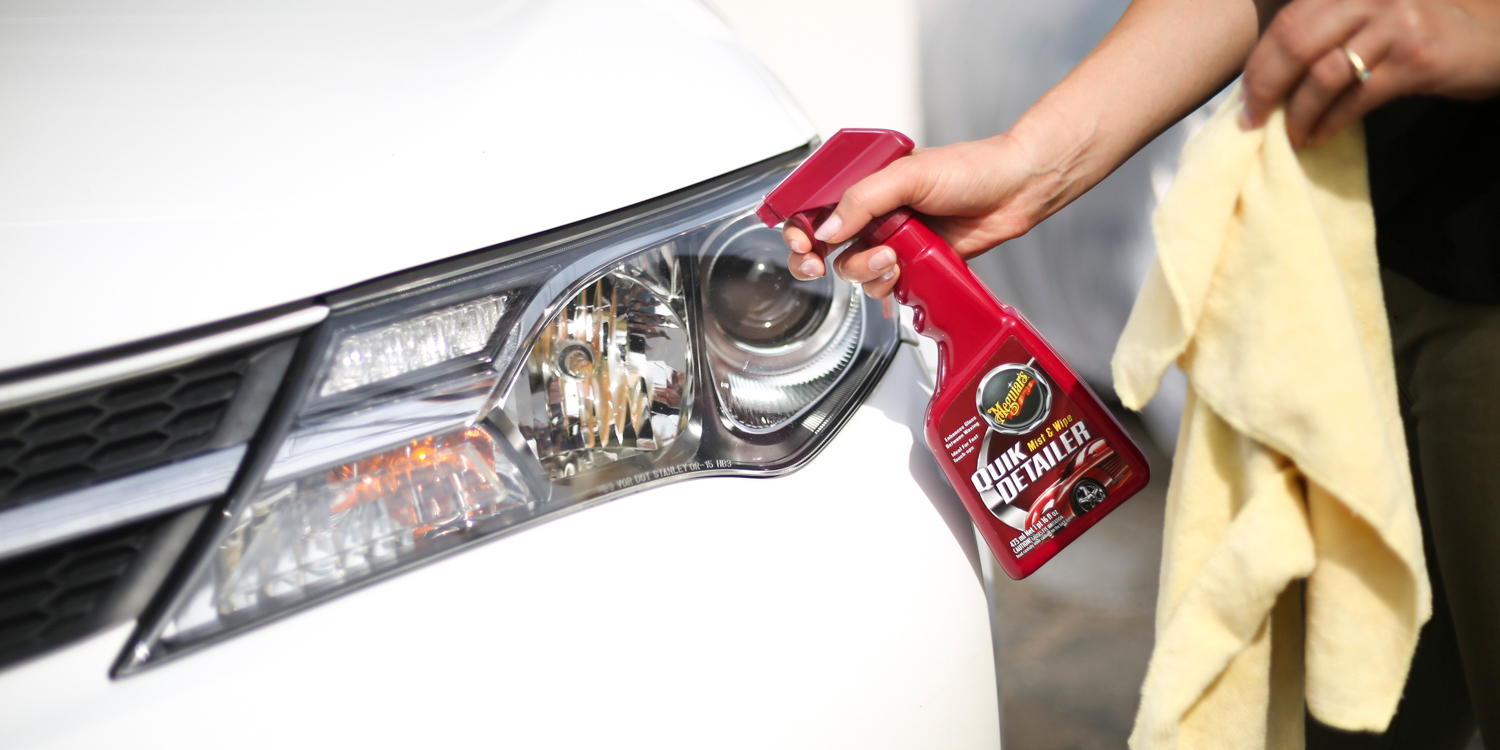
While cleaning your car's headlights with regular old soap or Windex can get the outer layer of dirt off, foggy headlights often require a more aggressive approach. Fortunately, you can get can get the job done with items you probably already have laying around the house—toothpaste, vinegar, baking soda, and WD-40 can all work wonders on foggy headlights. Read on as we explain five easy methods for cleaning foggy headlights.

How to clean foggy headlights with toothpaste
Toothpaste for cleaning headlights? That's right, toothpaste is by far the easiest and quickest way to clean foggy headlights. It's non-abrasive and can get the job done quickly.
Step 1: The first step in cleaning your foggy headlights with toothpaste is to wash them and their surrounding surfaces with soap and water. Cleaning any exterior grime from the housing can help you to avoid scratching.
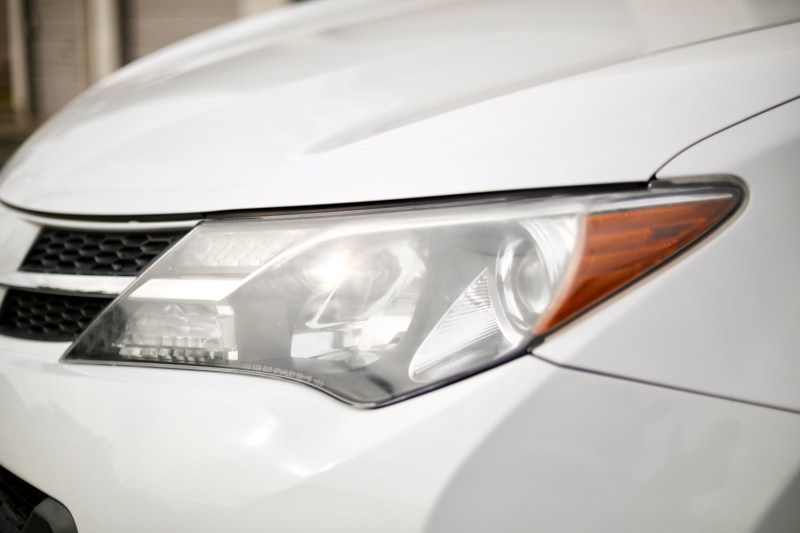
Step 2: Once the headlights have been thoroughly washed, allow the cleaned portion to dry completely. You don't want moisture to make its way into the headlights.
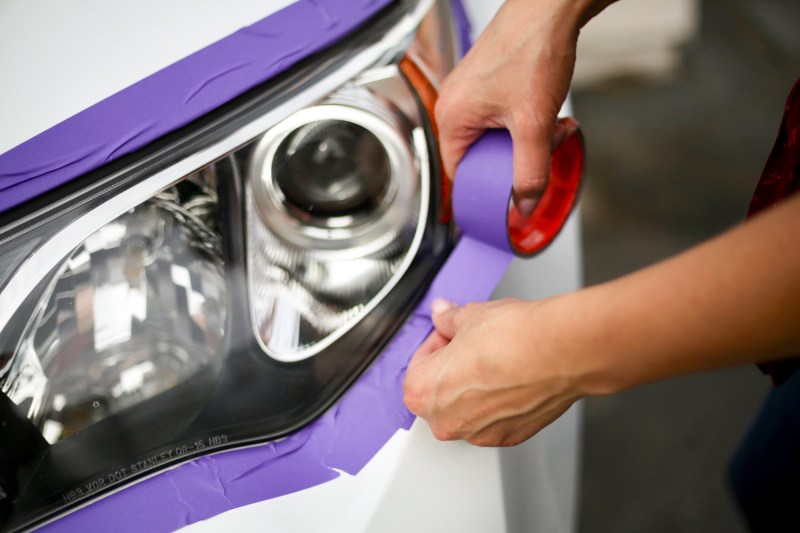
Step 3: Next, it’s time to bust out that painter’s tape.
Avoid using strong adhesive tape so you don’t damage your car’s paint. Make a perimeter of tape around each headlight, leaving all of the actual housing of the headlights exposed. You can also tape off your turn signals or leave them exposed for cleaning too. Turn signals don't typically get foggy like headlights do.

Step 4: Once you've taped around each headlight's perimeter, it's time to bring out the toothpaste.
Apply some toothpaste to a soft cloth or a clean rag. Then, spread using circular motions, covering the entire headlight. Be sure to use a plain toothpaste such as Tom's or Arm & Hammer. Anything with flavor crystals or other particles may scratch the headlights.

Step 5: The final step in cleaning your foggy headlights with toothpaste is to rinse.
Rinse the housing with water, dry it with a towel, and you’re done. It’s that easy. Toothpaste is slightly abrasive, so applying it to your headlights scrapes away the crud while filling in any scratches. Why do you think five out of five dentists recommend using the stuff to fight plaque?
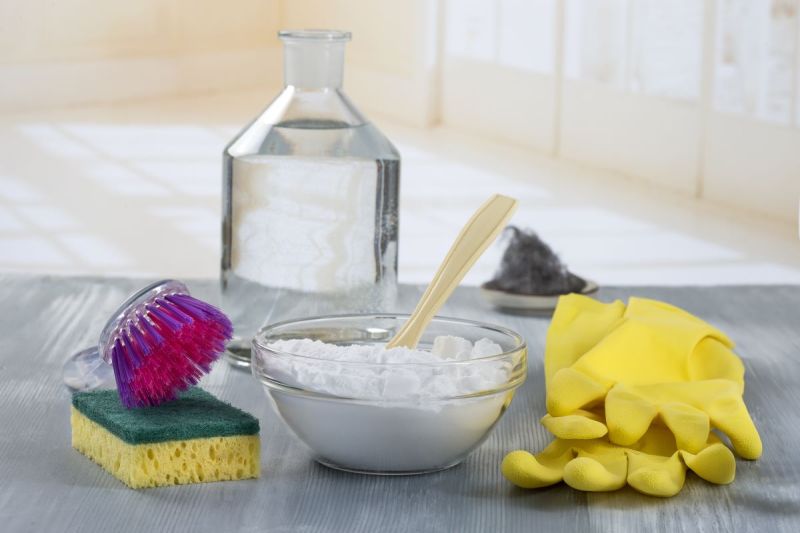
How to clean foggy headlights with baking soda and vinegar
A good method for cleaning excessively foggy headlights is to apply baking soda and vinegar. Baking soda and vinegar method is also environmentally friendly and cheap.
Step 1: Next, allow the headlights to air dry completely.
Step 2: Using a clean container, mix together two parts white distilled vinegar and one part baking soda.
Step 3: Cover the container and shake to combine. You can also stir the mixture.
Step 4: Once the mixture is combined, you're ready to start cleaning. Dip in a clean cloth or rag.
Then, begin rubbing the baking soda and vinegar mixture on the entire headlight. If necessary, add more of the mixture to ensure a thorough cleaning.
Step 5: When the baking soda and vinegar mixture has been applied to both headlights, rinse completely with water.
Step 6: If need be, you may repeat the steps, making sure to rinse after each application of the baking soda and vinegar mixture.

How to clean foggy headlights with sandpaper
While both toothpaste and baking soda are effective for cleaning foggy headlights, they require frequent maintenance. If you want a longer-lasting solution, consider trying the sandpaper method.
Step 1: Tape around your car’s headlights using painter’s tape.
As we’ve previously mentioned, this helps prevent you from messing up your car’s paint when you’re working on the headlights. But if you don’t want to risk your precious paint, you can remove your headlights from the sockets.
Step 2: If your headlights are too yellow and oxidized, start scrubbing them in a circular motion using 320-grit sandpaper. But if your headlights are not too yellow, you can start with 400-grit or 600-grit sandpaper depending on the oxidation level.

Step 3: After you're done sanding the headlights in a circular motion, you can finish it off by scrubbing it horizontally.

Step 4: Spray the headlights with water to remove any dust residue.
Next, repeat the process of scrubbing the headlights with a higher grit sandpaper. For instance, if you started with 320-grit sandpaper, you can repeat the process with 400-grit sandpaper. Similarly, if you started with 400-grit sandpaper, you can do it again with 600-grit sandpaper.
Step 5: Once you’re satisfied that you’ve removed the oxidized yellow coating layer that was clogging your headlights, you can scrub it with 2,000 grit and 3,000 grit sandpaper.
However, before you switch to a higher grit sandpaper, make sure to spray the headlights with water and wipe them with a paper towel to get rid of any dust residue.
Step 6: After you're done, repeat the process of cleaning the headlights with water and wiping them with a paper towel.
Step 7: After the headlights have dried, you can apply rubbing and polishing compound using a microfiber cloth.
You can also polish the headlights using a pneumatic polisher.
Step 8: Spray the headlights again with water, and dry them with a paper towel — but this time, spray rubbing alcohol on the headlights after they’re dry.

Step 9: Spray a UV-resistant protectant sealant on your headlights and wait for at least 24 hours to see the result. However, make sure the sealant you apply is formulated for plastic headlights.
That’s it! You’re done!
How to clean foggy headlights with WD-40
You probably have a can of WD-40 sitting somewhere in your garage. But did you know you can also use WD-40 to clean your foggy headlights? It's actually a pretty simple and quick method.
Step 1: Just like the methods described above, the first thing you need to do to wash your headlights with soap and water to get the excess dirt and grime off.
Step 2: Shake the can of WD-40 and spray a good stream directly onto the headlight lens.
Step 3: Wipe off the WD-40 from the lens with a clean towel. That's it, you're done!

How to clean foggy headlights with a headlight cleaning kit
If using toothpaste seems out there and baking soda and vinegar reminds you of middle school science, you can always pay for a professional headlight cleaning kit. One of the best is the 3M Headlights Lens Restoration System.
Of course, you’ll still need to get your hands dirty (or clean?) with an all-in-one setup, and the results will be about the same as using home remedy DIY headlight cleaning methods. Also, foggy headlight cleaning kits aren't expensive and are widely available.
Headlights become foggy over time because of the chemical reaction that takes place between exposed plastic and the sun’s ultraviolet rays. Accumulated dirt within the housing can also play a role in turning your headlights from crystal clear to a yellowish hue.
Foggy headlights can drastically impair the effectiveness of your car’s actual bulbs. As more fog builds up, it becomes more difficult to see, especially at night. In other words, you should clean your headlights as soon as you notice them becoming foggy. It's actually an essential part of your car maintenance regimen.
Frequently Asked Questions
How do I make my cloudy headlights clear again?
There are a few methods to make your cloudy (a.k.a. foggy) headlights clear again, some of which involve items you probably have laying around the house. This includes:
- Toothpaste
- Baking soda and vinegar
- Sandpaper
- WD-40
Each requires a distinct cleaning approach, but they certainly get the job of cleaning your foggy headlights done. Alternatively, there are dedicated headlight cleaning kits you can buy.
Does WD-40 clear up foggy headlights?
WD-40 can effectively clear up foggy headlights. Here's how to use it:
- Clean your headlights with WD-40 is to wash them with soap and water to get all the excess dirt and grime off.
- Shake the can of WD-40 and spray a good stream directly onto the headlight lens.
- Wipe off the WD-40 from the lens with a clean towel. That's it, you're done!
What is the best home remedy to clean headlights?
When it comes to home remedies for cleaning headlights—particularly foggy headlights—you've got a few good, and equally effective, methods. These include:
- Toothpaste: This is by far the easiest and quickest way to clean foggy headlights. It's non-abrasive and can get the job done quickly.
- Baking soda and vinegar: This foggy headlight cleaning method is environmentally friendly and cheap.
- Sandpaper: If you want a longer-lasting solution for foggy headlights, this is the method to try.
- WD-40: This home remedy rivals toothpaste in terms of quickness and ease.
As for which is the best home remedy to clean your headlights, that really depends on which items you already have laying around, and how much time you have to devote to cleaning your foggy headlights.
