Hanging pictures is easy to do.
So why are there all those frames waiting to be hung in your home or office, buddy? Worried you’ll make a mess of things drilling too many holes in the wall? Or that you’ll never get those two frames hung in a level line? Or is just plain ‘ol inertia keeping you from some serious interior decorating excellence?
Maybe if you knew just how clean, quick, and easy a process hanging artwork, pictures, and posters can be, you wouldn’t shy away from the project like that. Fortunately, I’m here to tell you just how clean, quick, and easy a process hanging artwork, pictures, and posters can be. All you need are a few great picture hanging hacks.
MESS-FREE DRILLING WITH POST-IT NOTES

When it’s time to hang a picture, chances are good that it’s time to break out the drill. Sure, some tiny little frames can be supported with push pins or tiny little brad nails, but a weighty frame — not to mention a shelf, a taxidermied stag’s head, or flatscreen TV — is likely going to require hooks and/or screws set into mollies. And mollies (the plastic mounting anchors used in drywall, for the hopelessly non-handy among you) mean a lot of drywall dust. But that dust doesn’t have to fall over your floor, furniture, and baseboards! No! Simply attach a Post-It note (brand nonspecific A-OK) to the wall just underneath your imminent drill site, fold up the non-adhesive portion of the paper until it is perpendicular to the all, and drill away! The fine powdery dust created by the drilling will be collected in a charming little pile atop the paper. Just don’t sneeze before you remove it.
FORK YOUR WAY ONTO OUT-OF-THE WAY SCREWS OR HOOKS
You know how some frames use hanging wires that are strung across the central portion of the unit, such that you can’t possibly hope to reach the wire and guide it onto that little nub of nail/screw or loop of hook sticking out from the wall? Yeah, those suck. How much time has mankind lost repeatedly sliding a frame downward along a wall waiting for that moment of tension when we know we’ve finally hung that goddamn poster? I’ll tell you: too much. Well take heed, then! No more. Simple slide the tines of a fork down over the nail/screw/hook such that the handle of the utensil is angled away from the wall (and up, of course) and then try sliding the frame down one more time. Voilà! The fork will easily guide the wire down onto the hardware, and can then be plucked out of the way and then used to eat a salad or some pasta or whatever.
CREATE A PAPER OUTLINE
One great way to hang a picture at the perfect placement is to first hang a paper stand-in. Trim a sheet of paper (newsprint, fancy card stock, I don’t care what you use, sir) to the exact size of the item to be wall-mounted. Now lay the paper over the back of said item and establish the point at which its mounting hardware will sit when actually on the wall (e.g. the wire under tension or the location of that little sawtoothed mounting strip thingy) and make a small hole in the paper at that point.
Next, tape the piece of paper to the wall (painter’s tape, not duct) in the spot in which you’ll hang your diploma/Starry Night print/Slayer poster and, hey, look! A hole right where you need to sink that screw, nail, or hook! Go ahead and drive that screw/nail/hook right through the paper, then tear away your stand-in and hang that whatnot!
PROTECT YOUR FINGERS WITH A CLOTHES PIN

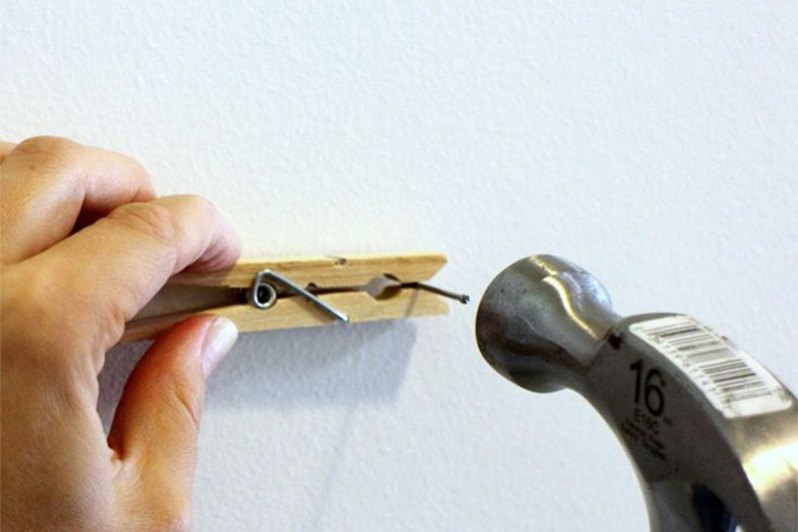
If you are hanging a smaller frame (or any number of such) that requires only a small brad nail (the name given to very small nails often used in finishing work or that you have for some reason chosen to anthropomorphize and name), you may be worried about a hammer smashing the tip of your finger into a useless bloody pulp. While that concern is probably hyperbolic and unfounded, no one likes a bonked finger. So instead of clutching that small nail with your digits, instead pinch it between the tip of a good old wooden clothes pin. That will allow for accurate placement while keeping your fingers several inches from the action and safe from injury unless you are really… really bad with a hammer.
GO OVERKILL ON THE COMMAND STRIPS

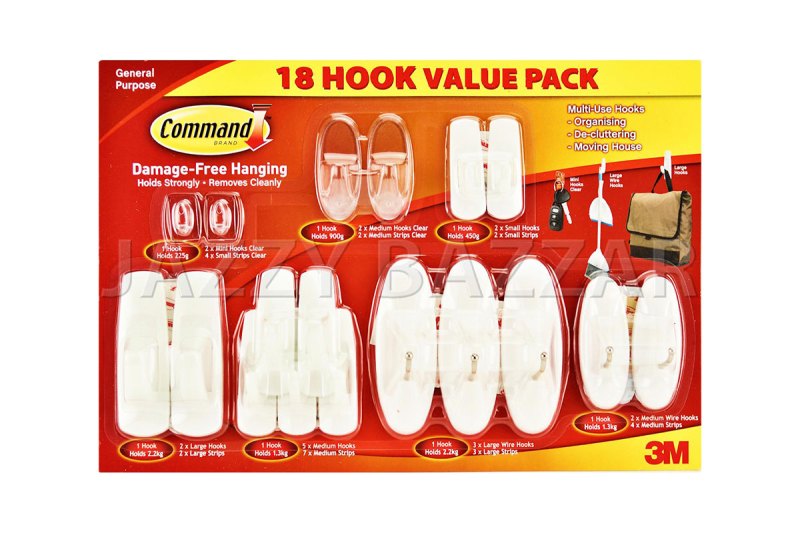
Those same clever Command Strips you used to hang stuff all over your college dorm room can be used to hang art around your home or office, of course. And in general, they really do pull off without ripping paint or wallpaper along with them. (But not always. No… not always.) If you have a larger, heavier object to hang, you still might be able to use a command strip, you just need to double down on the adhesive. That is to say you can use one of the regular, smaller command hooks that won’t push a frame away from the wall as a lager hook would, but use an oversized piece of adhesive from a larger strip. When command hooks give up and fall, 9 times out of 10 (this is a personal survey, not a scientific one) the adhesive stays attached to the hook but detaches from the wall. Doubling or tripling the amount of adhesive adhering to the wall greatly mitigates this issue. And in some cases, you can even dump the hooks altogether, just applying the adhesive to the frame and pressing that baby home.


