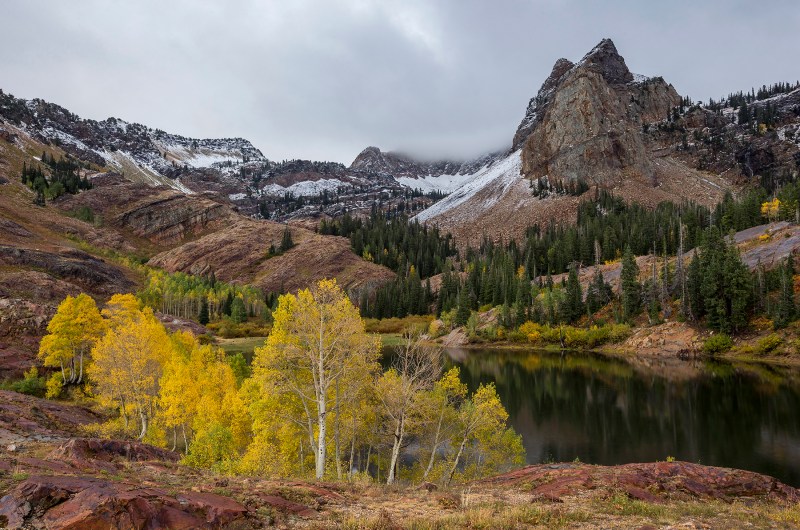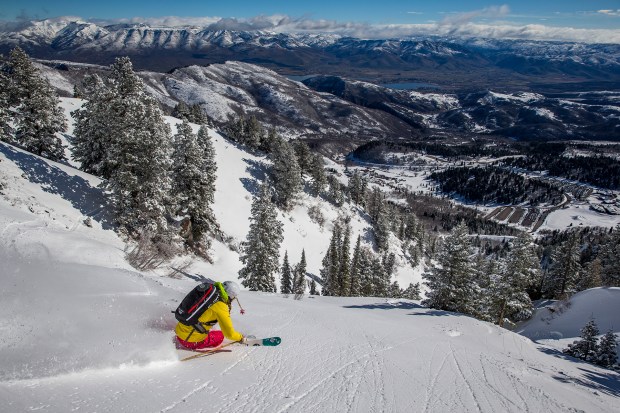
Jay got his start shooting skier photos as a staff photographer with Snowbird Ski Resort, and after multiple seasons shooting bluebird powder, storm days, and everything in between, moved on to become a full-time freelance photographer. His experiences shooting in deep snow day and day out, and journeying further afield in the deserts and mountains of the Southwest shaped his philosophy and skill behind the shutter. After a few successful seasons competing in the Ski City Shootout and multiple magazine features, Jay is a sought after action sports and landscape photographer. Naturally, his advice for beginners and veteran shooters alike – along with a dynamic portfolio – drew us in. If you’re looking for a few tips to help you make the jump to serious quality shots, look no further.
Shoot What You Love
Whether you’re just getting started or have years of snapping pictures under your belt, take pictures that interest you. If you love shooting macro shots of flower blossoms, take flower photos. Like hiking to remote lakes for sunrise landscapes? Keep it up. If you cultivate your interests, you’ll have the motivation to shoot more, and the dedication to learn new techniques and experiment with alternate perspective and composition. Having fun while taking photos in your favorite spot in the backcountry will never get boring.
Learn How to Adjust Settings
Shutter speed f-stop, and ISO all work in conjunction to create your photo. Knowing how they interact will get you off your camera’s automatic settings. There’s nothing wrong with using the “sport” or “portrait” settings on your point-and-shoot or DSLR, but understanding why a photo looks the way it does will help you in the long run as you search for that creative shot. The best advice is to just set your camera on manual settings (if available) and start experimenting. If you need a quick primer on these, here are some details:
Shutter Speed: This is the amount of time that the shutter of your camera collects light for the film or digital sensor. Faster speeds can freeze action while slower speeds can blur motion. It is important to note that the faster the shutter, the less light is captured.
F-Stop: The f-stop, sometimes called f-number and focal ratio, is the ratio of the lens’ focal length to the diameter of its entrance pupil. It is usually denoted with a hooked ƒ, followed by the ratio number. Lower f-stops, like ƒ/2 will have a narrower depth of field, meaning that less of your photo will be in focus. This is helpful when keeping in mind what you are shooting. Landscapes will benefit from larger f-stop values, while action will be easier to capture with lower values.
ISO: ISO is a dimensionless value of a digital sensor’s sensitivity to light. It is analogous to film speed in that lower ISO is less sensitive in lower light, and will also have lower “noise” when processed. Conversely, a higher ISO rating will allow the sensor to process photos at lower light (very high ISO values are perfect for night sky photos), but will decrease a photo’s sharpness.
Learning how these three variables interact is a long process, but will ultimately help you develop your own style. Being able to manipulate your camera in the field when you don’t have a second chance will be the difference in getting the shot you hope for, or waiting until your next trip to try and recreate it.
Get a Tripod
Whether you’re shooting long exposure sunset shots or long distance action, having a solid foundation will eliminate many problems with shaky images. When shooting in low light, like sunset and night landscapes, having a solid tripod will keep your camera still for long exposures; even a little extra shaking can ruin a shot. When shooting longer distances away, like on a ski photo shoot, a tripod gives you a solid foundation for your long telephoto lens so you can worry about framing your shot rather than bumbling around trying to get comfortable.
Upgrading Gear
Every photographer really needs two things: good wide angle and telephoto lenses. Regardless of what brand you’re loyal too, these two lenses will cover the majority of your shots around town and out on the trail. Learn when to reach for a different lens, and how to make the best of what you’ve got attached to your camera body in every situation. On the topic of cameras, you don’t need to go out and spend thousands to get better pictures. A decent camera body with a quality lens will pay dividends in the future, specifically when you upgrade, as a well built lens will perform equally well on a pro-level camera as it did with your beginner DSLR. When it comes to brand, it is all personal preference. If you’ve been shooting with a Canon for years, you probably won’t notice a huge difference if you switched to a Sony or Nikon of similar value.
It doesn’t matter if you’re hauling your first DSLR on a summer road trip this year, or a seasoned vacation photographer who captures every moment while on the trail. Getting a little extra education on your camera, lenses, and shooting style will make a huge difference in photo quality. It’s time to apply your new knowledge and shoot photos like a pro.
Photos Courtesy of Jay Dash Photography


