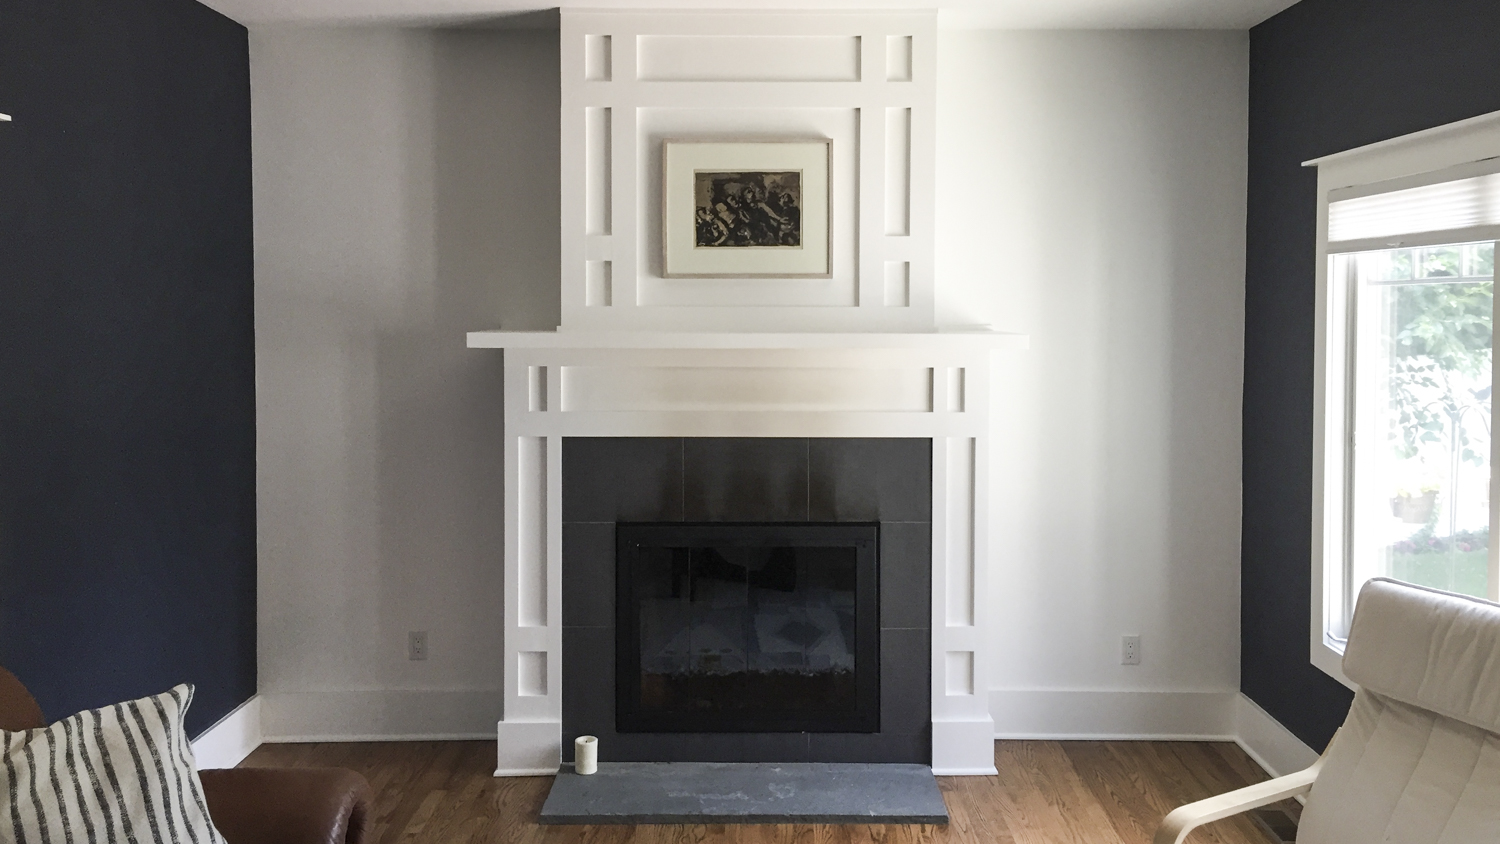
Say friend, have you got a room in your home that’s dull and dreary and just begging for an upgrade? The solution is Stikwood! Is your kitchen backsplash dated or faded? Stikwood! Got a foyer that greets guests with a bore instead of bang? Stikwood! Stuck in a dead-end job and a loveless marriage with six whiny kids at home and a negative balance in the bank!? Stikwood!!!
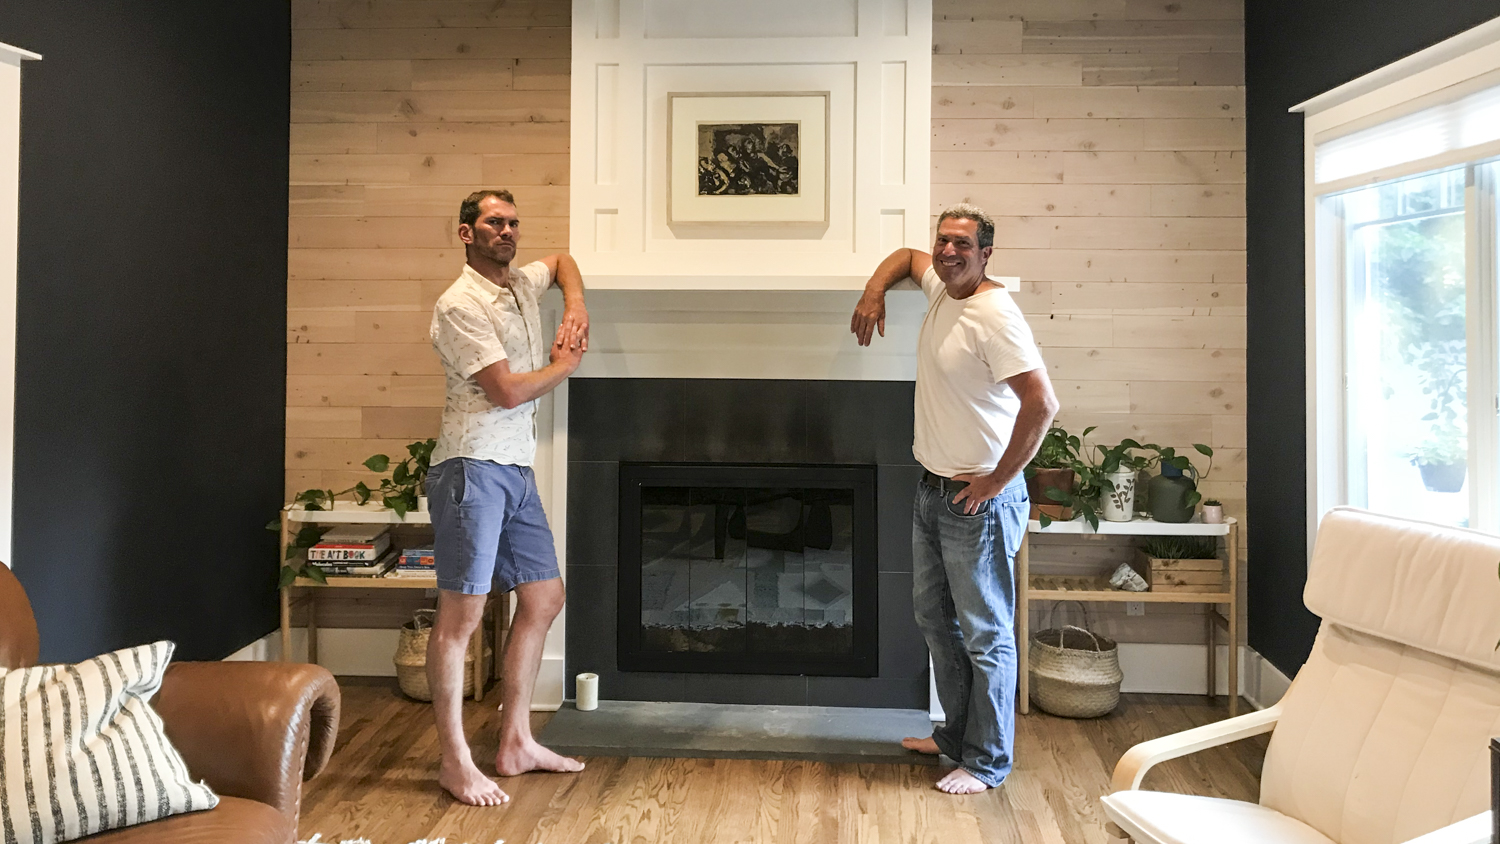
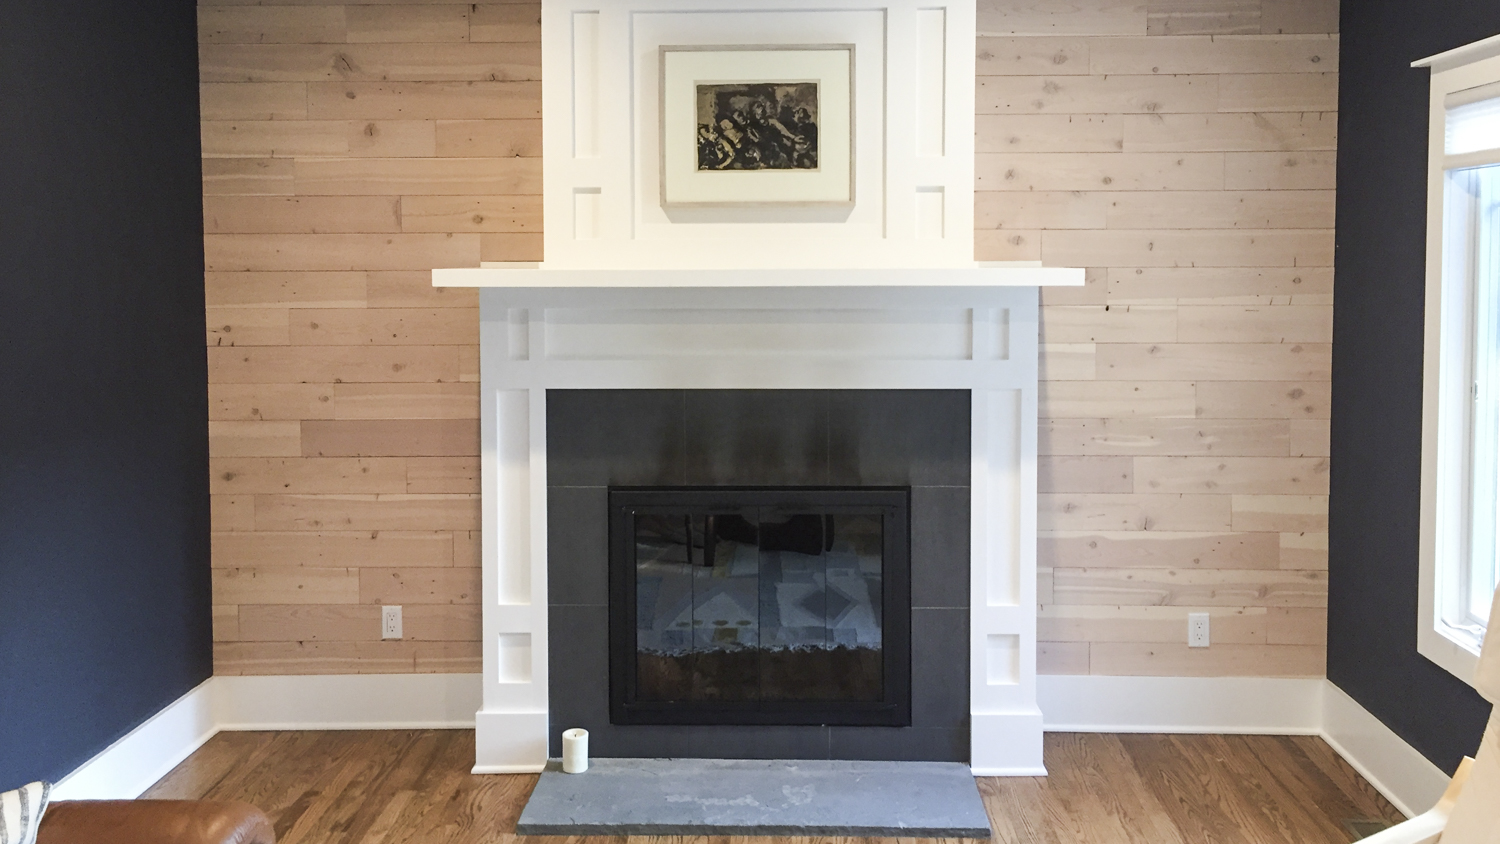
Actually, Stikwood might not be able to help you in that last example, but for any room that needs a quick, easy, and affordable upgrade the looks great and lasts for years, this peel-and-stick reclaimed wood paneling is the perfect answer. You — yes, even you, Mr. I’m-Not-a-DIY-Guy — can complete a Stikwood installation in a matter of mere hours, dramatically enhancing the style of your home, office, garage, or any other interior you see fit to improve. I know because I used three boxes of Stikwood myself just a few days ago.
Stikwood gets its name for a fairly obvious reason: You peel away a covering of paper protecting adhesive strips on the back of these thin pieces of wood and then stick them on the wall. That’s the jist of the actual installation process, though to be clear, there are a few more steps and tools involved.
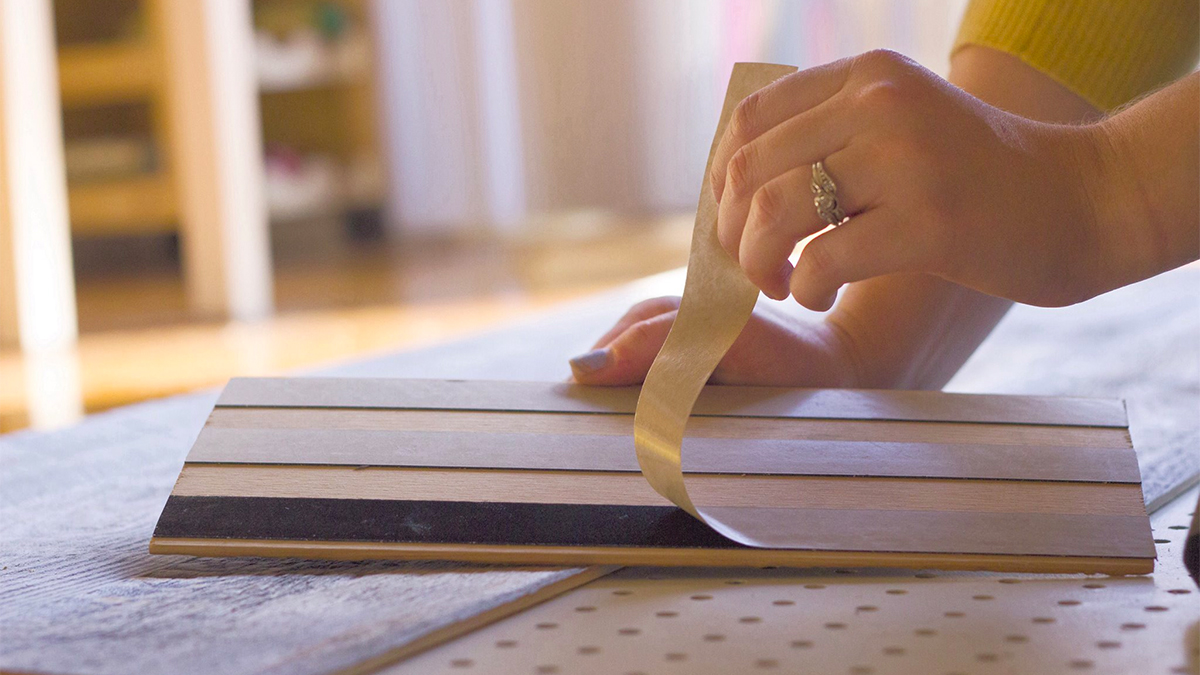
First, a few words about the material itself. Or materials, rather, as Stikwood is available in nearly two dozen different woods, including options like a weathered gray (great for beach houses), a warm reclaimed wood (perfect for a cabin), and a neutral sandstone color (perfect for basically any home anywhere). The wood arrives in 4-foot boxes with varying panel lengths included, the longest measuring 4 feet long, the shortest measuring about 1 foot. All of the woods the company offers are sourced from “reclaimed and sustainable wood planking” and the stuff sells for between $10 to $16 per square foot depending on the veneer you choose

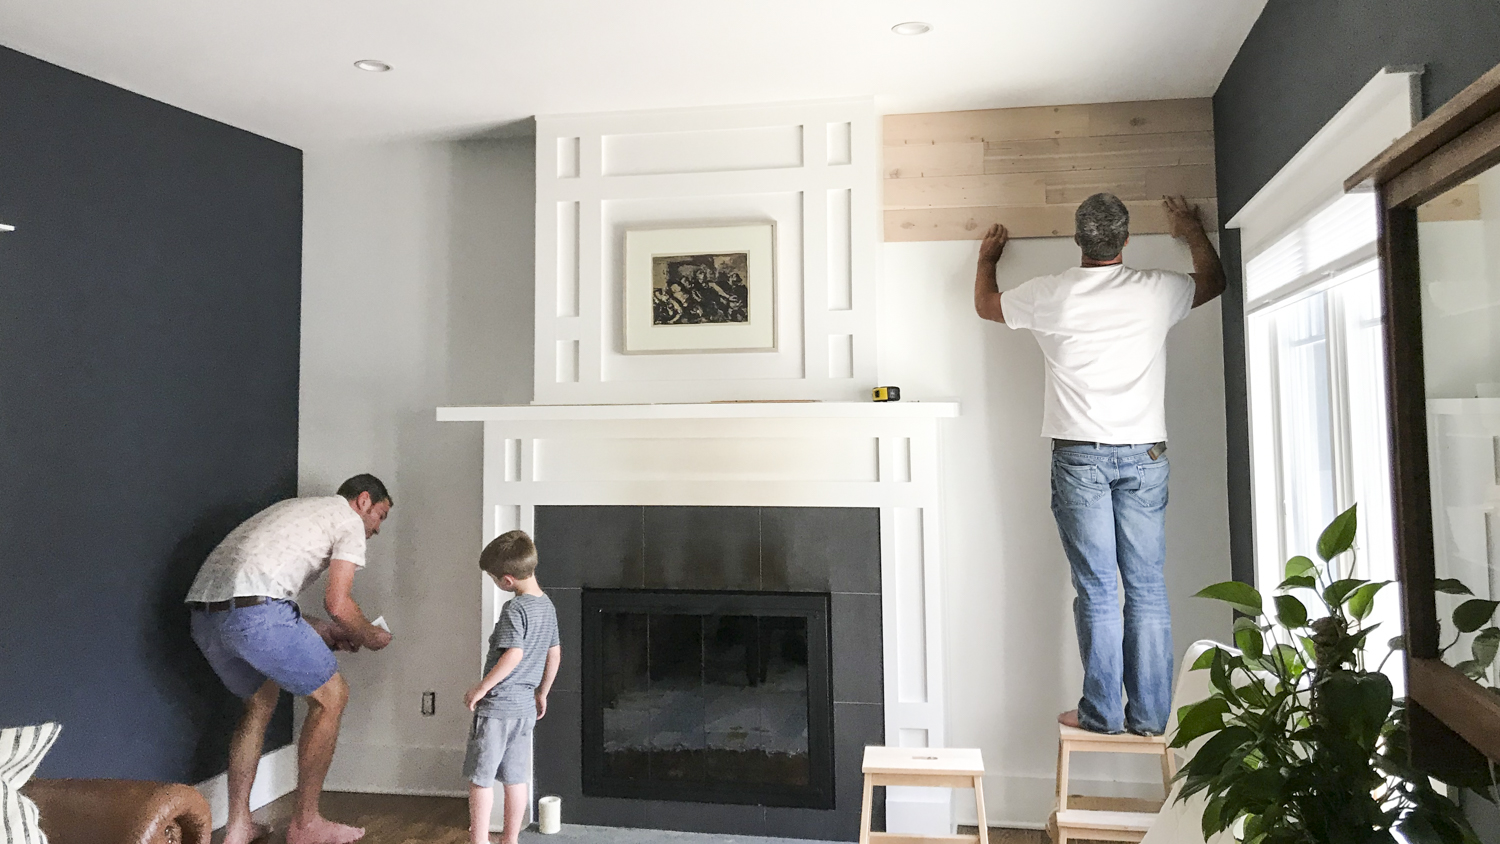
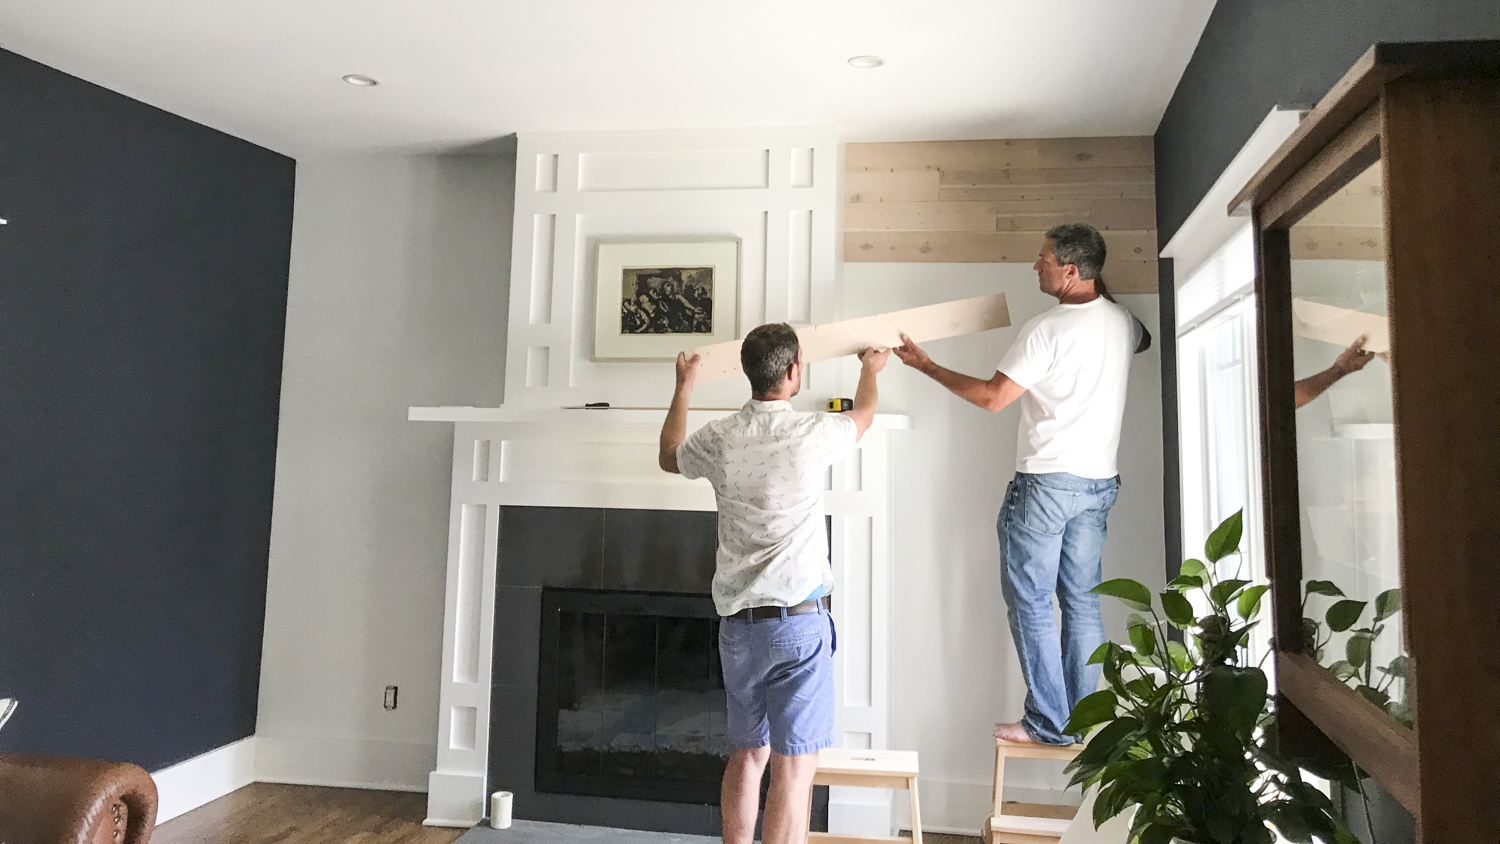
Now, to the installation process! Ideally, you will have these tools at your disposal (like my father-in-law and I did when we installed about 80 square feet of “Minimalist Fir” Stikwood in my den):
Tape measure
T-square
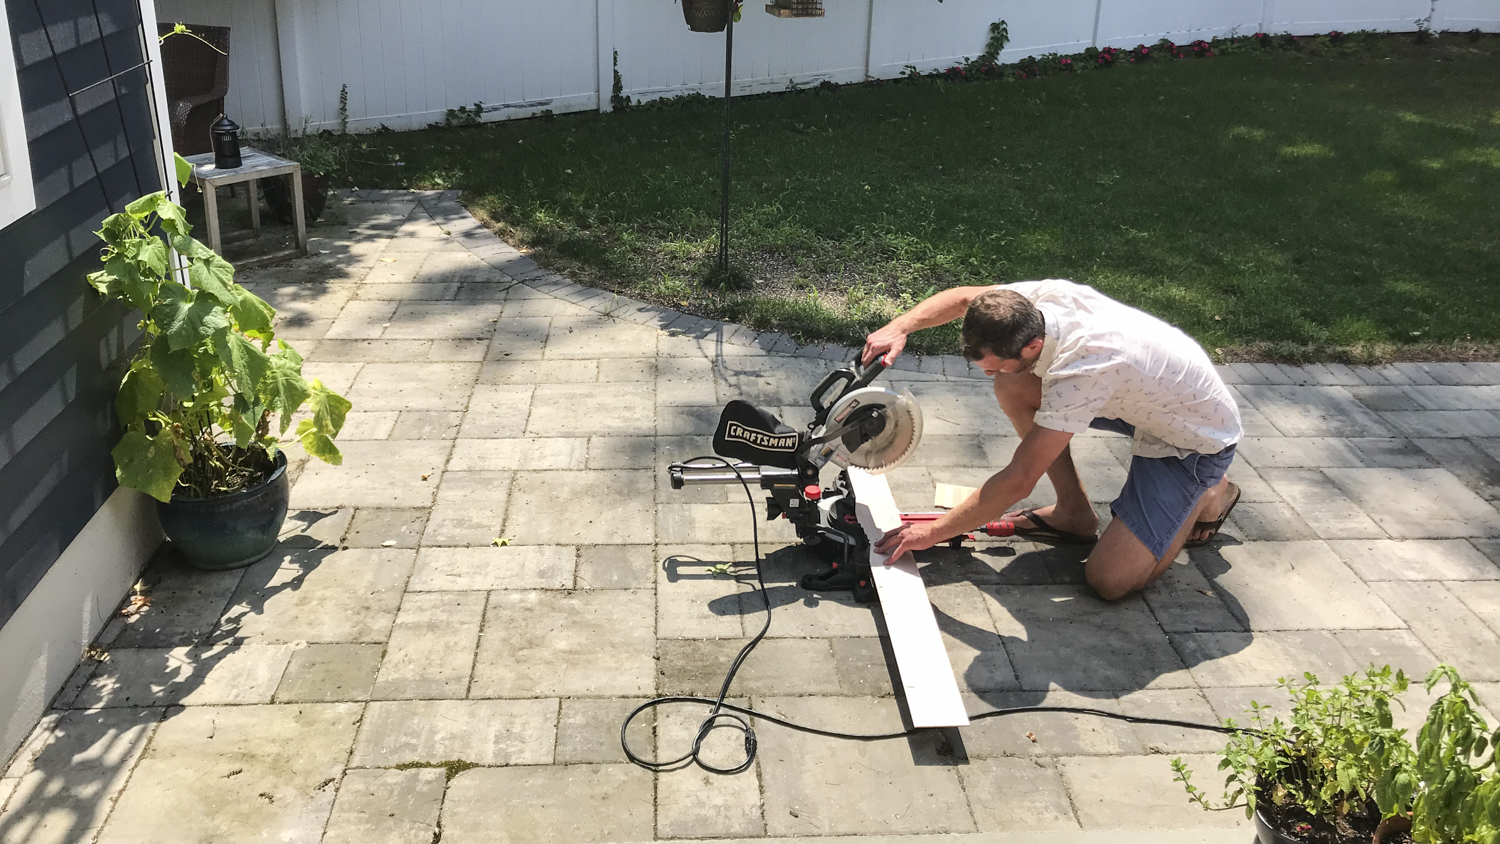
Chop saw
Jigsaw
Utility knife
Pencils
But frankly, you could get the job done using only a tape measure, pencils, a utility knife (AKA a box cutter), and a small hand saw. If you’re applying Stikwood in an apartment or office where you can’t step outside and use power tools, you might be relegated to use of smaller hand tools.
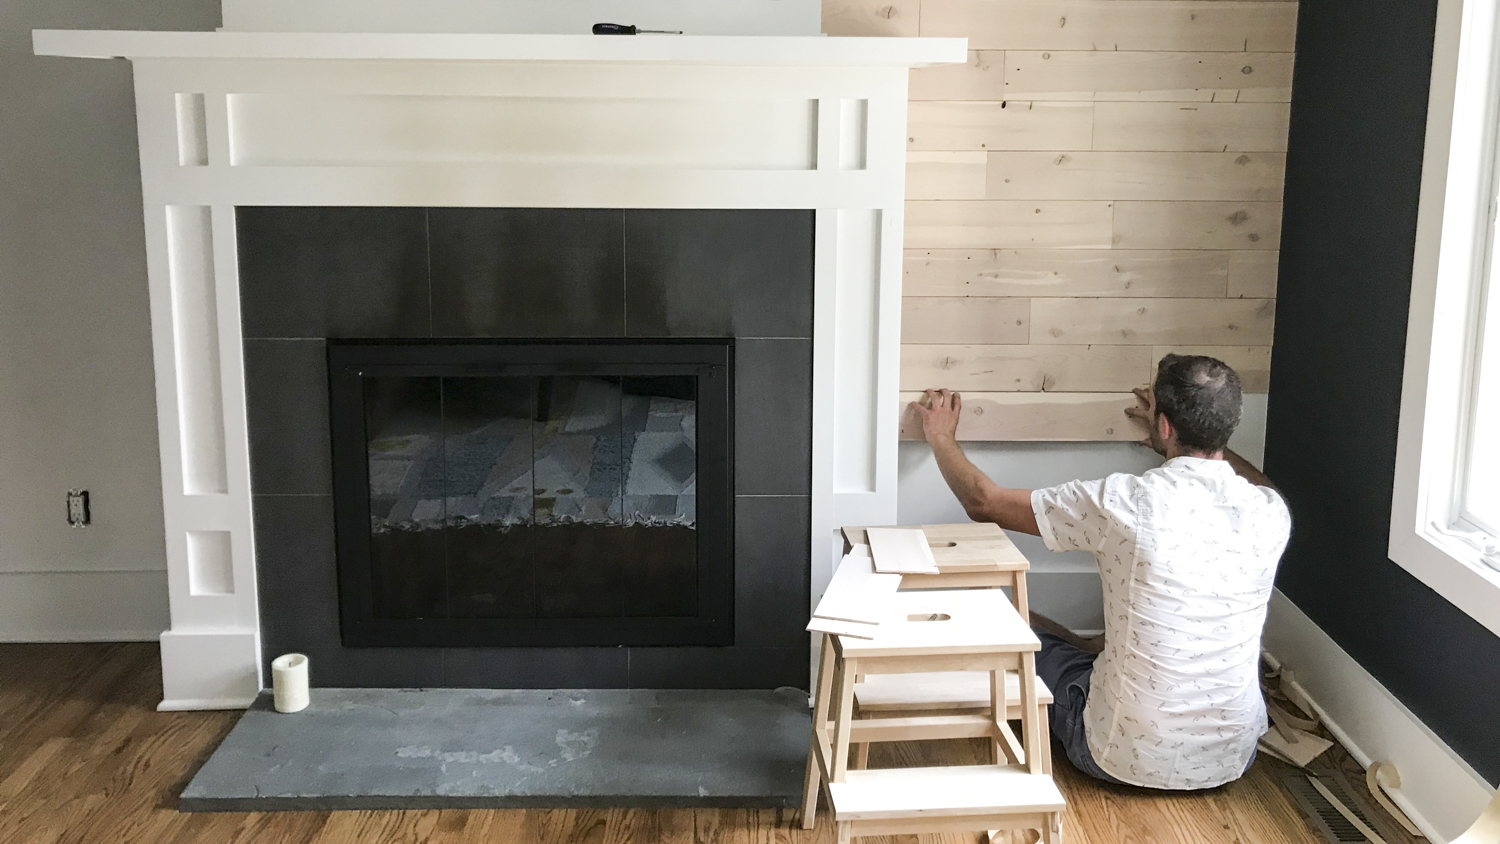
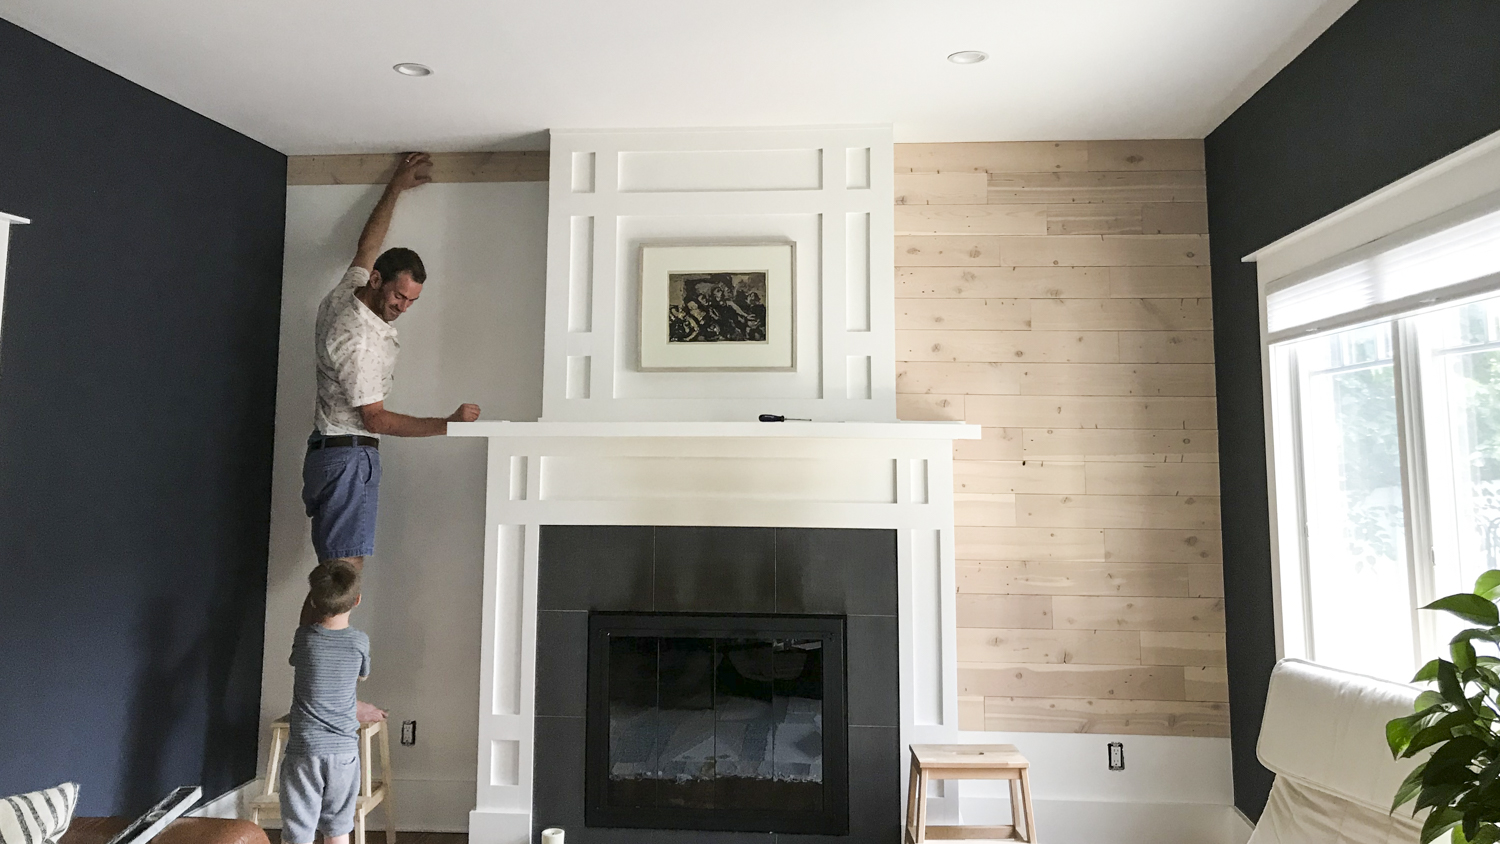
Working row by row, you plan out each level of Stikwood by selecting which panels will look best with those next to and above (or below, if you’re working ground up, but I recommend starting at the ceiling — better to have the lowest row be the one that’s a different height); in most cases, you will only need to cut one piece to fit per each row.
Lay the piece to be cut below the piece that will go beside it and draw your cut line, then saw the wood, peel and stick. You can also use your tape measure to select your panels and measure your cuts, but I found the material so forging to work with that it was easier for us just to make our cut marks while holding the pieces to be used in place. (Of course, contrary to the old carpenter’s adage, “Measure twice, cut one,” my approach to projects is always, “Measure fast then fire all!” so take that with a grain of salt.)
When you get to a tricky spot — an outlet, mantle, shelf, and so forth — you have a choice: You can either cut a section out of on panel of Stikwood using your utility blade and/or jigsaw and some patience (or a router if you have one) or you can use your saw to create smaller pieces that will go around the object at issue, for example ending two panels on either side of an outlet and cutting two smaller pieces to fit above and below it. We used both approaches, for the record.
Aside from the stunning appearance of the completed project, the best thing about Stikwood is how forgiving a medium it is. If one row of panels doesn’t go on perfectly evenly down to the micron level, you can cheat the next row slightly and easily compensate. Trimming the pieces to fit oddly shaped areas is easy, as is fixing your mistakes by sanding improperly cut pieces or simply popping a badly sized piece off the wall and replacing it.
The best thing about the project? It took a single afternoon.
