A well-polished pair of kicks not only works wonders for your general appearance but greatly extends the life of your beloved footwear. The thing is, learning how to shine shoes wasn’t something taught in middle school, nor did many parents deem it necessary to pass the skill on to their children. Because of this, people all over the world tend to leave the confines of their home sporting shoes hardly fit for making lasting impressions.
Related:
To help you present the best version of yourself on a daily basis, we’ve put together a quick guide to polishing your own shoes. It’s an easy DIY-type trick anyone can pick up, and it’s definitely one capable of paying off in dividends — i.e. finally getting that job you’ve always wanted, winning a “Best Dressed” in the office award, etc. Without further ado, here is the absolute best way to give your shoes that “brand-new, out-of-the-box” flair no matter how long you’ve owned them.
Step 1: Gather Supplies
Right off the bat, it’s imperative you begin your shoe polish endeavor by amassing the correct supplies, starting with the actual kind of polish you wish to use. Available in cream, wax, or liquid varieties, the different kinds of polish influence your shoes in various ways. For instance, cream and wax type polishes tend to be a bit heavier, thus typically excel at feeding leather shoes and improving their waterproof capabilities. Moreover, a liquid-based polish is best used for a quick shine but not for any long-lasting effect. This should go without saying, but it’s important to pick a color of polish which matches the color of the shoes you wish to shine. Black for black, brown for brown, etc.

After selecting your desired polish, it’s now time to choose a proper applicator. If you’re looking to avoid expense, we recommend cutting up an old T-shirt or soft rag you have lying around the house, as well as grabbing a few cotton swabs or an old toothbrush. While the tee or rag is used to administer polish on the larger parts of the shoe, the swab or toothbrush is great for getting to harder-to-reach areas.
What you need:
- Shoe polish
- Rag or stiff-bristled brush
- Cotton swab or old toothbrush
- Long-bristled softer brush
- Chamois cloth
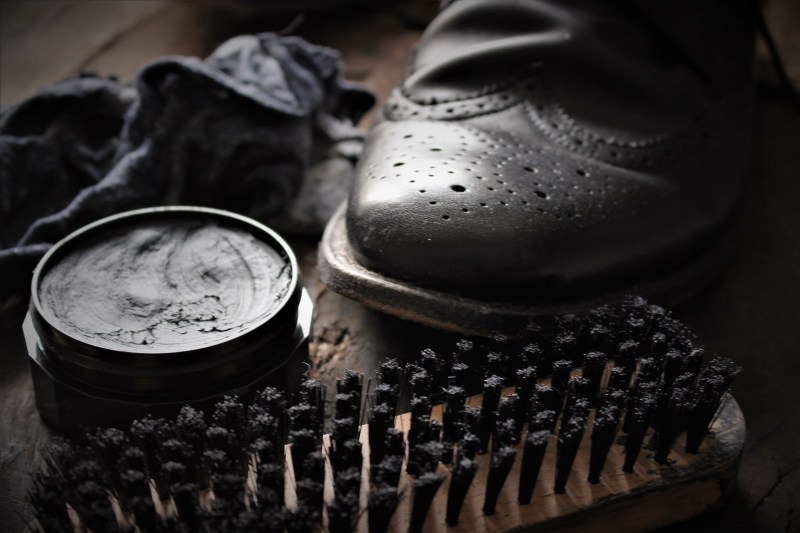
For those of you who don’t want to go that route, there exist stiff-bristled brushes made exclusively for shining shoes. Some come in actual shoe-polishing kits while others can simply be ordered online or picked up at your local cobbler. Depending on your budget, these can range in price.
Regardless of whether you opt for a stiff-bristled brush or old T-shirt, we do highly recommend purchasing a long-bristled softer brush to help clean any excess polish on the shoe. It’s also a great idea to have a spare cotton rag or chamois cloth on hand to give a polished shoe a quick wipe down once finished. Not only does this help with any excess polish, but it helps add a gorgeous shiny finish. Last, but not least, we recommend stocking up on old newspaper to use wherever you decide to shine your shoes. This makes cleanup an absolute breeze and protects any nearby furniture from accruing any unwanted polish.
Step 2: Apply Polish
First, clean your shoes of any excess dirt, dust, or anything which might become trapped during the polish process. To do this, all you need is a simple damp cloth. It’s also recommended you remove your footwear’s shoelaces and allow them to dry before beginning.
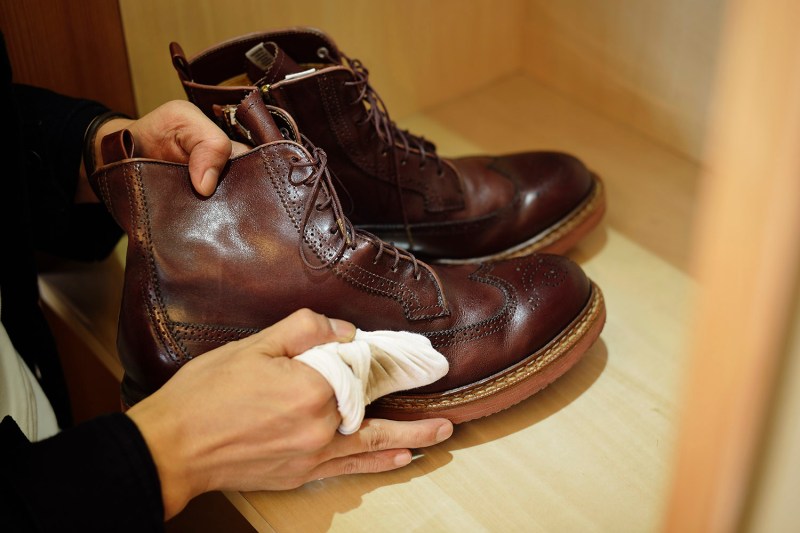
Now comes the fun part. To begin, dab a small amount of polish on your old T-shirt or stiff-bristled brush and begin applying the polish by using small, circular patterns. Using a medium amount of pressure, continue applying until you notice the polish is equally distributed. Continue this process across both shoes until each sport an even amount of shine. Do keep in mind heavily worn areas of the shoe (i.e. the heel or toe) may require more polish, so pay extra attention while working near these spots.

As mentioned above, using a cotton swab or old toothbrush is the best way to easily polish hard-to-reach areas, though it’s not necessary to do this until you’ve completed polishing the entire shoe. This method is especially useful for spaces on the tongue of the shoe or along the edge of the upper.
After finishing the first layer, let the shoe completely dry before administering any more coats. If you prefer a darker color on your shoe, it may take several layers before you begin to see your desired shade. Also, don’t just cake the polish on the first time. It’s best to apply several thin layers to build up a shoe’s color than it is to rub on one giant, globbing layer.
With your desired shade accomplished, it’s time to take your long-bristled softer brush to remove any excess polish. Quick strokes are the best way to remove them, though don’t shy away from brushing too hard. The heat generated from a bout of powerful brushing actually assists the polish in soaking into the leather.
Step 3: Time to Shine
Once the polish is completely applied, all that stands between you and a fresh pair of kicks is a simple buff shine. We recommend taking that chamois cloth out and working it across the entire surface of the polished shoe. This helps continue to work the polish into the leather while adding a gorgeous finishing shine.
If you wish, you can also get your military on and apply a spit shine, however, this doesn’t necessarily mean you have to spit on them. Simply spray a small amount of water onto the shoes and continue to work the water in with a soft cloth. This should help produce a beautiful shine and really allows the polish to pop.


