If you’re an adult, you should know how to change a tire, how to give a good handshake, and how to sew a button back on when that thing decides to pop off and go rogue for some reason.
Some garment alterations take a professional touch. But this is one you can do on your own in just a minute or two. Here’s a quick step-by-step guide:

1. Look for its long-lost twin.
Did that button disappear somewhere between your office and the train stop by your apartment? It belongs to the city now. In order to keep your DIY from looking DIY, you’re going to want to find an identical button to replace it. Turn your garment inside out, because many nicer items include a backup button tucked somewhere along a hem. Alternately, some garments include a replacement in a little zip-top bag along with the original item tags. Didn’t you stash that in a drawer somewhere?
2. Get a basic sewing kit.

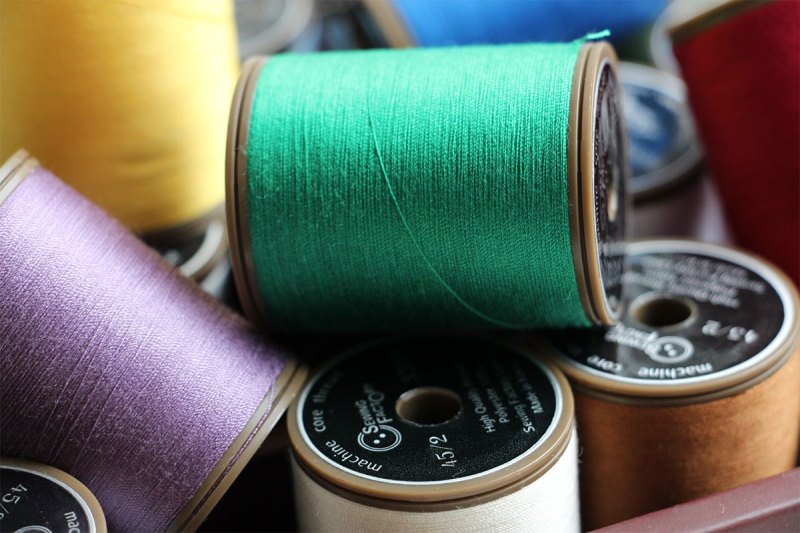
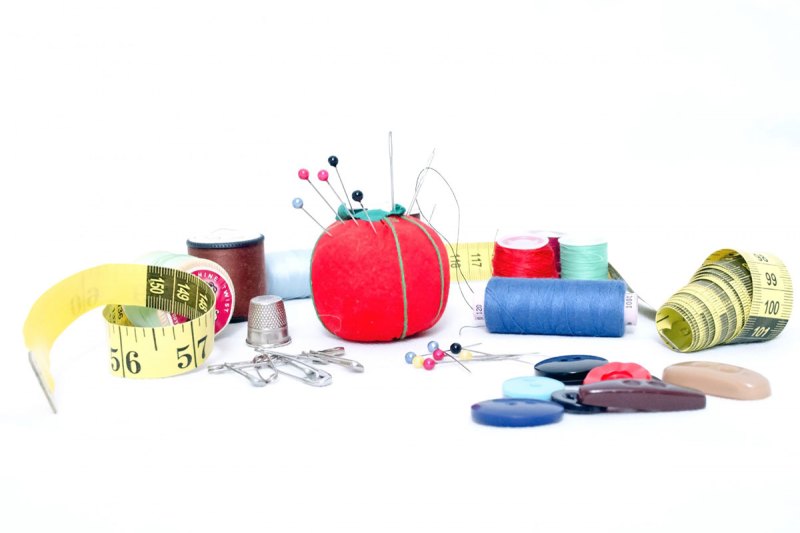
It doesn’t need to be anything fancy. Some thread in colors that match your wardrobe’s palette, a straight pin or two, a needle, and one of those tomato pin cushions you always wondered why your grandma had around.
Related Reading: DIY Guide: How to Patch a Hole (in a Wall)
3. Thread your needle.
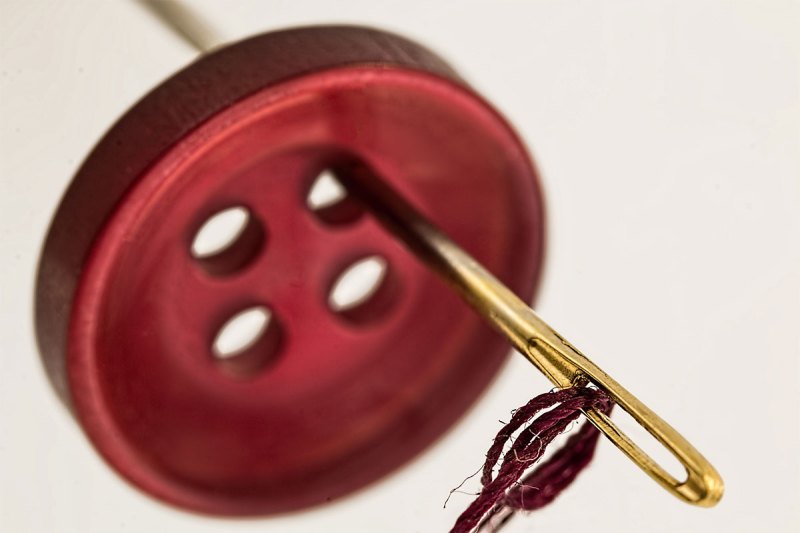
Always go for more thread than you think you’ll need. It’ll save you from poking yourself in the finger, and you’ll just cut the excess off at the end. Push one end of the thread through the needle and then tie the thread ends together so that the needle is contained within the loop.
4. Place your button.

You want to start sewing from inside your garment so that the knot you just tied ends up hidden. Place the button on the surface of the fabric, and grab a straight pin (the long pin with a colored ball on one end). Lay the straight pin on the face of the button. Sewing over the pin means the button won’t be on too tight. You need a little wiggle room to keep that thing functional.
5. Get sewing.
Push the threaded needle through the buttonhole, cross the pin, and sew downward through an adjacent button hole. Repeat about a dozen times. If you’re doing this neatly, you’ll end up with two parallel lines of thread on the outward-facing surface of the button, and an X of thread on the back. If your button only has two holes, you’ll just be making a repeated loop through them.
6. Tie up the loose ends.
Once your button is on there nice and sturdy, you’ll want to cut the remaining thread and tie at least a double knot on the hidden side of the fabric. Once the knot is in place, trim the wayward thread ends, pull the straight pin off of the button’s surface, and admire your expert work.

That was pretty fast, wasn’t it? You’re nearly ready for the all-male version of “Project Runway.”


