Now that we’re several weeks into staying at home, you’ve probably gone through most of your DIY house projects, like repotting plants, decluttering phone contacts, and rearranging your closet. But if you’re still looking for a creative way to kill time, we suggest tie-dying your old white t-shirts.
Why, you may ask? Yes, it’s been over half a century since Woodstock, when the kaleidoscopic pattern became synonymous with hippies, counterculture, and music festivals, but it’s recently come back into vogue, cropping up on menswear runways including Comme des Garçons, Louis Vuitton, and Off-White. And in our new quarantine lifestyle, tie-dying has become a low-cost stress-relieving activity and a go-to fit on Instagram (see: Justin and Hailey Bieber).
So if you’re looking for another crafty way to decompress while adding a pop of color to your wardrobe, ahead is an easy-to-follow guide to tie-dye your worn shirts.
How to Tie Dye
What You Need:
- Tulip One-Step Tie-Dye Kit: This package includes rubber bands, protective gloves, 12-dye powder bottles, and a surface cover.
- T-shirt (Preferably made of 100% cotton to make the most of dye colors)
- Ziplock bag
- Apron
- Arm-length tube or PVC Pipe
Prepare:
- If you haven’t used your shirt in awhile, wash it with hot water to remove any excess oil or grime that could interfere with the dyes.
- Add water to your dye bottles and shake them for at least a minute until the dye is fully dissolved.
- If you want your dye color to be lighter, mix it in a separate powder bottle with more water.
- Wear an apron and gloves to to protect your skin from stains.
- Your shirt should lay flat on a surface cover before starting.
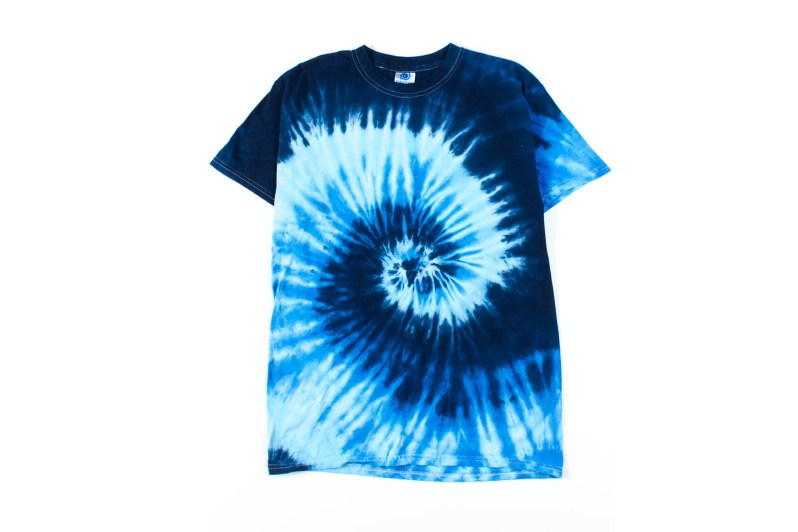
Spiral Method:

- With your thumb and forefinger, twist the center of your shirt (between the armpits) until it’s tightly wrapped into a dense shape.
- Place about three rubber bands around the tightly-wound shirt to create six folds of equal sizes. Tighter folds will leave more white spaces for your final product.
- Squirt the dyes bottles on each fold. We prefer using the same colors on opposing wedges.
- Flip the shirt to color the opposite side as well.
- Place your shirt in a ziplock bag for six to eight hours to let the dye set.
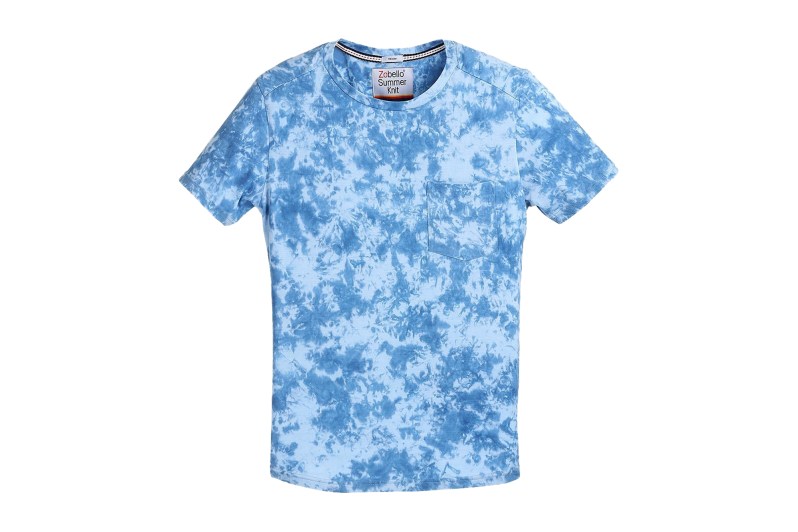
Crumple Method:

- Crumple the fabric with your fingers until it’s in a tight mound.
- Hold it in place using about three rubber bands. Tighter folds creates more patterns.
- Squeeze the dyes on your shirt, applying a generous amount until your shirt is almost soaked.
- Flip the shirt over and repeat on the other side.
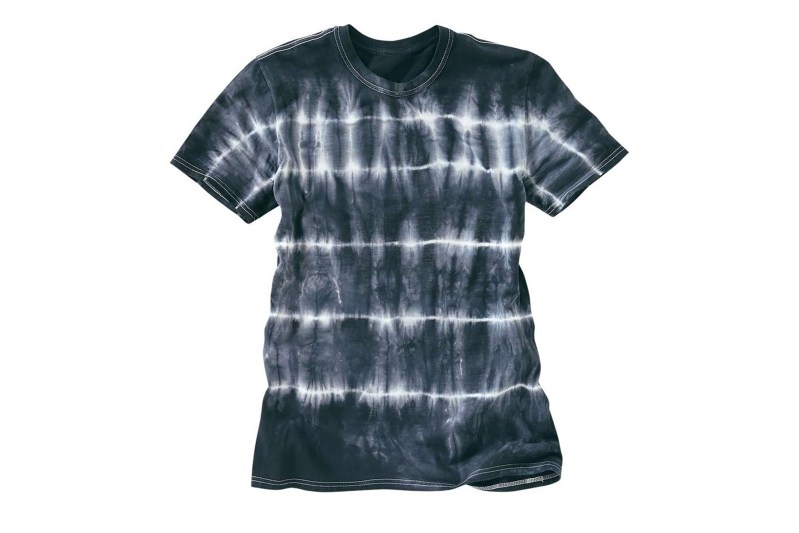
Shibori Method:

- Roll your t-shirt tightly around the tube.
- Secure both ends with rubber bands.
- Tightly scrunch both ends of the shirt toward the center.
- Add four more rubber bands along the tube to further secure the shirt.
- Apply the dyes on the shirt, rotating as needed.
- Gently remove the pipe from the shirt.
Final Steps:
- Place the shirt in a Ziplock bag and let it sit for about eight hours.
- Pull your shirt out of the bag, remove the rubber bands and rinse your shirt under cold water to wash away excess dye.
- Put your shirt in the washing machine (do not include other laundry) using the highest water temperature allowed for your chosen fabric.
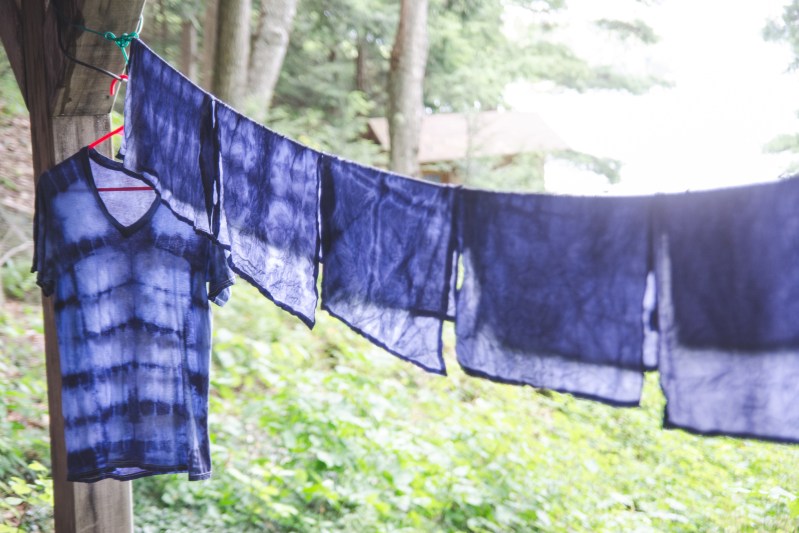
- Air dry your shirt.


