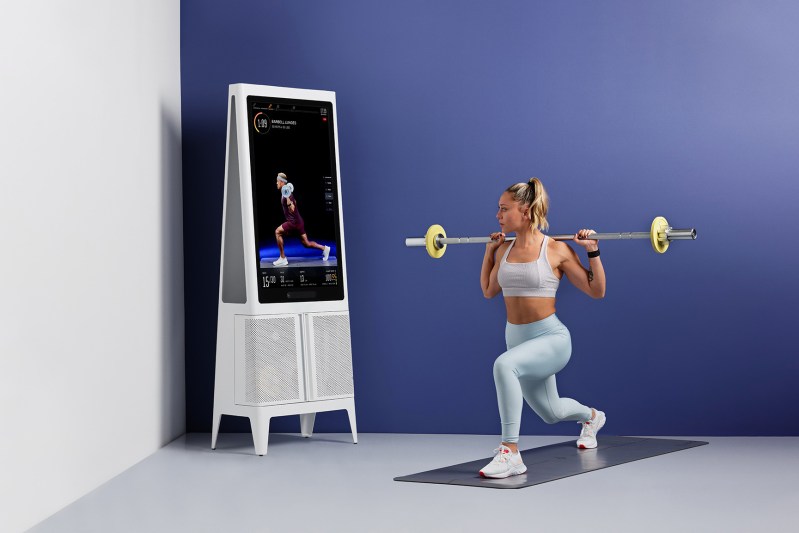
Tempo Head of Fitness Melissa Boyd will not talk s**t about popular trainers: the YouTubers, the Instagrammers, the TikTokers. Fitness teas? “I cannot promise your workouts will be supercharged,” the trainer said, “but your intestines will be.” The problem with most pop culture products and influencers is that they often center on big results in a short amount of time, the “10 Days to a Better Booty” crowd. “Anything that promises a very specific end goal in a very fast amount of time, it may work, but it’s not going to be long lasting,” she explained.
In her role with Tempo, she makes sure its suite of trainers isn’t selling snake oil, instead guiding clients with principles — and movements — that are going to weather the test of time. Sometimes, it’s those long overlooked as dull or “easy,” including the basic lunge, that can have the most benefit.
The lunge isn’t sexy, and how to do a lunge isn’t either, Boyd admitted. You don’t see ‘roided-up guys on Muscle Beach lunging with barbells, despite the fact that she called the exercise one of the most underrated movements to build both strength and flexibility. (“They are so hard,” she said.) Even in so-called “beginner” classes, you’ll see jump lunges and burpee lunges and lunges with a backflip at the top of each rep to make it more palatable to consumers. But trust us (and Boyd), the basic lunge for most people packs more than a solid punch to get you a better bod.
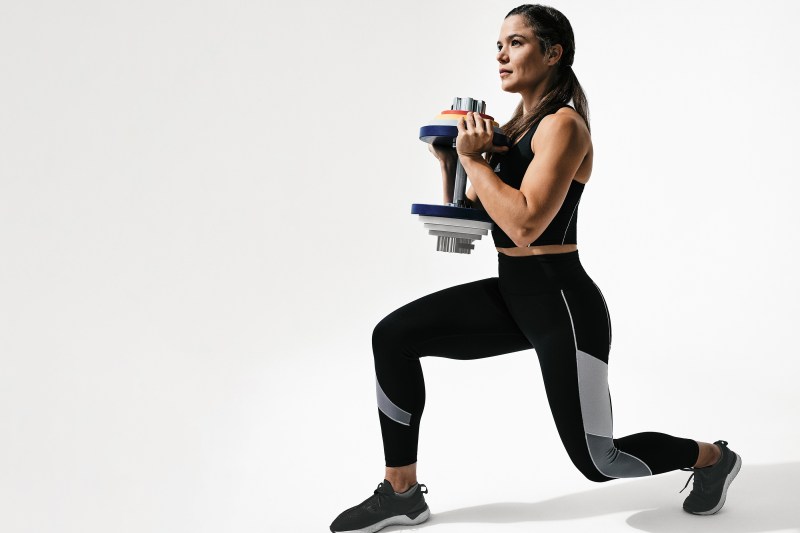
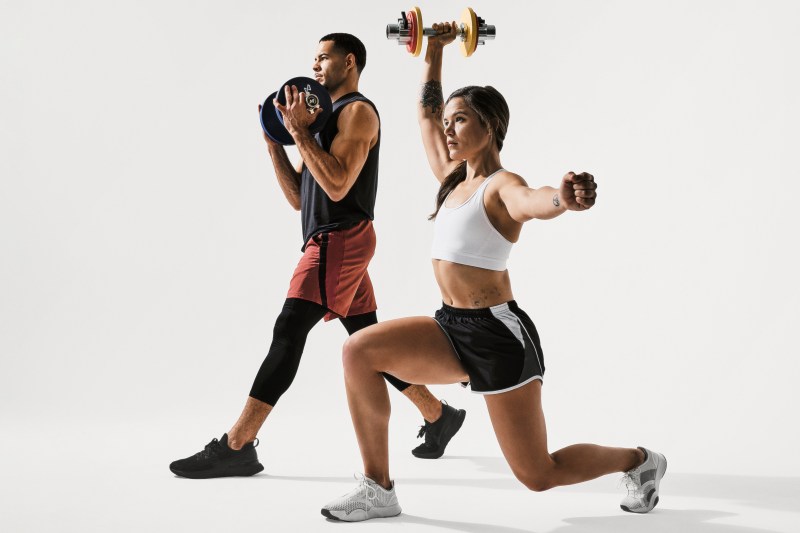
The reason for this is simple: Like deadlifts, the lunge is a compound movement that recruits your core and everything south, including glutes, quads, hamstrings, calves, and tens of other, smaller stabilizer muscles. In fact, the only thing that isn’t being used with a bodyweight lunge is the upper body, but grab some weights, and you’re talking full-body exercise. “[It’s] a deadlift for your whole leg,” she said. “Everything has to work together to control your weight down and then fire it back up.”

How to do a lunge
Boyd has broken it down for The Manual from your first lunge to your last. So get to stepping.
Go back
So you’re ready to lunge. Start by taking a massive step forward, right? Actually, Boyd recommends going backward, and with a wall or railing nearby for stability, at least at first. Also, leave the dumbbells on the racks for this one, using just your body weight.
A reverse lunge, or throwing a leg back rather than forward, will reveal plenty: muscle imbalances and breakdown in form during certain parts of the movement. Watch yourself in a mirror, or set your iPhone up to record and watch your rep. “What is your body doing to compensate for this almost-plyometric movement?” Boyd explained. Focus on 10 reps on each side, and only move to the next step once you’re solid from start to finish.
Go heavy(er)
Once you’ve grown comfortable with the standard reverse bodyweight lunge, it’s time to add some weight with these simple steps:
- Grab a couple of dumbbells — don’t go overboard; 10s or 15s will be fine to start.
- Stick to one side at a time, from 10 to 12 reps on each, this time with a weighted reverse lunge. Again, you’re watching for imbalances, dips, hitches, pauses.
- Add another set or two on the weaker side to bring it into line.
“It’s natural,” Boyd said of imbalances. “Lunges are so good for fixing that.” Also, ensure that your chest remains neutral or slightly forward at the bottom of the movement. This will prevent excessive pressure on the knee and spine.
Alternate
OK, so you’re getting confident. Strong. Balanced. Now it’s time to take yourself through a few sets of alternating reverse lunges:
- From that neutral position, first, throw one leg back into the lunge.
- Return to the start, and then throw the opposite leg back.
- Watch that mirror or your iPhone recording; ensure that both sides adhere to the same strict form.
- Touching that reaching knee lightly on the floor is fine but not required.
Repetition breeds consistency of form, so be strict. Your body will thank you.

Go forth
After this progression over the days and weeks, you’re finally ready to go forward. But before you begin traveling the earth via lunge, start with the single-sided lunge, 10 to 12 reps, and then the opposite side, again putting your form under the microscope. If you’ve worked up correctly, forward lunges should feel easier than their reverse cousins. Work up to walking your lunges around the gym or living room.
On pain
Besides isolating weaknesses, the other reason why Boyd loves starting with reverse lunges for beginners is that they’re often still learning the difference between pain and discomfort in the joint. “Anything that feels even a little bit spicy, they’re like, ‘Oh no, this hurts,'” she said. Know that some discomfort is normal at the start, and learning to distinguish between it and pain is what you’re striving for.

Geometry
As might be obvious from the order of this list, Boyd loathes talking about angles and geometry with beginners who are first learning the movement. First, there’s a real difficulty in prescribing one set of rules when every type of body is different. But after you’ve gone through your reverse lunges and transitioned to forward walking lunges, it’s time to take quick stock of where you’re at.
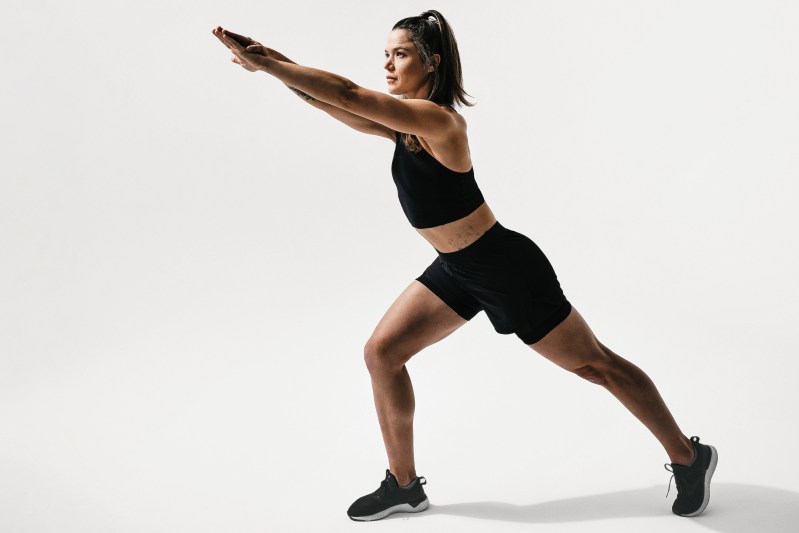
Generally speaking, your knee should remain over your foot, and Boyd suggests laterally over the second and third toes. Your quad, when lowered in the movement, should be parallel to the ground, though some may prefer an inch to three above parallel. “You really want to wrap your core, brace it, and make sure of that straight line from the shoulder to the knee,” she added.
Weight
Many think of the lunge as a one-legged squat, pushing the entirety of your weight with the bent leg. But not so, said Boyd. Instead, think of a 75/25 split, with a quarter of your weight on your lengthened leg. When it comes to returning to the starting position, however, she’s unequivocal: Push off your bent leg’s heel, firing up and back in.

What muscles do lunges work out?
Now that we know how to do a lunge properly, let’s find out what muscles we are giving a workout to. And that would be a variety — maybe more than you realize.
Gluteus maximus (glutes)
This is the largest muscle in your body, and it’s responsible for extending your hips and rotating your thighs outward. Lunges are a great way to strengthen and tone your glutes.
Quadriceps (quads)
These are the muscles on the front of your thighs, and they’re responsible for extending your knees. Lunges work your quads throughout the entire movement.
Hamstrings
These are the muscles on the backs of your thighs, and they’re responsible for flexing your knees. Lunges also work your hamstrings, but to a lesser extent than your quads.
Calves
These are the muscles in your lower legs, and they’re responsible for plantar flexion (pointing your toes down). Lunges work your calves, especially as you push off the ground to return to the starting position.
In addition to the primary muscles mentioned above, lunges also engage your core muscles, which help to stabilize your spine and trunk throughout the movement.


