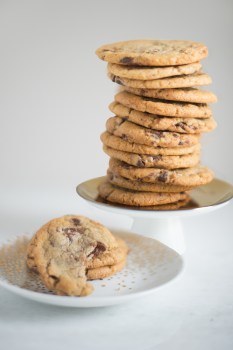
Perhaps more than any other time of the year, during the holiday season, cookies and other baked goods and delicious sweets reign supreme.
Baking, though, is not everyone’s bread and butter (pun intended). For most baked goods to be as delicious as they should, a certain amount of precision is needed. If you’ve never baked before, there’s a chance you might screw something up along the way. What were supposed to be double-chocolate brownies become something that looks like the La Brea tar pits. And those chocolate chip cookies? Well, how do you feel about giving your significant other’s parents chocolate chip frisbees?

To figure out what we need to know (and what we need to have on hand) for holiday baking, we spoke to Tiffany MacIsaac, chef and owner of ButterCream BakeShop in Washington, D.C. MacIsaac’s list of accomplishments in the baking world is long and includes Best Pastry Chef according to the Restaurant Association of Metropolitan Washington, creating pastry programs for 14 restaurants in five years for Neighborhood Restaurant Group, and three consecutive James Beard Award semi-finalist nominations.
If anyone can help us learn to bake, it’s MacIsaac.
Essential Tools for Baking
- Oven thermometer: If you don’t use it often, you’ll want to make sure it’s running at the correct temperature.
- A great whisk: If you only want one, I’d get a 14-inch piano whisk made from stainless steel.
- A good rubber spatula: This ensures that you can be sure to scrape every last delicious bit of batter out of the bowl.
Tips and Tricks for Baking
According to MacIsaac, the biggest thing to know is you should never trust the bake time on a recipe.

“The best way to learn to bake is to watch, touch and taste everything you are cooking. When writing a recipe, a chef always tries to provide an accurate bake time but, sadly, no two ovens are exactly alike,” she says. “A cookie can go from perfection to overbaked in a matter of a minute or two, so check for doneness before the written ‘finished’ baking time.”
A second tip? Read the entire recipe before beginning. It may seem obvious, but by reading the entire recipe before you begin will help ensure a) you have everything you need and b) you can measure everything out. From there, she adds, re-read each step before proceeding.

But what about when you’re strapped for time? What about box mixes? Are they verboten or is it okay to use them when needed (especially as a beginner)?
“I grew up in a family that ate a lot of boxed cakes and brownies, so nothing but love here! If you are in a rush and need a sure thing — don’t be ashamed!” MacIsaac says. “I recommend a little something extra to make it your own like fruit, spices, or fun whipped toppings.”
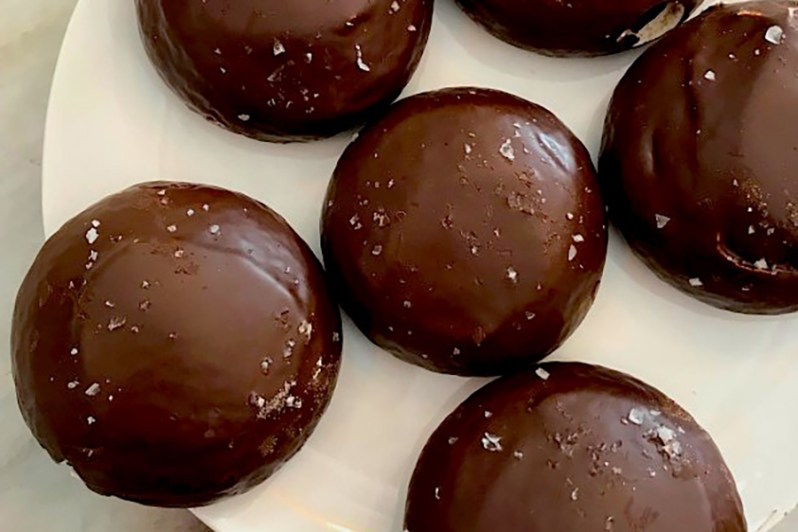
Think you’re ready to try your hand at a holiday treat that doesn’t come pre-mixed and most likely won’t be repeated in the holiday spread? Check out MacIsaac’s recipe for Dark Chocolate Marshmallow Fluff Bombs below. While this does take a little more skill than box brownies, it can’t hurt to try. If you mess it up, at least you know that you need to hit the drawing board and start with something simpler next time.
Dark Chocolate Marshmallow Fluff Bombs

(Yields 11-12 pieces)
Ingredients:
- 8 egg whites at room temperature
- 33 cups granulated sugar
- 5 tbsp cornstarch
- 5 tsp cider vinegar
- 1 tbsp vanilla extract
- 1/8 tsp salt
- 4 3.5 oz dark chocolate bars
- 5 tbsp shortening
- Sea salt to finish (Maldon sea salt recommended)
Method:
- Preheat the oven to 300 degrees Fahrenheit. Prepare two cookie trays with parchment paper or a silpat and set aside. Also, place a size 11 or 12 round piping tip into a piping bag and set aside as well.
- Fit the bowl of an electric mixer with a clean bowl, free of any oils or residue, and the whip attachment. Place the egg whites in the bowl and whip on medium-high speed until medium-firm peaks form. Start sprinkling the sugar in slowly, 1 tablespoon at a time, until it is all added. Add the cider vinegar and cornstarch. Whip until it is stiff, very thick, and shiny – should take about 1-2 minutes on high. Add the vanilla extract and salt, whip a few seconds more.
- Using a clean rubber spatula scoop the meringue into the pastry bag and pipe six, 2.5-inch diameter, 1-inch tall domes of meringue onto each tray. Use a spoon to smooth the top like a dome. Tap the tray on the table a few times to settle the domes a smidge. The domes should still be tall. Make sure there is an inch between each of the domes as they will expand a little when baking.
- Bake at 300 degrees Fahrenheit for 20 minutes. Rotate the pans – switching the top shelf to the bottom shelf and front to back. Reduce temperature to 275 degrees and bake another 20 minutes. The meringue should have a crisp shell. Turn off the oven and let it cool 15-20 minutes with the door slightly cracked.
- While the meringue is cooling break up the chocolate and place in a dry bowl. Melt by microwaving in 15-20 second increments stirring with a dry spoon each time. Stir in the shortening. Keep warm and fully liquefied so it is easily poured.
- Remove the meringues from the oven and let cool 10-15 minutes. Once they are cool enough to move transfer to a cookie pan with a cool rack on it.
- One by one, ladle or pour the chocolate over the fluff bombs as coating. Scrape up the chocolate, re-melt and continue until they are all covered. Sprinkle lightly with a few grains of Maldon salt. Finally, transfer to a sheet of parchment to cool and set.
- Enjoy immediately or save up to 5 days in an airtight container and room temperature. You can save any melted chocolate to use in future recipes.


