If you’ve spent any amount of time on our site, you should know by now that we love a good cast-iron pan. The reasons for this are many — their extreme versatility, their evenness of cooking temperature, and the beautifully golden crust they so generously give to almost anything cooking inside. The list goes on and on.
What if we were to tell you, though, that there is another object that can work the same magic? Not only can it do what a cast-iron pan does, but the show-off factor of cooking this way is pretty spectacular. Let us present the Himalayan salt block.
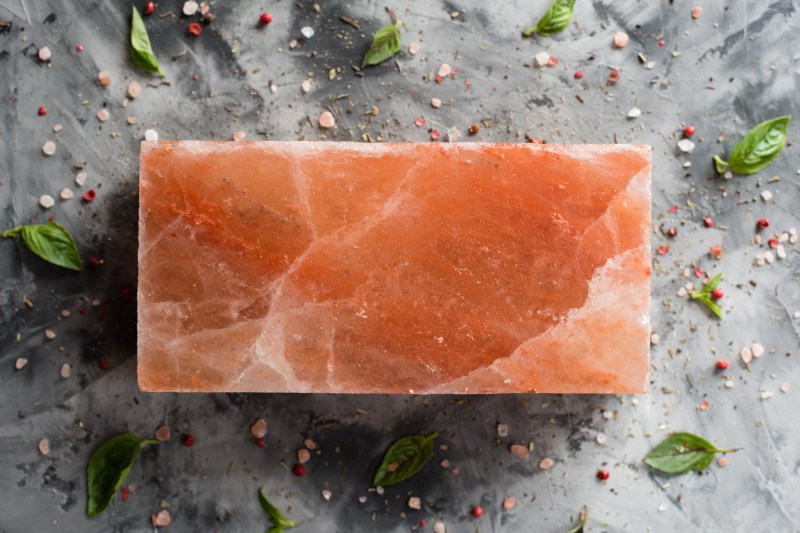
If you’ve never heard of a Himalayan salt block, you’ve probably at least seen one before. Made of pink salt that is harvested from a mine in Pakistan, Himalayan salt blocks have been around for millennia, though they’ve risen in popularity in the U.S. only in the last few decades, because, as we mentioned, you can cook pretty much whatever you can think up on one. Need to bake something? The salt block’s got you. Have the urge to grill? So does the salt block.
Learning to cook on a salt block isn’t all that hard, either. Taking just a bit of time to make sure you’re prepared will ensure you can whip up something delicious and not damage or destroy your salt block in the process. Below, you’ll find everything you need to know to get started.
Heating your Himalayan salt block
Cooking on a salt block is a unique experience, so you’ll want to exercise some caution at first, but once you’ve got a couple of meals under your belt, the method is fairly straightforward: slowly heat the slab of salt, then just drop whatever you’re cooking on top and watch it sizzle. Because of the block’s unique composition, it imparts your food with a subtle hint of mineral saltiness that’s absolutely fantastic.
It’s normal for your salt slab to form small cracks or change to a whiter color when you heat it, but if the temperature changes too quickly, it can shorten the life of your block or result in breakage. Before you start heating your Himalayan salt block, make sure it is completely dry — heating it up while wet can result in a nasty break and a much shorter lifespan for your salty companion. Follow these simple steps to ensure your salt slab hits the perfect temperature without any damage.
On the stove
Heating your block on a gas stovetop is one of the easiest ways to do it, so it’s a good place to start if you’re new to cooking on a salt slab:
- Place your salt block on the stovetop.
- Set the heat to low and let the block heat at that temperature for 15 minutes.
- Switch the heat to medium and let the block heat for another 15 minutes.
- Turn the heat to high and let the block heat for another 15 minutes.
- Check the temperature of the block — you want the final temperature to be around 500 degrees. If you have an infrared thermometer on hand, you can easily use that to keep track of the temp as the block heats up. Otherwise, just sprinkle a few drops of water on the block. Once it sizzles and immediately evaporates, you’re ready to start cooking.
Tip: You can still heat your salt slab properly if you have an electric stovetop, you’ll just need another tool. Place a metal ring (like a pastry or wok ring) over the burner and put the salt block on top of the ring. Then you can heat it slowly, just the same as you would on a gas range.
On the grill
Grilling on a salt slab will really fill out your cookout host profile, and it’s not too tricky. Just like on the stove, the key to safely heating your block is to do it slowly.
- Place your salt slab on the grate.
- If using a charcoal grill, stack the coals on one side and heat the block on the other side, to keep it from heating too quickly.
- If using a gas grill, start with the heat on low and steadily increase it, cooking in 15-minute increments just as you would on the stove.
In the oven
Hopefully, we’re not bursting any bubbles here, but it is not recommended that you heat a Himalayan salt block to temperature in an oven — not only is there a much higher risk of breaking the block, but there’s a decent chance your oven will suffer some damage too (picture cleaning a shattered wasteland of formerly formal salt-ware out of a now-defunct oven and don’t say we didn’t warn ya). Not to worry though, that old kitchen kiln can still get in on the action — just heat your block up to temperature on a grill or stovetop, put your soon-to-be-baked goods on top, and place it in a hot oven.
Tip: Salt blocks get very hot when cooking, so placing your block on a metal pan will make it easier and much safer.
Himalayan salt block cooking
Once heated, a Himalayan salt block can be cooked on for hours, so don’t waste it by only cooking a portion of your meal on it. The salt adds a little something different to each type of food you toss on top.
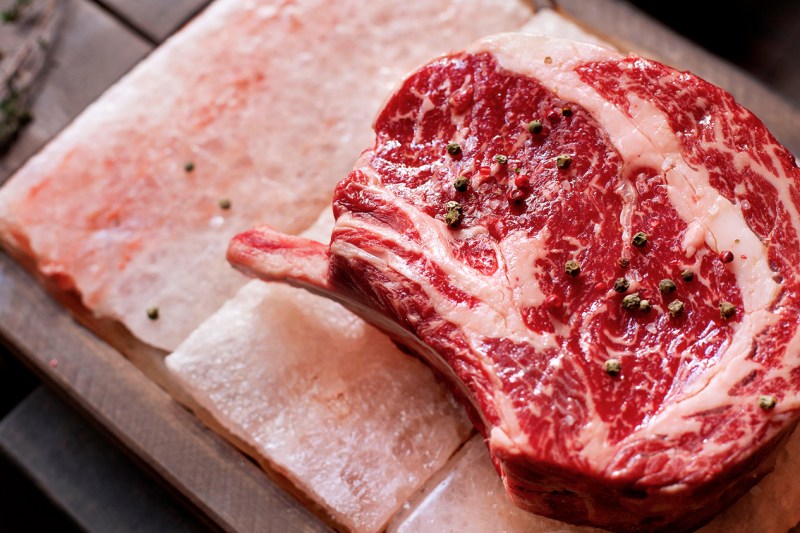
We’re not sure if it’s just our brains playing tricks on us, but the flank steak we seared on this thing definitely seemed juicier than normal. It could be the placebo effect, but the science of it actually makes sense on some level. In a way, cooking on salt is a lot like dousing your meat in brine. When sodium and chloride ions get into the meat tissue, their electrical charges mess with the proteins and alter them in such a way that they can hold moisture more effectively and lose less of it during the cooking process.
Didn’t think you’d get a science lesson, did you? We’re full of surprises here at The Manual.
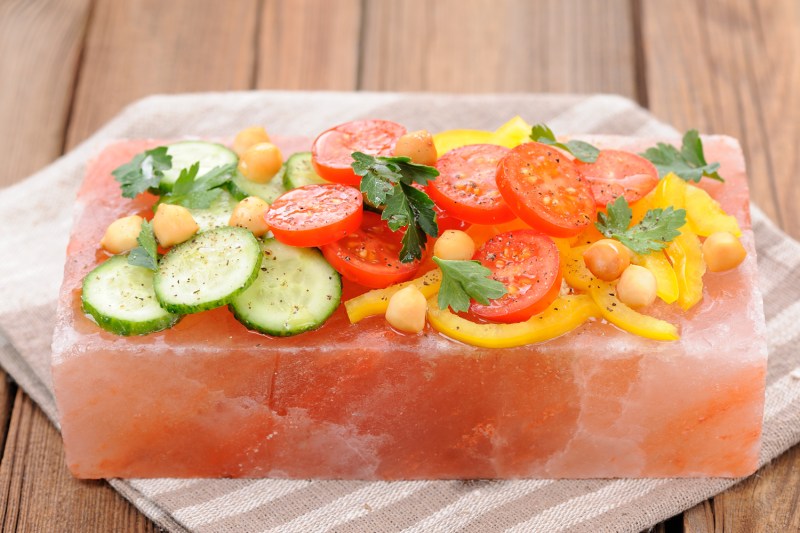
But it’s not just good for meat. Just about everything tastes better with a tiny hint of salt seared into it — eggs cooked on the block are next-level delicious, and the subtle salt flavor provides a perfect balance to sweet fruits like watermelon, strawberries, and peaches. As a general rule, smaller pieces of food cook best on Himalayan salt slabs, so it will speed up your kitchen time if you slice up fruits and veggies before cooking, and stick to thinner cuts of meat.
Taking care of your Himalayan salt block
Himalayan salt blocks can last through dozens of cooking sessions, but as with any decent tool, maintenance goes a long way in prolonging the life of your salt block. Always cooking on the same side of your salt plate will keep cracks from forming or worsening, and will also keep an ever-evolving tasty seasoning layer on the cooking surface. Don’t mistake a layer of seasoning for a free no-cleaning pass though — you should moisten your salt block with a damp sponge after every use and scrub stubborn areas with a soft brush or scouring pad.
Your goal is to clean the block with as little plain water as possible — never submerge the block in water, put it in the dishwasher, or use soap on the surface, as this can cause damage to the plate’s sensitive surface. Don’t worry, the lack of soap won’t turn your Himalayan salt block funky — the salt is naturally antimicrobial. Once you’ve cleaned your salt block, gently pat it dry with a clean cloth and let it dry for 24 hours before cooking on it again.
When cooking on your Himalayan salt block, steer clear of plastic utensils — the intense heat of the plate is more likely to damage plastic, and metal works better against the salty surface anyway. When your salt block is not in use, you can store it just about anywhere, so long as it is safe from moisture and humidity. If you live in a particularly humid area, wrapping the block in a towel and storing it in a cabinet or pantry can add some extra protection against unwanted moisture.
Tracking down a local store that sells these blocks is easier said than done, but you can snag yourself a slab online for a decent price if you poke around Amazon for a few minutes. With its quick learning curve, a dash of mineral deliciousness, and a plating appeal that can’t be beaten, we highly suggest you do.


