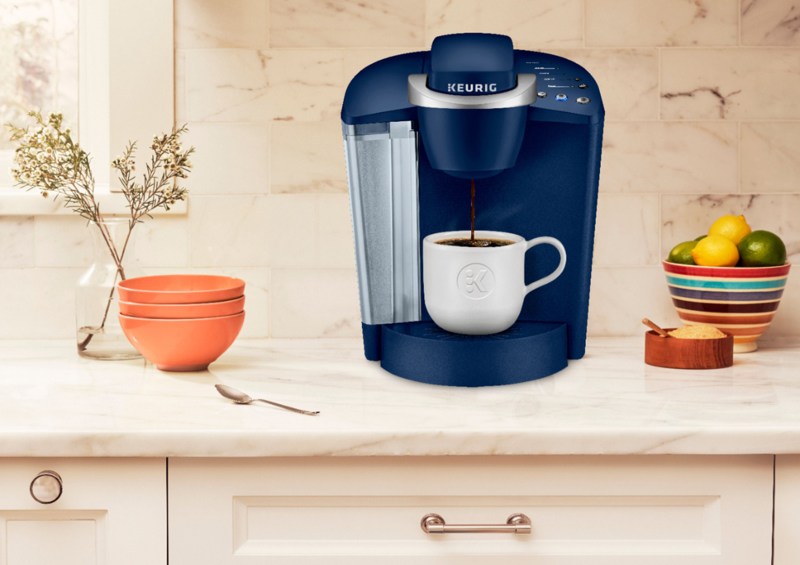
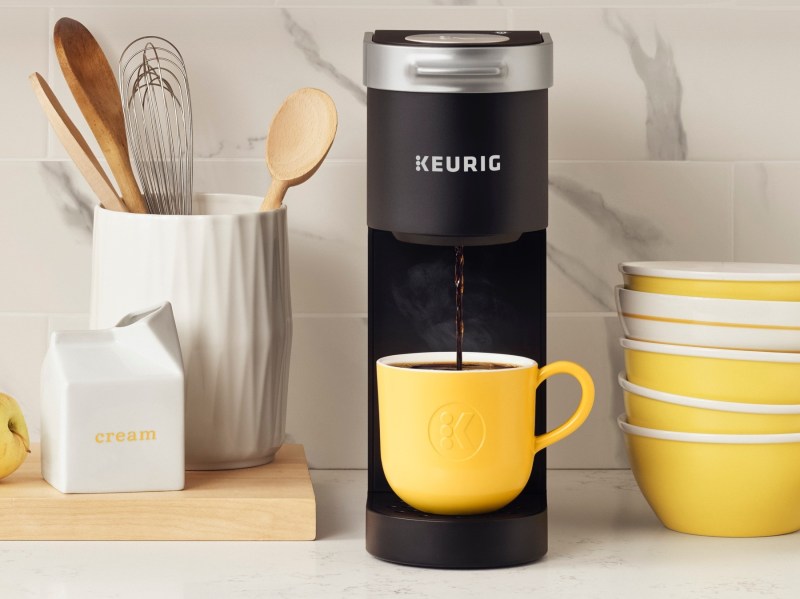
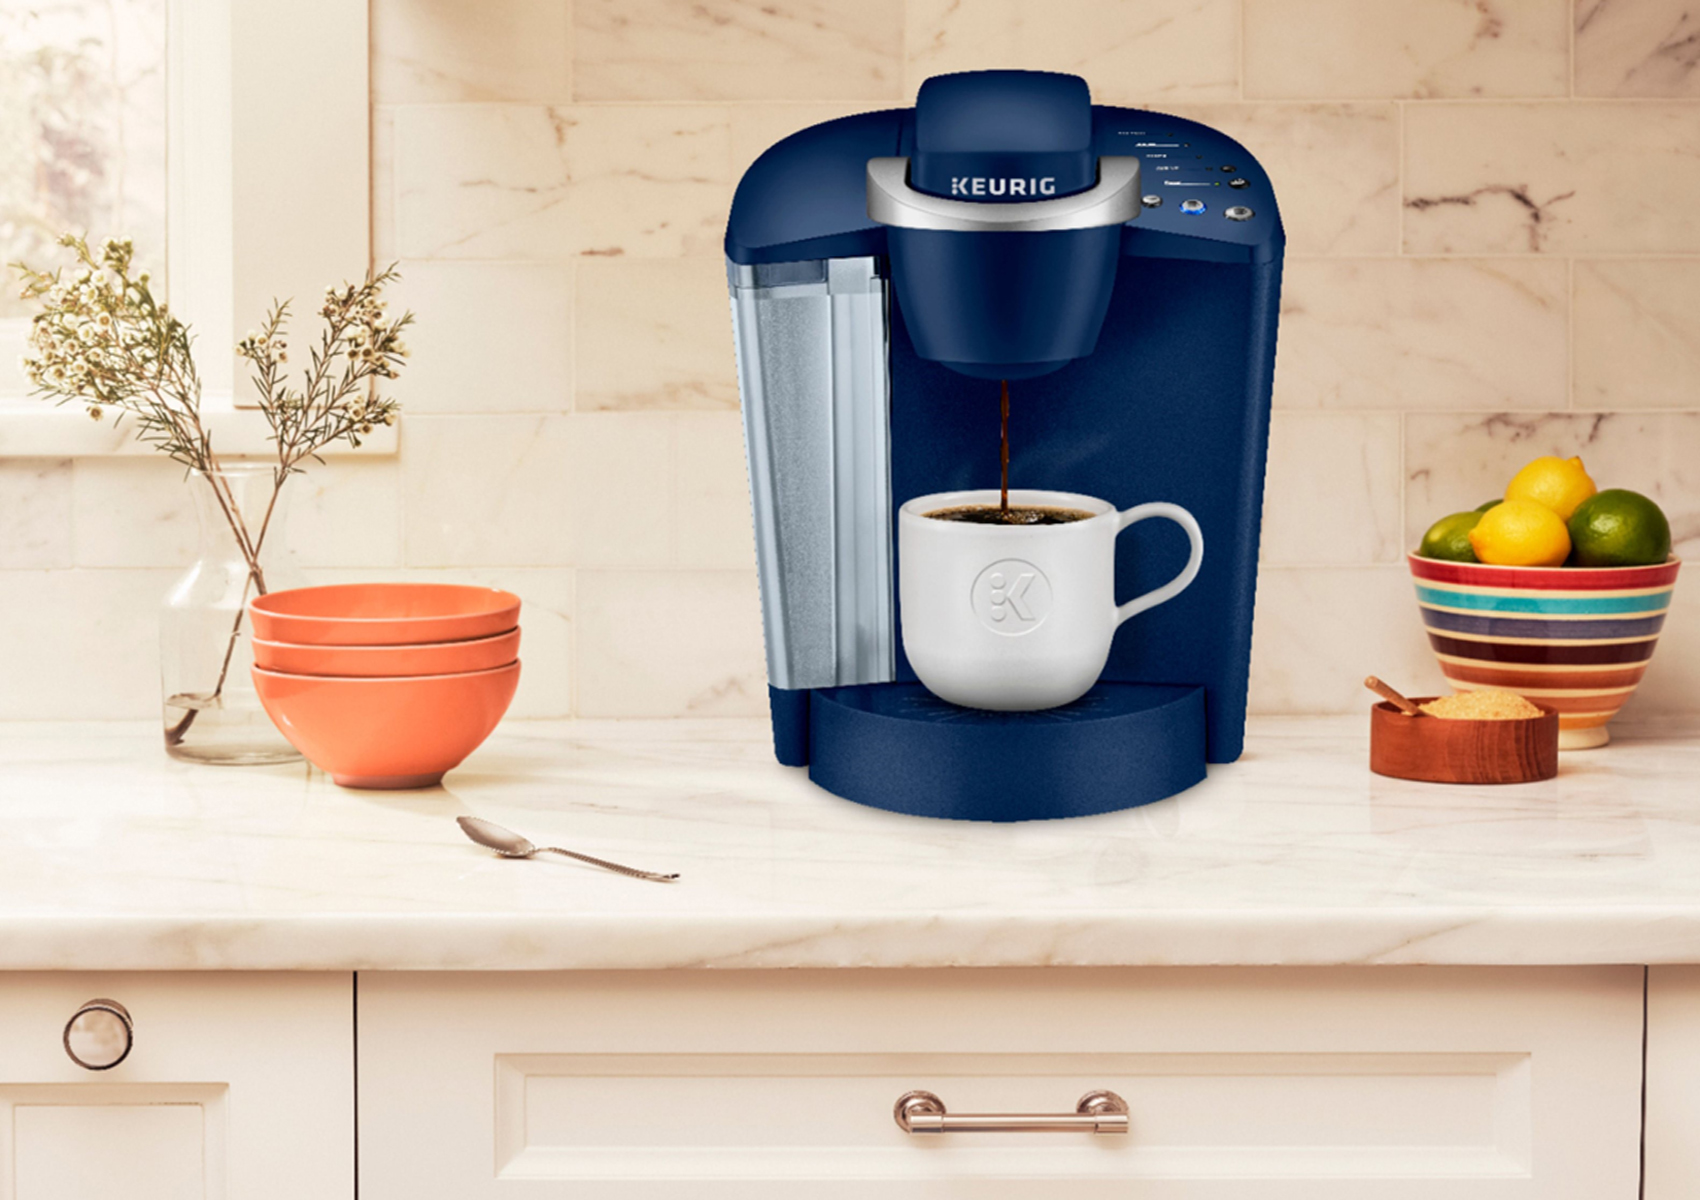
Ah, coffee. For many of us, a morning is not complete without a cup (or two) of finely brewed coffee. As you likely already know, the best coffee begins with the best beans roasted to delicious perfection. There are, of course, many, many options for brewing coffee, and each one has its pros and cons. In recent years many of us have turned to the Keurig for speedy coffee with easy cleanup. And rightly so.
With spring upon us, it's a good time to open the doors and windows and do some cleaning. While cleaning isn't everyone's favorite task (OK, cleaning is rarely anyone's favorite task), it is a necessary part of life. And while you're hopefully sweeping and wiping down the counters on a regular basis, spring can be a great time to clean those oft-forgotten spots (like the oven, microwave, and inside of your coffee maker). But, you may be wondering, does the Keurig even need to be cleaned? And how would one go about doing so?
There are a few different components to a Keurig, and they need to be cleaned out with different frequencies. Anything removable can be cleaned more frequently with soap and water. This includes the little tray that catches your coffee overflow, the water reservoir, and the basket inside the coffee maker if it's removable. Standing liquid at room temperature is a breeding ground for bacteria, and you should be regularly emptying and rinsing out this little tray.
Descaling your Keurig is a slightly more involved process, but it only needs to be done every few months. Or if you remember to do it a couple of times a year, you'll have better-tasting coffee and will extend the life of your Keurig. Read on to find out how.

Cleaning the Removable Parts
As mentioned above, cleaning your Keurig's removable parts regularly will help keep your coffee tasting great and prevent buildup.
Step 1: Remove any removable parts of your Keurig.
Step 2: Wash them with soap and warm water.
Step 3: Rinse off the soap, allow to dry, and replace.

Descaling with Vinegar
Over time, calcium deposits will build up in your Keurig. Removing them is called descaling. There are a number of different ways to do this, but one easy one is to use a mixture of vinegar and water. Most of us already have white distilled vinegar on hand, which makes this a convenient method.
Step 1: Fill the Keurig's reservoir up to the halfway point with white distilled vinegar.
Step 2: Add enough water to fill the reservoir to the top.
Step 3: Without inserting a K-Cup, run the brew cycle (into a mug or other container) until all of the vinegar and water mixture has been "brewed."
Step 4: Run one or two more cycles with just water to rinse out the vinegar flavor.

Cleaning Your Keurig with Descaling Solution
Keurig makes its own descaling solution specifically for cleaning out your machine. While vinegar will work, the Keurig solution is another good option. The descaling instructions come directly from the Keurig manufacturer and can be found on its website.
Step 1: Pour the whole bottle of descaling solution into the Keurig's reservoir.
Step 2: Fill the empty bottle with water and add that to the reservoir too.
Step 3: Place a large mug or other container on the drip tray and remove the Keurig pod if there is one left over from a previous brew.
Step 4: Run all of the solution through the Keurig by running brew cycles until the reservoir is empty.
Step 5: Let Keurig rest for 30 minutes.
Step 6: Rinse your reservoir and fill with plain water.
Step 7: Run the water through the Keurig to rinse out the solution by performing brew cycles until the reservoir is, again, empty.

Cleaning the Keurig Needle
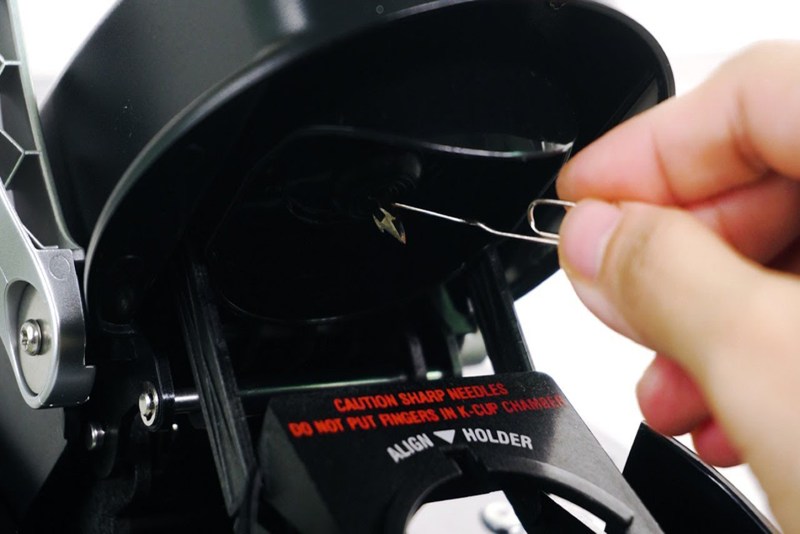
The little needle that pokes into each K-Cup can also get dirty. It's easy to clean with a paperclip. If your Keurig isn't brewing correctly, the needle might be clogged and you'll need to clean it out.
Step 1: Unplug your Keurig.
Step 2: Open the lid to reveal the needle — this is where you normally would place the K-Cup.
Step 3: Make sure you've unplugged your Keurig. Using a paper clip, clear away any coffee or tea debris left behind by previous brewing.
And that's really all there is to it. Of all the kitchen cleaning tasks, cleaning out the Keurig is one of the easiest. If it's been a while since you cleaned your Keurig, give it a shot! You might be surprised just how much better your coffee will taste the next morning.


