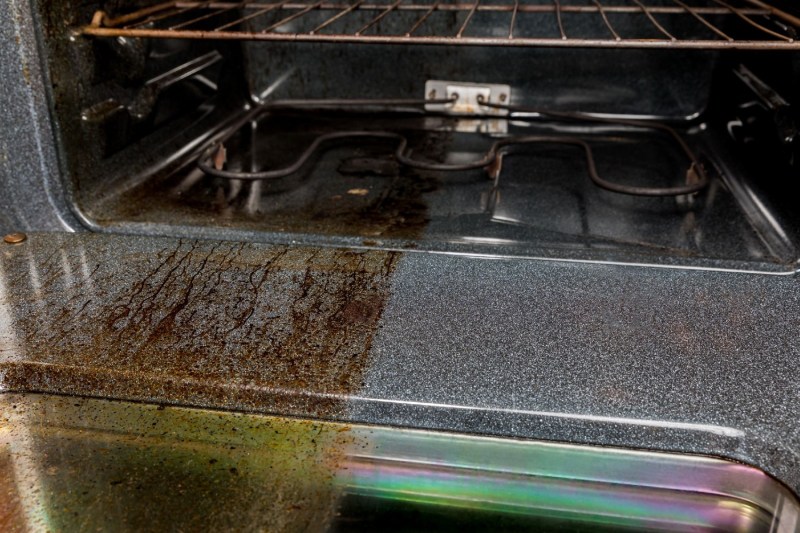
Baking, roasting, broiling, meat, vegetables, dessert — the oven is amazing for so many tasks and all types of food. It really is an essential kitchen appliance. Sure, for smaller spaces a toaster oven or microwave may have to do. But those of us who spend a lot of time in the kitchen know how wonderful the oven really is. And also how dirty it can get. Now that spring has sprung it's a good idea to clean some of those lesser-seen and lesser-cleaned places. This includes the oven, the microwave, the inside of the drawers in your refrigerator, and maybe even tackling the junk drawer once and for all. If that sounds like a lot of work, don't worry — this post is only focused on cleaning your oven. And thankfully, it's easier than you'd think.
We've written a whole post on cleaning your oven racks, which is a great thing to do while waiting for one of the methods below to do its work. For this post, we're going to look at cleaning the inside of the oven. If your stovetop is dirty, check out our article on cleaning your stovetop as well.
Cleaning the oven doesn't have to be a chore and doesn't necessarily require harsh chemicals. Read on to discover a few of our favorite methods for cleaning stuck-on food and debris from the inside of your oven. Note that these methods generally only require 10-20 minutes of active work, while the total time might be 12-24 hours while these solutions do their thing.

Self-Cleaning Method
If you have a newer oven, chances are it has a self-cleaning feature. Now, this doesn't mean little arms pop out inside your oven that will scrub it clean. The self-cleaning feature on a oven is essentially a high-heat cooking function (usually above 500 degrees). The super-high temps will turn the stuck-on bits inside your oven into ash so that you can (more) easily wipe them away. If your oven has this feature, it's a great first thing to try and can be the easiest oven cleaning option. One thing to note: This method can produce a decent amount of smoke. It's best to use this method when you can open all the windows and doors (hello, spring) and when there's plenty of time to let things air out a bit.
Step 1: Remove everything from your oven, including the racks. If your oven racks need cleaning as well, refer to the guide linked to above.
Step 2: Activate the self-cleaning function and let the oven do its thing.
Step 3: Once the oven has cooled, wipe out the debris and put the racks back in.

Baking Soda and Vinegar
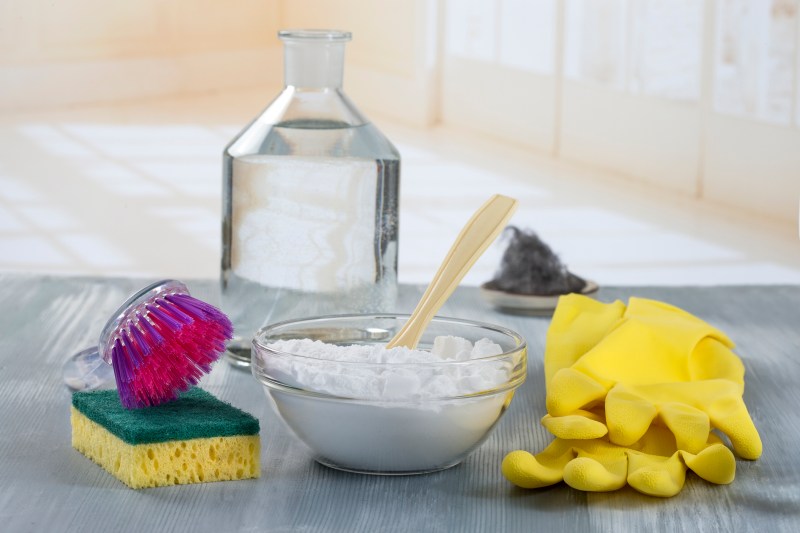
Baking soda is a wonderful ingredient to have in the kitchen, especially for cleaning. Keep an open box of baking soda in the fridge to absorb odors, and use it to clean just about everything. Thinking back to grade school, you probably remember the baking soda and vinegar volcanoes kids made for the science fair? This cleaning method relies on that same chemical interaction to help blast away tough stains.
Step 1: For this oven cleaning method, mix warm water and baking soda until you have a paste. You'll want enough paste to coat the inside of your oven.
Step 2: Making sure your oven is cool, remove the racks and anything else inside.
Step 3: Spread the baking soda paste over the surfaces of your oven. Be sure to coat the whole thing.
Step 4: Let the paste sit and work its magic for 24 hours.
Step 5: Mix vinegar and water in a 1:1 ratio. Fill a squirt bottle with the resulting solution if you have one.
Step 6: Apply this vinegar/water solution to the inside of the oven. The squirt bottle makes it easy, but you can also soak a dish towel and wipe the surfaces with it. The baking soda paste will react as you apply the vinegar. This is normal. Allow the baking soda and vinegar to sit (and react) for 12 hours, or overnight.
Step 7: Wipe down the inside of your oven to remove the baking soda and vinegar. Stuck-on food and tough stains should wipe off easily with a dish towel.

Lemon Juice
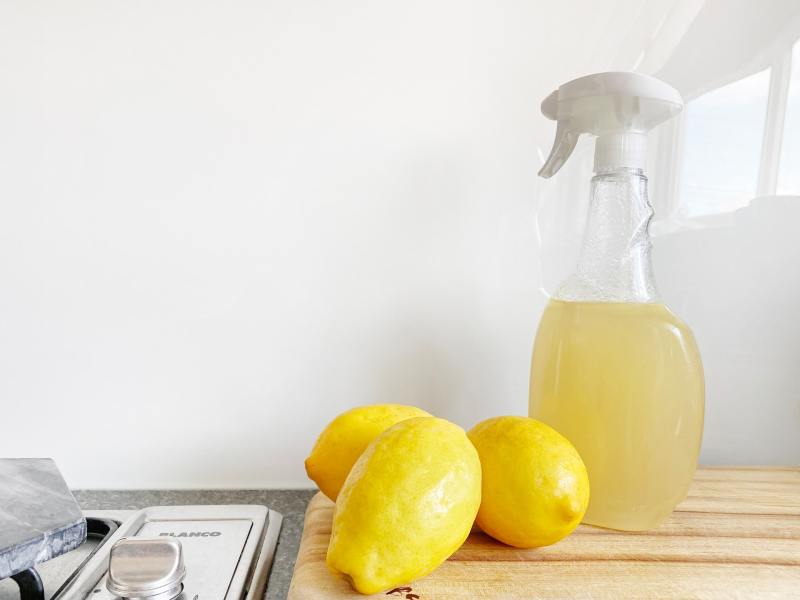
Another option is to clean your oven with lemon juice. Similar to the baking soda method, you'll want to first make a mixture of lemon juice and water. This is a great option because it doesn't involve chemicals and is quicker than the baking soda and vinegar method.
Step 1: Combine lemon juice and water in an oven-safe bowl.
Step 2: Heat your oven to 250 degrees.
Step 3: Place the bowl of lemon water in the oven for one hour. The heat should produce steam, which will loosen food debris for easier scrubbing.
Step 4: Open the oven door and allow it to cool.
Step 5: When the oven is cool enough to touch but still slightly warm, wipe down the interior with a cloth or sponge to remove stuck-on food.
The Chemical Method
While vinegar and lemon juice are gentler methods of cleaning, they don't always work on the toughest jobs. If your oven is really dirty you may need to resort to some store-bought cleaning chemicals.
Step 1: First, remove everything from your oven, including the racks.
Step 2: It's best to wear gloves and safety glasses when handling harsh chemicals. You may also want to put something down on the floor around the oven so that the chemicals don't get on your hardwood or other types of flooring.
Step 3: Once you and your house are properly protected against the chemicals, apply the cleaning solution to the inside of your oven.
Step 4: Let the cleaning solution sit for as long as directed on the bottle.
Step 5: While the chemicals are doing their thing, you can clean your oven racks.
Step 6: Wipe out the oven with a dish towel or paper towel. You may need to use a sponge or abrasive pad to remove really stuck-on debris. Insert the racks and you're good to go.
It's easy to put off this chore until your oven really needs it. To make cleaning easier, you might consider cleaning your oven more frequently. The longer food sits stuck to the inside of the oven — heating and cooling and heating again — the harder it can be to remove. To clean your oven less frequently, consider wiping it clean after using it (once it's cooled, of course) especially if you've made something with a lot of splatter.
The self-cleaning function works best when the oven is only slightly dirty, so running it every couple of months can help prevent a big buildup of mess. By being proactive you'll make this task a little easy for your future self.


