King of Barbecue and Grill Master extraordinaire Steven Raichlen has 31 barbecue-related cookbooks, five James Beard Awards, three IACP Awards, and seven TV shows, all in homage to his saucy skills. So when it comes to hay smoking — a sped-up cooking technique of grilling meat and cheese that rivals the taste of slow smoking — Raichlen is the guy to turn to.

What you need for hay smoking
- Charcoal grill or smoker, like a Weber kettle grill or one from Smoky Mountain
- Large foil drip pan or chestnut roasting skillet with holes in the bottom
- Spatula (for cheese)
Foods to hay smoke:
- Shellfish (like mussels)
- Cheese (like mozzarella)
- Steaks (like New York strip)
Hell, be adventurous and try grilling one of these scrumptious meats that aren’t beef.

What type of hay to smoke
Most likely, you’ll smoke with hay or straw — the former is a dried grass, the latter the hollow stalks of grains such as wheat, alfalfa, or barley. Look for hay and straw at garden shops and pet shops. Hay smoking in the great outdoors? You can use dried pine needles from a pristine forest … just don’t use the shed needles at the dog park.

What actually is hay smoking meat?
If you couldn’t make it to Colorado Springs for Raichlen’s Barbecue University a few years ago, you should still add hay smoking to your barbecue toolbox. Raichlen told The Manual he first saw hay smoking in Central Italy. “It was used to smoke mozzarella cheese … what intrigued me was that it was so fast. Usually, when you smoke with wood, you’re talking several hours [cooking],” Raichlen said.
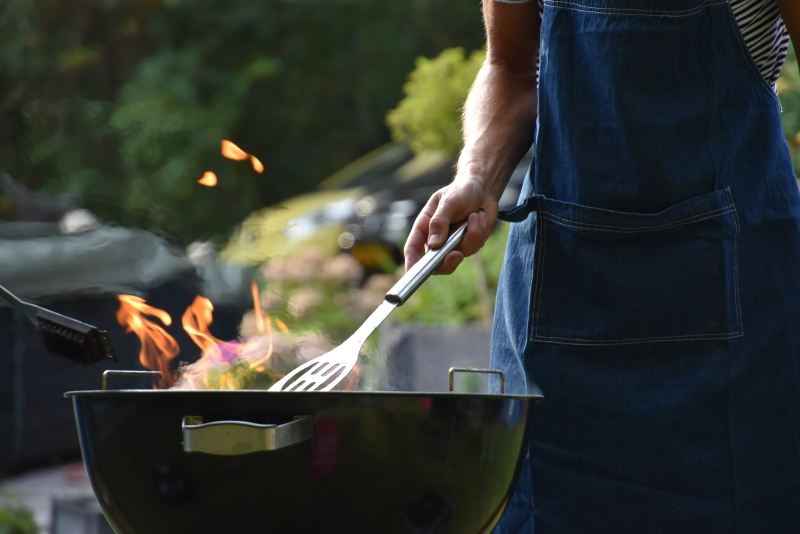
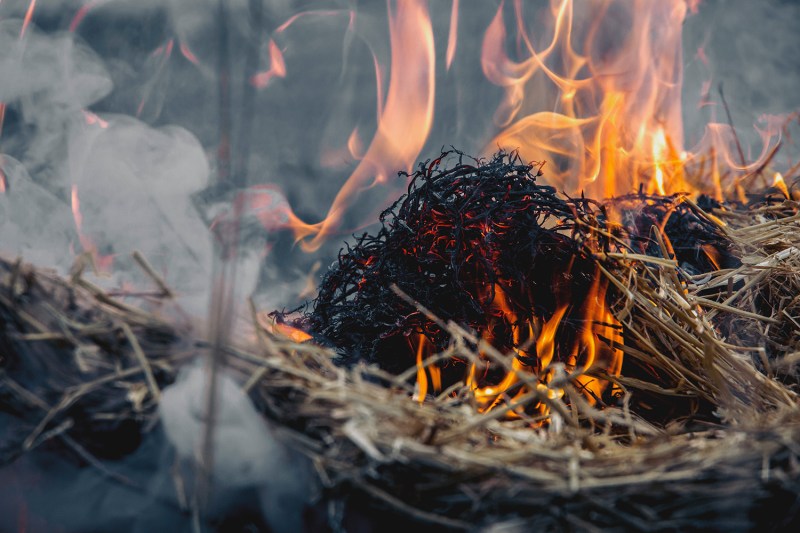
How to hay smoke meat is pretty simple. Take a handful of dry hay, put it in the bottom of a smoker, put cheese or meat on top, and light your charcoal or gas grill. If it looks like an explosion, you did it right (unless it actually explodes, then you have bigger problems than not hay smoking correctly).
“Hay combusts so much quicker than wood,” Raichlen added. “In a burst of fire and smoke, it both cooks and smokes the meat/cheese.” In the case of steak, wrap the full flank in hay and light that shit on fire. “In a big flame, you burn the hay off. Then brush off the ashes and serve. This works on a thick cut as well as a thin.”
The taste is more herbal and not as heavy of a smoky aroma as you’d get with wood chips or chunks, but it’s 100% there.
Hay smoking is perfect for people in a hurry who can’t commit to true smoking. Plus, who doesn’t like setting explosive fires and calling it vogue grilling?
Be a fire starter and try Raichlen’s recipe from his book Project Fire. (And try gathering your own mussels with this guide.)

Safety tips for hay smoking
The process of hay smoking creates a lot of smoke, so never attempt to do this inside. It’s also important to use hay that hasn’t been treated with any chemicals, as it could be unsafe to burn. And as with any cooking process that involves fire, be sure to have a hose or fire extinguisher nearby in case things get out of hand.

Hay-grilled mussels with charcoal butter recipe
Prep time: 10 minutes
Grilling time: 3 to 6 minutes
Grill and gear: Can grill over charcoal, wood, or gas. It helps to use charcoal, so you have an ember for the butter. You also need a grill wok or mesh grill basket, about 12 inches across; needle-nose pliers; and safety matches or a butane match.
Tip: Buy mussels from a fish store with a high turnover rather than at the supermarket. (Chances are they’ll be fresher.) There’s a simple test for freshness: The shells should be tightly closed (or should close promptly when tapped). Avoid any mussels that smell fishy or ammonic.
Ingredients:
- 1.5 pounds of mussels
- 3 large handfuls of hay or straw
- Charcoal butter
Method:
- Pick through the mussels, discarding any with cracked shells or gapped shells that fail to close when the bivalve is tapped.
- Right before grilling, pull out and discard the tuft of threads (called the beard) at the hinge of each mussel, using needle-nose pliers. Alternatively, pinch the threads between your thumb and the back of a paring knife.
- Twist the knife away from the mussel to pull them out.
- Set up your grill for direct grilling and heat to high. Brush or scrape the grill grate clean; there’s no need to oil it.
- Fill the bottom 2 inches of the grill wok or basket with hay. Arrange the mussels on top in one or two layers.
- Place the grill wok with the mussels on the hottest part of the grate. After a minute or two, the hay should start smoking, then burst into flames. You may need to touch a match to it to help it along.
- Continue grilling until the mussel shells open, 3 to 6 minutes, or as needed.
- Transfer the grill wok with the mussels to a heatproof tray and serve the mussels right out of the wok with the Charcoal Butter on the side.
- Eat with your fingers (use an empty mussel shell as tweezers to remove the mussels from their shells), dipping each mussel in melted butter before popping it into your mouth.
Charcoal butter
Ingredients:
- 6 tablespoons of unsalted butter
- 1 lit piece of natural charcoal or charcoal briquette (do not use instant-light charcoal)
Method:
- Melt the butter in a small saucepan over medium heat.
- Add the glowing charcoal.
- The butter will hiss and sputter.
- Let the flavors infuse for a minute or so, then return the briquette to your grill.
Excerpted from Project Fire by Steven Raichlen (Workman Publishing). Copyright © 2018. Project Fire photographs by Matthew Benson.


