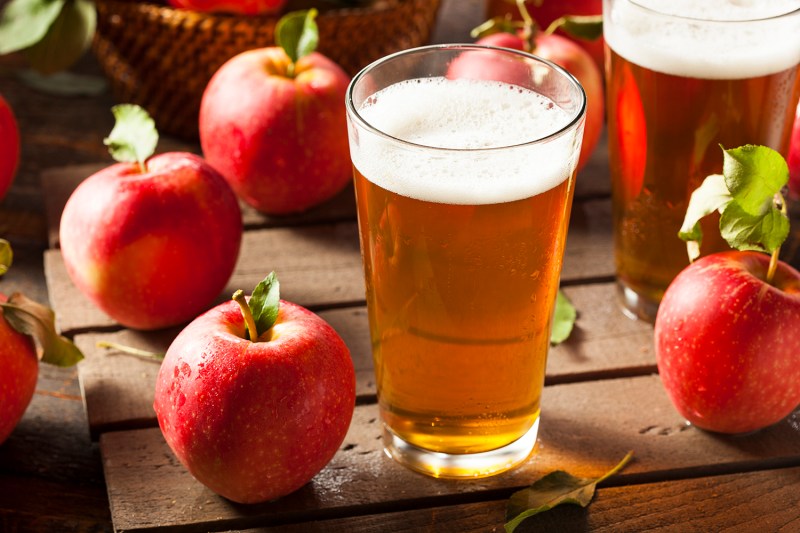
As much as we like to talk about beer and how to brew it yourself, hard cider is equally delicious and a whole lot less complicated to make at home, requiring far less equipment. Indeed, making hard cider is a really a simple equation: Apple Juice + yeast + time = hard cider. Naturally, there’s a bit more to it than this, and a few potential pitfalls you’ll want to know about before you get started. Read on as we explain the ins and outs of how to make hard cider.
Hard cider is easy to DIY
From a broad perspective, learning how to make hard cider and then actually making it is quite straightforward. Yes, there might be tons of canned ciders for convenience, but nothing beats the taste of your own craft. You get yourself some fresh apple juice (either by mashing the apples yourself or buying pre-squeezed juice), add some yeast (Champagne yeast is a great choice), and then wait a few weeks for everything to ferment. Who knows? Maybe you’d be able to make your own cider cocktail next time. While there are some additional steps to making a great hard cider (which we’ll get into below), this is the basic idea behind hard cider.
What you’ll need to make hard cider

- 2 1-gallon glass carboys (aka demijohns) with lids
- Airlock
- Bung (aka “stopper with a hole in it,” which is often included with the airlock)
- 1.5-pint glass jar with lid
- Funnel
- Measuring glass
- Siphon hose
- Star San
- Mortar and pestle (optional)
While you might get lucky and be able to score the equipment above on sites like Craigslist, you can look for it at a local homebrew shop or on websites such as Northern Brewer. Another great option is Amazon — you can find carboy kits with the airlock and bung for about $15 and get deals on large-volume carboys.
No matter where your gear comes from, make sure it’s completely sterile. That’s what the Star San is for. Now it’s time for a great hard cider recipe.
Ingredients
- 1 gallon of fresh-pressed apple juice
- 1 packet of Champagne yeast
- 1 Campden tablet
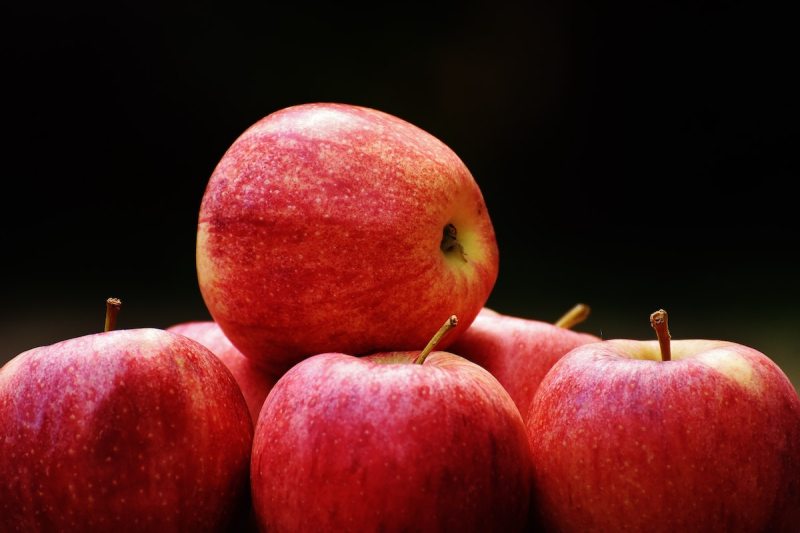
You can definitely use store-bought apple juice, just make sure that it’s as fresh and pure as possible. However, the most badass way to get apple juice for homemade hard cider is to mash and juice the apples yourself, but that can be a bit of a labor-intensive activity, so we understand if you’re not up for it. If you are, however, there are all kinds of DIY tutorials for making your own cider press online.
If you go with pre-squeezed apple juice from a store or a farmer’s market, make sure to read the label. Store-bought stuff often contains preservatives (especially if the juice came from outside your state), which can inhibit or prevent fermentation. Avoid anything with preservative chemicals like potassium sulfate or sodium benzoate. These prevent bacteria (yeast included) from growing in the juice — which unfortunately means it won’t ferment. That said, don’t shy away from stuff that’s “UV-treated” or “heat-pasteurized” — those processes don’t hinder fermentation at all.
Brewing hard cider
Step 1
Before starting, don’t forget to sterilize everything with Star San. This will prevent any wild, unwanted bacteria from ruining your brew.
Step 2
Funnel your juice into the glass carboy, and, with your mortar and pestle (or with the back of a spoon), crush the Camden tablet. Add the crushed tablet into the juice; this will help kill any bacteria or natural yeasts that might be present in the juice and allow for the selected Champagne yeast to thrive once it is introduced. Put the cap on and give a gentle shake. Set aside for 48 hours. After 48 hours, pour 1 cup of the liquid from the carboy into a clean glass jar and freeze for use later in the recipe.
Step 3
In a measuring glass, rehydrate the Champagne yeast according to the instructions on the packet and add to the juice-filled carboy. Fit the bung and airlock into the carboy. Open and carefully add a bit of water to the airlock (look for a fill line somewhere in the middle). This will let CO2 out without letting oxygen in. Check up on it periodically and make sure that the water level remains constant for the duration of the fermentation process.
Step 4
Place your carboy in a tray, or at the very least, on top of a towel, just in case overflow occurs during the start of fermentation, which should begin in 24 to 48 hours. Once fermentation begins, you can safely place your container in a dark cool spot to do its work. Ideally, fermentation should occur at around 55 to 60 degrees Fahrenheit (a deep basement or an unheated garage in spring or fall should work). Check up on it daily and take notes if you want to for future cider projects.
Step 5
At three weeks, take that reserved frozen juice out of the freezer and funnel it into the fermenting cider. The sugars in this reserved juice will then start to ferment, so be sure to recap with airlock and bung.
Step 6
Fermentation can take anywhere from four to 12 weeks to complete — you’ll know fermentation is finished when you no longer see tiny bubbles rising to the top. When all foaming and bubbles have subsided, siphon the cider into a clean glass carboy, taking care to not transfer over any of the dregs at the bottom of the fermentation jug by keeping the hose just above the sediment.
Either cap and refrigerate in a gallon jug or funnel into swing-top bottles leaving 1.5-inch headspace at the top (you’ll need about seven 500-ml bottles per gallon of cider). Keep refrigerated and drink within one month to ensure fermentation doesn’t restart as it could cause pressure to build and the glass to shatter. If you want to store the cider for longer, check with your local homebrew shop about stabilization options.
A hard cider cocktail to try

Now that you’ve done all the hard work of brewing your own hard apple cider, it’s time to drink up. While you will probably drink most of the hard cider straight, so you can enjoy the product of your hard work, you can also have fun and use some of your cider to make some great hard cider cocktails, like this amazingly simple one from the Crimson Cider Company.
Bourbon cider
Ingredients:
- 4 ounces hard apple cider
- 2 ounces bourbon
- 2 tablespoons cinnamon
- 1 tablespoon sugar
- Orange slice
- Sprig of rosemary
Method:
- Combine the cinnamon and sugar on a plate and set it aside to be used for rimming the glass.
- Run the orange wedge around the rim of a lowball cocktail glass.
- Put the rim of the glass into the cinnamon sugar mixture, and then once the glass is rimmed, fill it with ice.
- Combine the cider and bourbon in a shaker filled with ice. Stir and then strain the mixture into the glass.
- Garnish with the orange slice and rosemary sprig.
Frequently Asked Questions
What is needed to make hard cider?
The primary ingredients for making hard cider are apple juice (squeezed or bottled), yeast (we recommend champagne yeast), a sealed jug to store it, and time.Fermentation can take anywhere from four to 12 weeks to complete — you’ll know fermentation is finished when you no longer see tiny bubbles rising to the top. While there are some additional steps to making a great hard cider, this is the basic idea behind how to do it.
How to make hard cider the old fashioned way?
To make hard cider the old fashioned way, you’ll want to make apple juice from real apples yourself, instead of resorting to buying a bottle of it at the store. For measurement’s sake, it’s important to know that around 20 pounds of apples make 1 gallon of juice. After you press the juice, it’s time to mix in yeast to ferment it (we recommend champagne yeast). After you’ve mixed it up and stored it, it’ll take around 4 to 12 weeks for the fermentation process to run its course.
Is hard cider easier to make than beer?
Hard cider is decidedly easier to make yourself at home than beer. Aside from requiring far less equipment than home beer brewing, making hard cider is really just a matter of combing apple juice and yeast, and waiting for it to ferment, which typically take from four to 12 weeks.
What kind of apple juice should you use to make hard cider?
The kind of apple juice you use to make hard cider is important. If you decide to buy apple juice off the shelf as opposed to pressing apples at home yourself, just make sure the juice you choose is free of preservatives that could hinder the fermentation process. That includes preservative chemicals like potassium sulfate or sodium benzoate. Look for apple juice that’s either “UV-treated” or “heat-pasteurized,” as these processes play nice with fermentation.