A Beginner’s Guide to Ice Cream Making at Home

Ice cream in a waffle cone with vanilla.
Image used with permission by copyright holder

Of the many intimidating desserts out there, ice cream may be the most popular one that you’ve never attempted to make. Well, we’d like to change that, with a little help from an industry expert.

Related Reading

As Julian Plyter, Head of Product at Marco Sweets & Spices says, you need the right equipment. “There’s a big bummer right upfront when it comes to making ice cream at home: In order to do it well, you need an ice cream machine,” he says.

Recommended Videos

Once you’re set up with that main tool of the trade, there are still decisions that need to be made and styles to adhere to. Decide on the type of base you’ll make,” Plyter suggests. “I break ice cream down into two basic categories: Philadelphia-style and custard-style. Philadelphia-style is what I prefer for my fruit ice creams. For flavors in the vanilla-caramel-choco-nut-sphere, I really like custard-style.”

A scoop of vanilla ice cream.
Olga Miltsova / Shutterstock

Remember that your base, whatever it may be, needs to be cold. Chilling it down really just means throwing it in the freezer overnight. But Plyter likes to refer to this step as aging, as there’s some cool science involved. “The proteins in the egg — and the milk, even — bind more of the water, and less free-floating water in your base means smoother, less icy ice cream later on. It’s a win-win.”

When it comes to egg-less ice cream, Plyter cooks the milk and sugar together. “You’re applying heat only to dissolve the sugar and steep in any flavors that need it, like split vanilla beans,” he says. After heating, he adds the cold cream, making for a quicker overall cooling process. 

What about adding fruit? It’s all about maceration. “Toss your berries, sliced however you like them, with sugar to coat them, squeeze on a little lemon juice, and let them sit at room temp for a few hours, turning them over with a spoon every once in a while,” he says. “When done, strain the liquid away, and you’ll have softer, sweeter, less water-full pieces of fruit that will incorporate beautifully into your ice cream.”

He almost always adds the fruit when the ice cream is done. “Just fold it into your finished ice cream, and then harden in the freezer,” he says. And he tends to make larger than necessary batches of fruit in order to have some extra to top with.

Custard Ice Cream
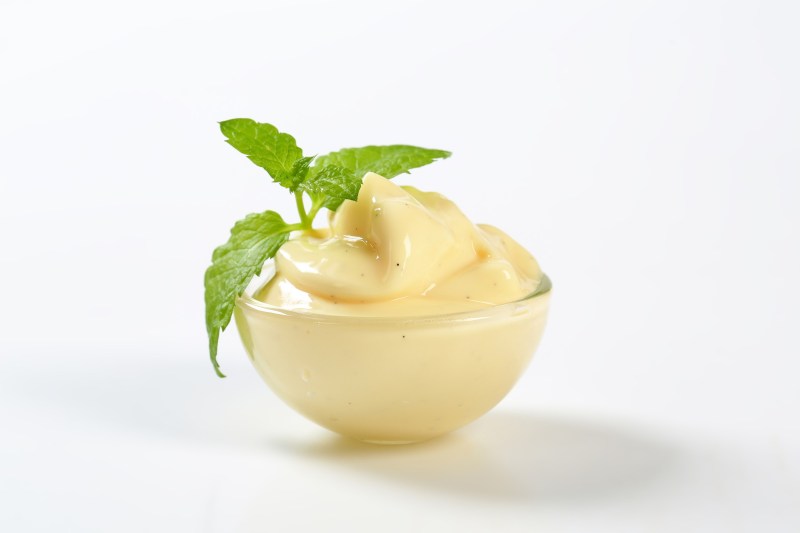
Custard ice cream garnished with mint leaves.
Image used with permission by copyright holder

When it comes to custard, there’s often a fear factor. Plyter says people are often afraid they’ll scramble their eggs by adding the liquid that’s too hot. His advice: Relax. Also, follow his steps, below.

  1. I start my custard ice creams the same way as the Phillies, by heating the milk and sugar together. (I know, I know, your recipe says to whisk your yolks and sugar until pale and thickened, but there’s simply no need for this.
  2. In a bowl, meanwhile, whisk up your yolks. 
  3. When the milk is just at the boil, kill the heat. Add about a quarter of the dairy to your yolks, calmly set the pan back down (not too far away, hopefully), and whisk those things together. Repeat. 
  4. Then, add the rest of the dairy as you whisk (at this point, with half that boiling-hot milk already in there, you don’t need to do this particularly slowly), and then pour it all back into the pot. 
  5. Put this over low (repeat after me: “LOW”) heat, and stir constantly but slowly with a wooden spoon. When you can lift the spoon out and draw a clean trail on the back with your finger, your custard is done. Turn off the heat immediately, and add your cold cream. This will stop the cooking, and accelerate cooling!

When you’re at the end, don’t forget to strain. It’ll get rid of any leftover egg proteins swimming around and anything else you may have left in the mix (a stray vanilla bean, perhaps).

General Tips
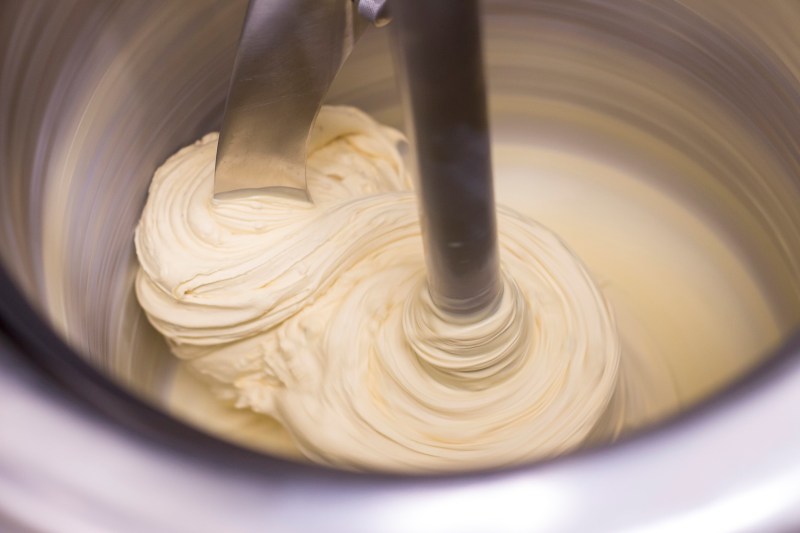
Ice cream making using a machine.
Image used with permission by copyright holder

Plyter admits that making ice cream tends to involve a little more practice and patience than a lot of dishes. But you’ll get better each and every time. Even cooler, you’ll end up with a rewarding, personalized dessert.

  1. Don’t walk too far away from the dairy that’s on the stove, because boiled-over sweetened milk will not help you have a better day. (This is one of those great lessons that needs learning only once.)
  2. For less icy fruit ice cream, draw some of the water out of the fruit by macerating it with sugar beforehand. (Extra tip: After you strain it, you’ll have a flavorful, natural fruit syrup you can use in cocktails or as an ice cream topping!)
  3. To infuse subtler flavors like vanilla beans, leave them in the hot milk, covered, for 30 minutes or so after heating; This is called “steeping.” Reheat the milk before proceeding.
  4. Salt. I don’t use it in fruit ice creams (except banana and a couple of other tropicals), but for anything custard-based, I find a pinch of salt really makes the flavors vibrate. Start with a small pinch, adding it once your base is cooled (before aging), and taste as you go. (Also, during aging, salt will bind more water!)
  5. If you want to add alcohol to your ice cream, that’s great! Add this after your custard is cooled, and taste as you go. Be aware that alcohol is a freezing inhibitor, so if you use too much, your ice cream will have trouble setting up!
  6. If you’re adding anything very acidic, lime juice, say, you’re better off stirring this in when you’d add fresh fruit, at the end of churning.
  7. Strain your custard bases!
  8. When you want an inclusion — chocolate chips, toffee pieces, blackberries, bits of squid, whatever — fold them in at the end of churning. Your machine will not last long if you try to freeze a base that already has chips in it.
  9. You will always need to harden your ice cream after churning, for at least a few hours.
Mark Stock
Mark Stock is a writer from Portland, Oregon. He fell into wine during the Recession and has been fixated on the stuff since…
A chef’s guide to making the perfect Korean fried chicken
Chef Sol Han of NYC's innovative Little Mad shares his best fried chicken tips and tricks

Delivered fresh in takeout boxes or served alongside frosty beer at bustling restaurants, fried chicken is a national obsession in Korea. Historically, chicken consumption was rare in South Korea, and it wasn't until the 1980s that Korean fried chicken became popular. While Korean fried chicken has similarities to Southern fried chicken, the Korean version is way more diverse in both flavor and variety.

Interested in cooking Korean fried chicken in the comfort of your own home? Here to lend The Manual some expert tips and techniques is Chef Sol Han of Little Mad, an innovative and modern Korean restaurant in New York City. While making fried chicken at home might seem intimidating, the finished product is well worth the adventure. You can reward yourself with the cold beer to pair it with.
Tips to make your Korean fried chicken even better
Chef Sol Han of Little Mad in New York City. Moonhee-Kim
Seasoning the chicken
Chef Han likes to brine his chicken overnight in a 3 percent salt-to-water ratio. One unique twist he likes is to marinate his chicken in dashi stock or white soy, a type of soy sauce with a lighter and sweeter flavor than dark soy sauce. However, if brined, the chicken must dry out on a rack before being dredged in flour.
Frying the chicken
In Korean fried chicken, flour is often replaced with potato starch or corn starch. The use of starches, especially potato, gives the finished crust a less greasy, and pleasing white color. A pinch of baking powder added to the starch will also help increase crispiness. But do not substitute baking soda. The chicken will have an unpleasant alkaline aftertaste. Chef Han likes to dredge his chicken in seasoned flour consisting of salt, black pepper, cayenne, onion powder, garlic powder, and smoked paprika.

Read more
The Transformer Table could be the Ultimate Home Dining Set
The Transformer Table in a dining room.

This content was produced in partnership with Transformer Table.
Your home is more than just a place you come back to after work, and your dining area is more than just a place where you sit down to eat. "The home is a sanctuary" may be an oft-repeated cliché, but that's only because it's true, and your sanctuary -- including, if not especially, your dining room -- is only as nice as the furniture you put in it. If you're looking for a dining set that is as practical as it is elegant, then the Transformer Table might be the perfect addition. The Montreal-based manufacturing company aims to provide furniture that has a combination of high-quality and exclusive innovations, with space-conscious functionality. You can learn more about their offerings below, or just check them out for yourself, and act soon so you don't miss out on the current deal!


Read more
Blue Apron vs. Home Chef — Which is Best in 2022?
Close up of attractive food on a white plate surrounded by cooking implements.

Plenty of meal kit delivery services are available online. If you love to cook, but you don't really know where to begin and you could do with some inspiration, Blue Apron and Home Chef are likely to look very appealing. Both are popular names in the meal kit delivery world, you might not be sure how to differentiate the two and weigh up which one is best. That's why we've taken a deep dive into what to expect from both meal kit services. Read on while we take you through everything you need to know from how easy they are to use, how interesting and creative their recipes are, and how much you should expect to pay for each service. By the end, you should have an idea of which meal kit delivery service is best for you and your family.
Ease of Use
Potentially, ease of use is the main reason why you're even considering a meal kit delivery service. After all, you're looking for the best in convenience so you can eat well with the least amount of trouble for yourself. Both Blue Apron and Home Chef are very good at focusing on convenience and saving you the effort to plan ahead for yourself or head to the store to buy a plethora of meal ingredients. Meal kit delivery services like these are typically designed to be something that involves less effort than entirely cooking from scratch while also being better for you (and tastier) than buying takeout food all the time. That's why both services are so easy to sign up for. It takes mere seconds to sign up on each site. Both services deliver to the continental U.S. states excluding Hawaii and Alaska and they both let you choose a delivery day based on your zip code. If you have a busy lifestyle, you'll be able to fit these services in fairly easily.

Signing up for Blue Apron starts out with you entering your email address and a password. From there, you can pick out what kind of plan you would benefit most from. Blue Apron offers the choice of picking out meals for either two or four people. Once you've figured that out, you can choose between two, three, or four recipes per week, so there's some flexibility in what you want to do for food the rest of the week. There are three preferences to choose from. These include Signature, Wellness, and Vegetarian, and we'll go into a much deeper look into those later. To sum it up quickly, Signature is the all-rounder package, which is great for omnivores with no dietary preferences. Alternatively, Wellness focuses on carb-conscious and WW-recommended meals for people looking to eat better, while Vegetarian -- you guessed it -- offers up meat-free dishes. It's possible to change plans later on but starting out, you simply move on to entering your payment details and delivery information. Then, you can start adding meals. Blue Apron lays everything out clearly so you know exactly what to expect when it comes to payments each week, as well as know what food you'll be receiving for the week too.

Read more