It took Americans a while to come around to kimchi. It’s like that with unfamiliar dishes sometimes. Even sushi didn’t really get too popular here until the ’80s, and now it’s in every family’s standard weekly rotation. Can you even remember a time when there wasn’t an enormous variety of all of the world’s most delicious cuisines at our fingertips? I’m a little embarrassed to admit that I’m old enough to remember the first Indian restaurant coming to town and the excitement buzzing around something so excitingly new and delicious. Now, thankfully, these global foods are no longer just exotic treats we get to enjoy when we dine out but instead are staples in our own homes, made without giving a second thought to their newness in our lives.
While kimchi has been around for about 4,000 years in Korea, we in the good ol’ US of A have only been enjoying and giving this incredible food the appreciation it deserves for the last decade or so. Thankfully, though, as if to make up for lost time, we’ve fallen hard. Kimchi is hugely popular right now, and for good reason. But have you ever thought to make your own? It’s surprisingly easy and definitely something that you’ll want to have around, so listen up.

What is kimchi?
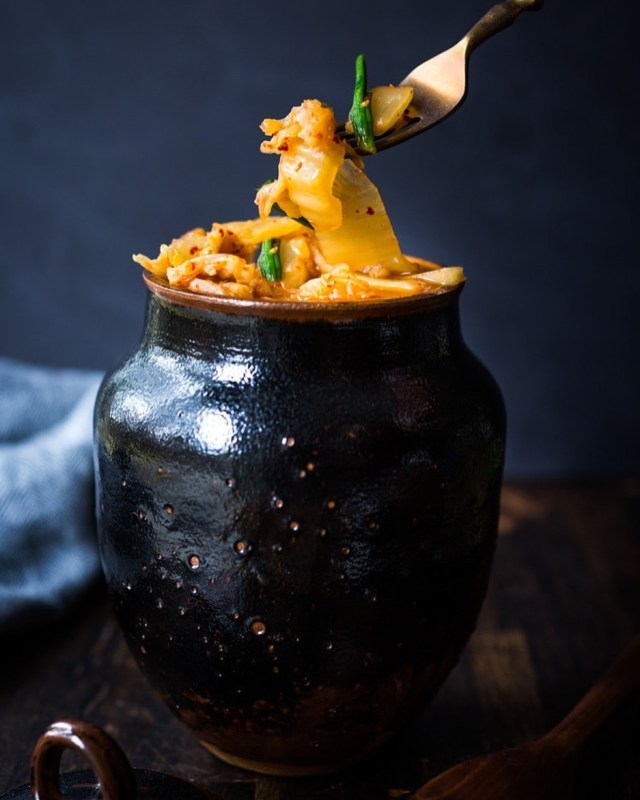
If you’re unfamiliar with kimchi, think of it as a sort of Korean-style sauerkraut, but better and more versatile. Like sauerkraut, kimchi’s main ingredient is fermented cabbage, but with the addition of other vegetables and spices. Of course, as with most dishes, recipes vary according to family and region. Spice and flavor will change according to which ingredients you use as well as the time you allow your kimchi to ferment. The longer it ferments, the mellower the flavor will become. Like other condiments, such as hot sauce, the spiciness in kimchi can be adapted to fit personal preference. The flavor notes, though, tend to be spicy, sweet, sour, and tangy all at once, lending a uniquely enticing flavor to just about any dish.
What are the health benefits of kimchi?
Fermented foods are incredibly healthy for a wide range of reasons. Active compounds found in fermented foods have anti-inflammatory effects throughout the body and are wonderfully beneficial for vascular and gut health. Not only that, but kimchi is made primarily of very low-calorie vegetables and spices that help to satisfy appetite, making it a great food for keeping off the pounds.
Furthermore, the ingredients in kimchi are loaded with beta-carotene and other antioxidants that can reduce the risk of certain cancers, diabetes, heart disease, and stroke.
How do I eat kimchi?
The beautiful thing about kimchi is that you can eat it by itself, stirred into soups and ramens, or put on top of just about anything. For an easy dinner, scoop a generous amount over rice and call it a day. It’s especially delicious paired with scrambled eggs in the morning.
Eaten alone or as that star ingredient in applications like these is a beautifully simple way to enjoy this healthy ingredient. It’s also a fantastic addition in dishes like stews and braises. Its complex flavor adds depth and interest to any meal and elevates otherwise humdrum dishes to something special.
Kimchi recipe

(From Feasting at Home)
Patience is the key in this recipe, and your stoicism will be well rewarded. Before the refrigeration stage, be sure to find a perfectly cool, undisturbed spot for your kimchi to ferment. A cool basement or storage room would be ideal in chillier months. In the summertime, a dark, cool corner of a cupboard or pantry will work just fine.
Ingredients:
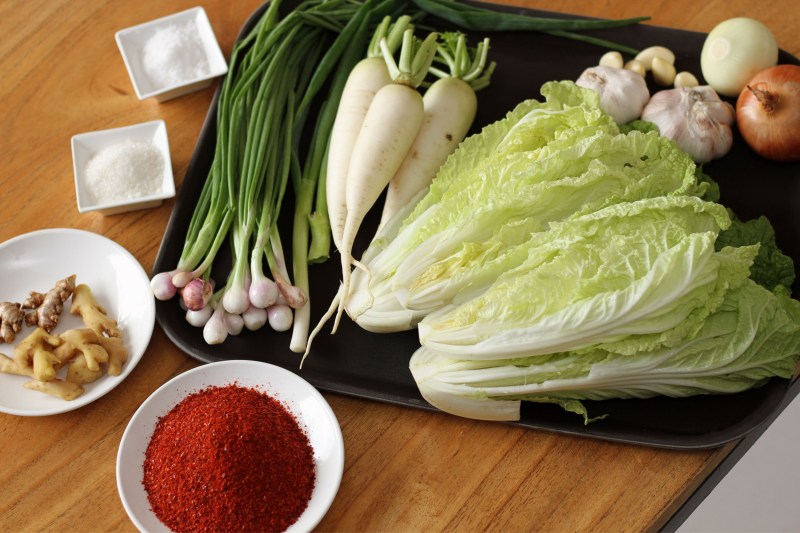
- 1 large napa cabbage, cored and cut into 1-inch pieces
- 1/4 cup sea salt
- 2 cups daikon radish or carrots cut into thin strips
- 1 bunch scallions, trimmed and cut into 1-inch pieces
- 1 tablespoon fresh ginger, sliced
- 6 cloves garlic, whole
- 1 shallot, quartered (optional)
- 2–6 tablespoons Korean-style red pepper flakes
- 2 tablespoons fish sauce
- 2 teaspoons sugar
Method:
-
Reserve 1–2 outer leaves of the napa cabbage, wrap in plastic, and refrigerate for later use. Place the remaining prepared cabbage in a large bowl with the salt and toss to combine. Add enough cool water to cover the cabbage and stir until salt is dissolved. Make sure the cabbage is fully submerged, then let stand at room temperature 6–8 hours or overnight, stirring halfway through.
- Give the cabbage a quick rinse, drain, and squeeze out any excess water. Place it back in the bowl and add the daikon radish (or carrots) and scallions.
- Place the ginger, garlic, shallot, red pepper flakes, fish sauce, and sugar in a food processor. Pulse until it becomes a thick paste.
- Using tongs or gloved hands, mix the paste into the cabbage mixture until thoroughly combined.
- Pack the cabbage mixture into a large jar, leaving 1–2 inches room at the top for juices to release. Add a little of the reserved brine to just cover the vegetables, pressing them down until submerged.
- Place the whole cabbage leaf over top and press down. This should help keep the kimchi submerged under the brine. Be sure that the mixture is fully submerged. Any mixture that is exposed to air may mold.
- Cover loosely with a lid and place the jar in a large dish to collect any juices that may escape.
- Store somewhere dark and cool for three days.
- At the end of the third day, check for fermentation bubbles. If they’ve developed, store in the refrigerator to let the kimchi continue to ferment. For a softer, tangier kimchi, you can continue to ferment for three more days or longer.
- If there are no fermentation bubbles after three days, give it another day or two. If you don’t see bubbles when tapping the jar, be patient — it just may need a couple more days, especially in cooler climates.


