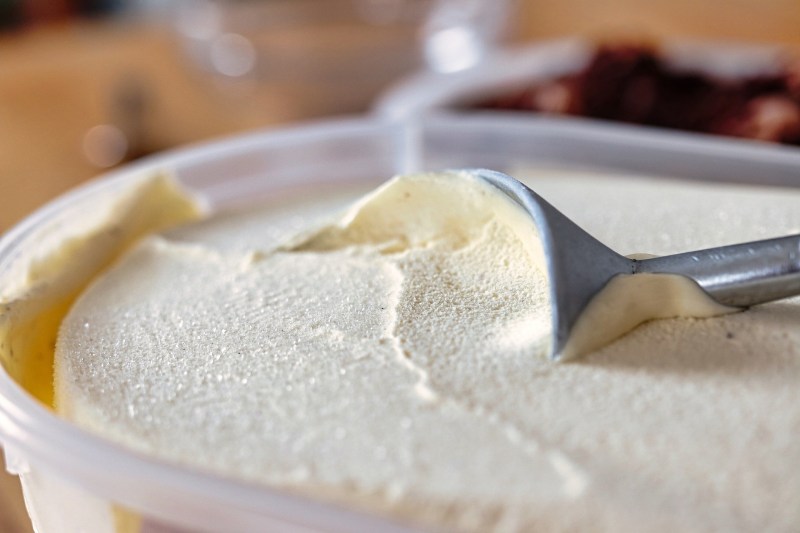
As the summer months are just around the corner, we’re always looking for ways to cool off. It may be hard to believe, but sometimes, we aren’t in the mood for a cold beer or cocktail. A smoothie could be a great way to cool off, but sometimes, we want something a little more decadent.
Cue the milkshake. This sweet treat has the deliciousness of ice cream, but you don’t have to worry about it running off the cone and down your arm on a hot day. Also, the flavor combinations are limitless. You can go with a classic vanilla or strawberry milkshake, or you can blend in your favorite cookies, candies, and fruits. Also, since we’re big boys, who’s to stop us from adding a little peppermint schnapps to the blend to make a delicious boozy milkshake?
One thing is for certain: If you’re thinking of hitting the drive-through for a quality milkshake, it’s always better to make your own at home. Fast-food establishments tend to cut corners and use powders with artificial flavorings in their milkshakes. When you make your own at home, it’s a little more work, but you know what you’re getting — and it’s so much tastier.
It’s tastier, that is, if you learn how to make a milkshake correctly. There are many ways, believe it or not, to mess up a milkshake. In this guide, we’re going to tell you exactly how to make a delicious milkshake every time. First, let’s cover the tools you’ll need.
The equipment
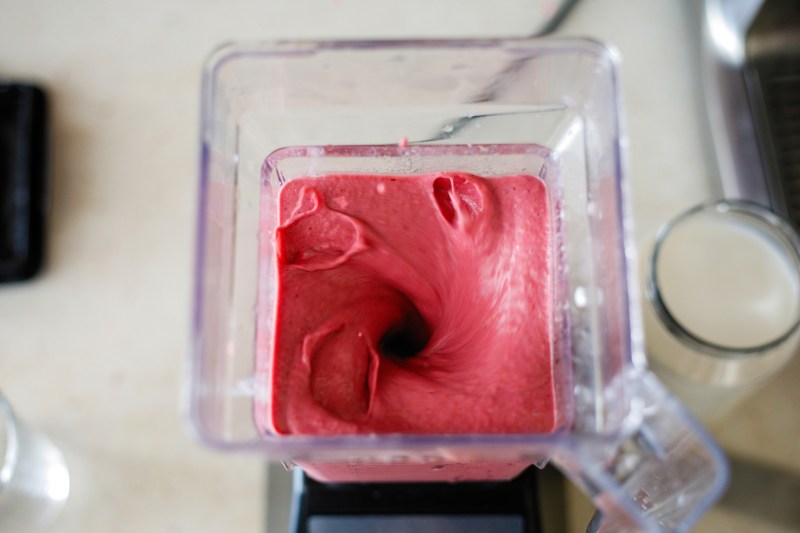
The great thing about milkshakes is you don’t need a lot of tools. All you need is an ice cream scoop and a powerful blender. If you’re really trying to imitate the kind of milkshake you can get at ice cream parlors, you might want to consider investing in a malt machine. Malt machines are specifically designed for folding oxygen into milk and ice cream to deliver rich and creamy results. You can find them online at a wide range of prices. The only downside to a malt machine is it won’t blend up any additional ingredients you add, like cookies or fruit.
Since few people have malt machines, we’re going with the blender method. A good blender will do everything you need at the push of a button.
The ingredients
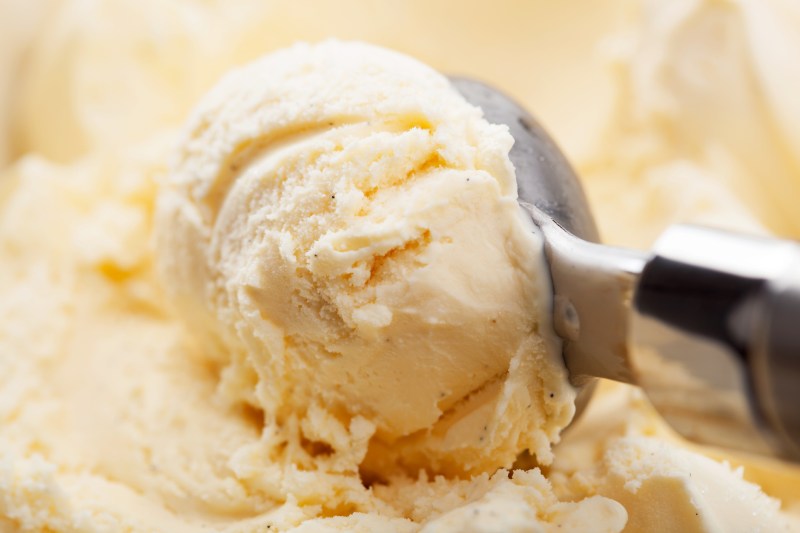
When talking about classic milkshakes, two ingredients are essential: milk and ice cream. However, even the dairy-adverse can enjoy a delicious milkshake at home. You just have to get a little creative with the ingredients. At the end of this article, we’ll share a classic milkshake recipe and a dairy-free option.
The process
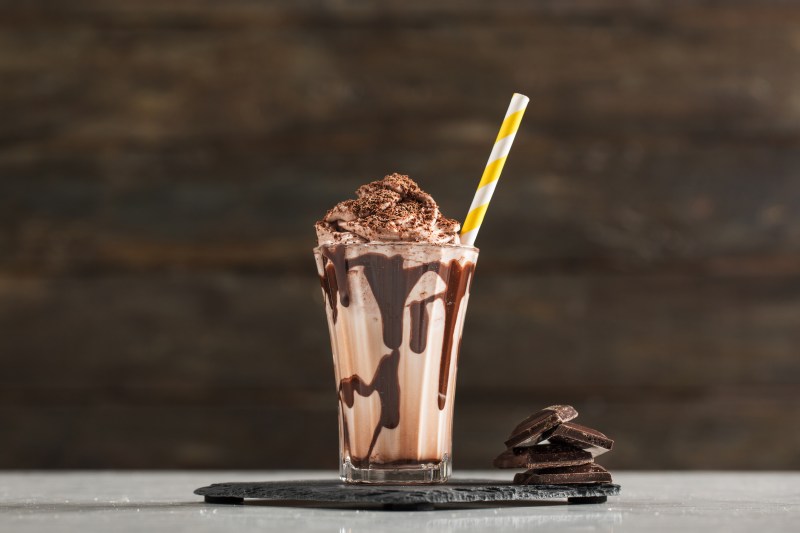
Here’s where many people get disappointed with their at-home milkshakes. First, consider how you prefer your milkshakes. Do you like them on the thinner side, or do you want them super thick? However you prefer your milkshakes, there’s a particular way to make milkshakes that will allow you to get it right.
The bottom line is that you don’t want to combine all your ingredients at once and blend — especially if you have limited ingredients. We suggest that you always combine your thick/whole ingredients in the blender first with just a little bit of liquid to get it going. Whether it be ice cream, sorbet, or frozen fruit, by blending it first and adding the milk as you go (through the top of the blender), you can stop and judge the thickness. Plus, tasting as you go is one of the most fun aspects of making a milkshake.
Another thing that most people don’t consider is that you don’t want to blend your milkshake on high for too long. High-powered blenders, like Vitamix and Blendtec, can actually heat liquids from the friction of the blades. Plus, the heat from the blender’s motor also puts off heat. Both of these things combined can leave your milkshake thin and watery, no matter how much ice cream you put in. The best method is to start on high for 5 to 10 seconds to incorporate all the solid ingredients, then bring it down to medium-low or low speed (depending on your blender’s power) while you combine the liquids.
Oreo milkshake
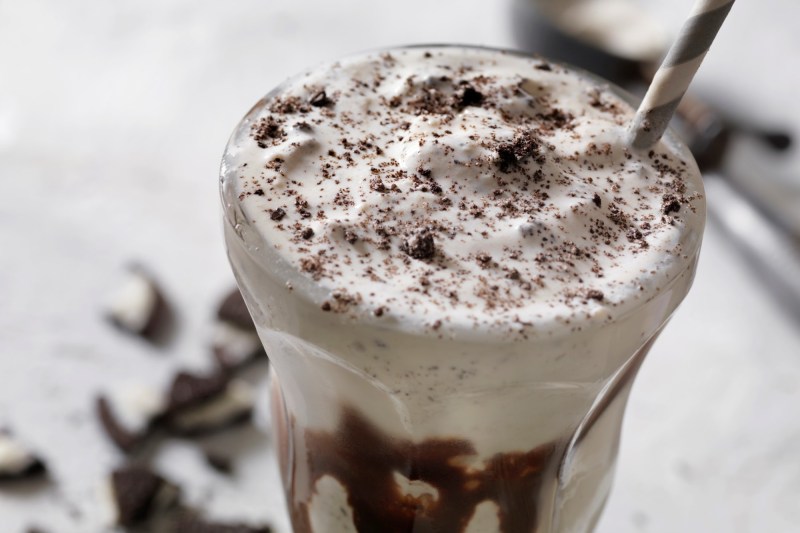
(Courtesy of Salt & Baker)
Out of all the classic shakes out there, this is one of our favorites. This recipe comes from the food blog Salt & Baker and won’t disappoint.
Ingredients
- 12 Oreos — I used normal, but double stuffed is also a great choice.
- 4 cups vanilla ice cream
- 1/2 cup of milk — any kind will work (1%, 2%, or whole)
- 1/4 teaspoon vanilla extract
- Homemade hot fudge — for topping. If you don’t want to make your own, you can use store-bought. But homemade is so yummy, friends!
- Whipped cream — for topping
- Crushed Oreos — for topping
Method
- Add all the ingredients minus the topping ingredients (hot fudge, whipped cream) to a blender.
- Blend/pulse until combined. I don’t get too vigorous with my blending because I like there to be some Oreo chunks. (You can add more milk for a thinner milkshake.)
- Pour into two large glasses. Top with whipped cream and a drizzle of hot fudge and extra crushed Oreos.
Acai protein milkshake

(Courtesy of Andrea Correale)
If you’re not a fan of dairy, here’s a great non-dairy milkshake recipe from caterer to the stars and founder of Elegant Affairs, Andrea Correale. This recipe calls for acai berry puree, a frozen dairy-free blend of acai berries you can find online or at many retailers.
Ingredients
- 3 1/2 ounces unsweetened acai puree
- 1 cup almond milk
- 1 cup frozen raspberries
- 1/3 cup vanilla protein powder
- 1 banana
Method
- Add acai puree, banana, raspberries, protein powder, and half of the almond milk and blend on high for 5-10 seconds.
- Lower the speed to medium-low and pour in the remainder of the almond milk. Add more almond milk if the shake is too thick for your taste.
- Pour into glass and serve immediately.
Dark chocolate milkshake

If chocolate is your thing, then we have some a little more decadent than a basic chocolate milkshake in a dark chocolate milkshake.
Ingredients
- 2 cups cold whole milk (or your preferred milk alternative)
- 2 scoops (about 3 ounces) good quality chocolate ice cream (at least 60% cacao for a richer dark chocolate flavor)
- 1/2 cup chopped dark chocolate (at least 70% cacao)
- 2 tablespoons chocolate syrup (optional)
- 1 tablespoon sugar (or to taste, depending on the sweetness of your ice cream)
- 1 teaspoon vanilla extract
- Whipped cream and chocolate shavings (for garnish)
Method:
- Heat the chopped dark chocolate in a microwave-safe bowl in 30-second intervals, stirring in between, until it is melted and smooth.
- In a blender, combine the cold milk (or milk alternative), chocolate ice cream, melted chocolate, chocolate syrup (if using), sugar, and vanilla extract. Blend until it’s smooth and thick.
- Pour the milkshake into chilled glasses. For an extra decadent touch, garnish with whipped cream, a drizzle of chocolate syrup, and chocolate shavings.
How to thicken a milkshake

Let’s pretend you came across this article too late, and you’re trying to thicken up a thin, runny mess. There are a few ways you can thicken a milkshake. The most obvious way is to add more ice cream, but yogurt is a good substitution if you’ve run out. If you don’t have any yogurt, bananas or frozen fruit are great in a pinch. No fruit? Turn to some powders. Cocoa powder, hot chocolate mix, or even protein powder will thicken your shakeup in a jiffy. In a last-ditch effort, pour the shake into a glass, add some ice cubes to the bottom of the blender, then pour the shake back over. Pulse the cubes until they are fully incorporated into the shake. Then drink quickly!


