This is how to sharpen a serrated knife the right way

This fearsome blade needs a little extra love

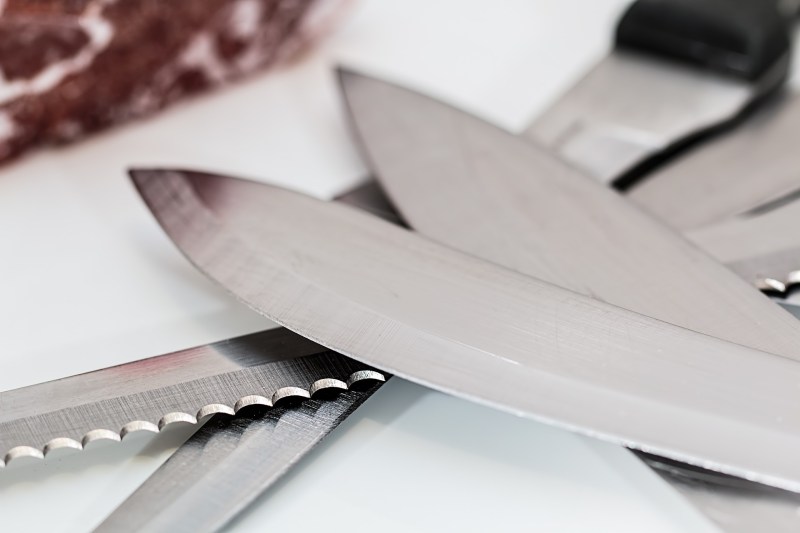
Knife blades closeup
stevepb/Pixabay

In every good set of kitchen knives, there is one particular blade that most people both love and hate. We love it for its ability to flawlessly slice through foods like crusty baguettes and plump, ripened tomatoes. Its jagged edge gives us smooth cuts through otherwise tricky-to-slice ingredients, all while appearing rather fierce in the process. But this knife can be desperately infuriating in its trickiness to sharpen. This is the serrated knife – a fiercely toothy blade with a saw-like edge.

Serrated knives come in all sizes for a variety of kitchen tasks. Their toothy edge is perfect for many culinary uses, allowing for crisp, clean cuts without tearing or squashing the ingredient’s often tender interior.

Recommended Videos

But when it comes to maintaining this rather fearsome blade, things can get a bit tricky. Unlike the smooth, even surface that most blades provide, the serrated edge of these knives requires a slightly different sharpening process. While many modern electric knife sharpeners feature a serrated knife slot, these aren’t often the most precise and can actually damage your blade if you aren’t especially careful. While it does take a bit more time and some patience, the most effective way of sharpening a serrated knife is with a ceramic honing rod.

How to sharpen a serrated knife

Man slicing bread
Drazen/Adobe Stock

Before beginning the sharpening process, be sure to start with a clean, dry knife, a prepared whetstone (or sandpaper), and a towel for wiping your blade.

  1. Find the beveled side: Every serrated knife has a flat side and a beveled side. The beveled side reveals a slight angle on the side where the blade has been carved to form the serrated edge, which you will be sharpening.
  2. Sharpen: Using extreme caution, place the rod flat against the angle of the beveled edge, then run the rod through the dip toward the cutting edge. Repeat this process with every dip in the blade’s edge.
  3. Clean: Tiny pieces of metal will collect on the flat side of the knife as it is sharpened. These are best removed with a whetstone or, more easily, with fine-grit sandpaper. Wipe the blade with a dry towel and store your knife properly.

Serrated knife tips:

  • Because there aren’t any shortcuts in sharpening a serrated knife, fewer serrations are easier to maintain. When purchasing your knife, you may consider finding one with fewer serrations for both ease of sharpening and cleaning.
  • Most knives become dull not from slicing and chopping food but because of their constant contact with your cutting board. Because of the way serrated knives are used, they seldom run along the cutting board’s surface and, therefore, remain sharper for longer. Because of the more delicate design of the serrated knife, though, it can’t withstand constant sharpening. Try to sharpen only when the knife is getting noticeably duller.
Lindsay Parrill
Lindsay is a graduate of California Culinary Academy, Le Cordon Bleu, San Francisco, from where she holds a degree in…
No espresso machine? Here’s how to make espresso anyway
Brew delicious espresso from home
espresso cup

Understanding how to make espresso is the first step in enjoying espresso-style beverages at home, like an Americano or a Latte. Brewing regular coffee in your drip coffee maker will suffice for a regular cup, but you'll need a different method if you seek a rich, concentrated shot of espresso.

Unlike regular drip coffee, espresso extracts intense flavors from coffee beans, resulting in a strong-tasting coffee. The easiest way to make espresso is by using an espresso maker, which uses hot water and high pressure. However, this isn't the only way to brew a great shot of espresso. Below, we'll explore how to make espresso, both with and without an espresso maker.

Read more
How to carve a turkey: Tips from an award-winning chef
Worried your knife skills aren't up to par? Learn how to carve a turkey like a pro
Carving a turkey

It's that time of year again. Temperatures are dropping, pumpkin-spice-everything is all around, and decorative gourds are hanging all over. And now, it's time to start planning the big Thanksgiving dinner. Maybe, so far, you have lucked out and only needed to bring a side dish to this year's gathering.

Or perhaps this year you stepped up and decided you're going to cook the turkey for this year's Thanksgiving feast -- and that means knowing how to carve the turkey. And no matter the size of your bird, be it a small one for a small gathering or a whopping 20-pounder for a massive family dinner, carving the turkey can be intimidating. Thankfully, we asked a professional chef to show us how to carve a turkey.
Prep and cook the turkey

Read more
How to brine a turkey: Step-by-step tips from the pros
Looking to avoid a dry turkey? Brine the bird for a moist, delicious meal
Thanksgiving table

If we’re all being honest here, the “turkey” part of Thanksgiving dinner tends to be the least impressive part of the yearly feast. That’s generally because turkey dries out easily and lacks the natural flavor of heartier meats like lamb, pork, and prime rib. So, on a typical Thanksgiving table, the turkey plays second fiddle to more interesting side dishes like mashed potatoes, yams, stuffing, and Brussels sprouts. Are you looking to take your side dishes to the next level? Try these smoked Thanksgiving sides.

However, enterprising cooks are always seeking ways to elevate the Thanksgiving turkey and turn it into a dish worth craving. For pro chefs, a tried-and-true solution to the flavorless turkey problem is “brining,” a pre-roasting process designed to seal in moisture and add touches of spices, herbs, and other seasonings.

Read more