Sometimes the occasion calls for indulging in an expensive cut of meat cooked to perfection. But, it’s the “cooked to perfection” part that we can have trouble with. If we’re dropping serious coin on a piece of upper prime Angus, or even more for A5 Wagyu, we want to get it right. Since we can’t afford to hire a celebrity chef like Tom Colicchio to cook it for us, we need a method to get the job done right.
For the most precision and control when cooking a steak, the sous vide method is the tried and true method used by chefs for decades. Even though many gadgets, like Wi-Fi thermometers, assist you, cooking an expensive steak on a grill or cast iron leaves too much room for error.
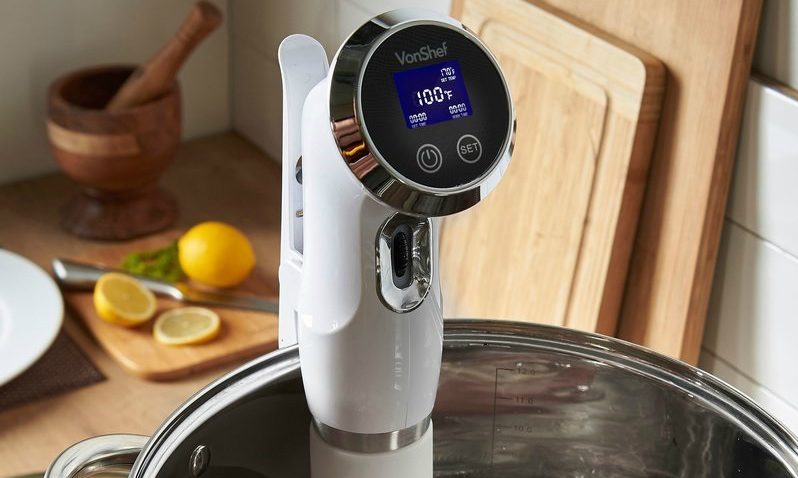
There are a lot of devices on the market that offer sous vide functionality. There are sous vide wands, slow cookers, pressure cookers, and water ovens that all can do the job. The essential component of sous vide cooking is a device that circulates the water and has a heating element to keep the water at a consistent temperature. You’re also going to need a vacuum sealer machine to extract all the air from the bag containing the meat.
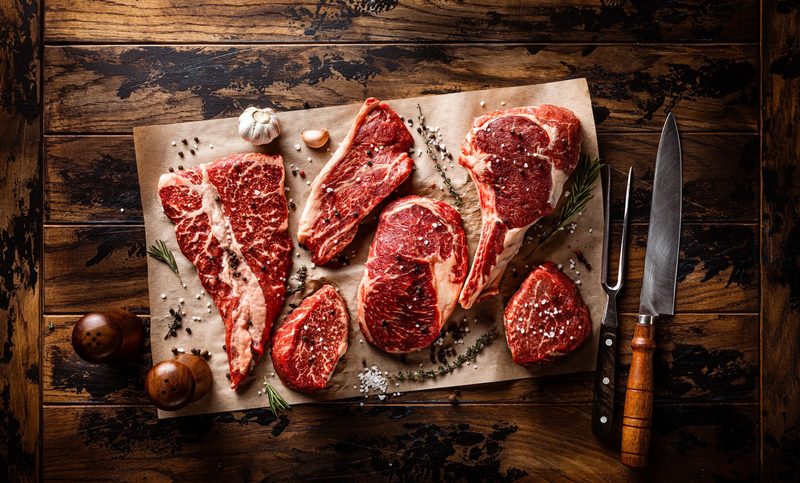
What kind of steak is best for sous vide cooking?
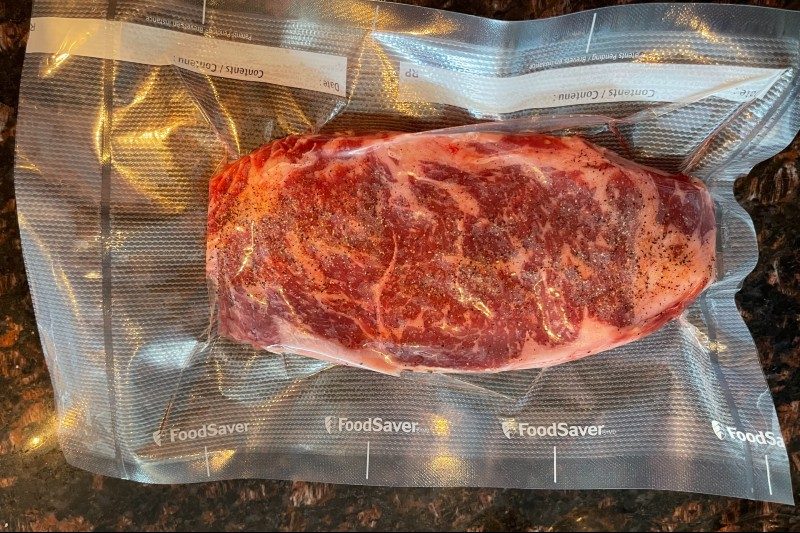
Whether you’re a fan of fatty cuts of steak or the leaner variety, either is great for sous vide cooking. While the cooking time and temperature can vary for different cuts, which we’ll dive into a bit later, the crucial thing to look out for is thickness with sous vide cooking.
If you’re looking to break out the circulator, you should have a steak that’s at least an inch and a half thick. That’s because cooking a sous vide steak involves both the sous vide process and searing. When cooking a thin steak, it’s hard to reach and maintain the optimal inner temperature.
Step 1: To sear or not to sear?
The topic of searing the meat before vacuum sealing is a point of contention among steak lovers. Some say searing after the sous vide session is the way to go. Others say that pre-searing before dunking it in the hot water bath is proper. Whether you perform the searing set before or after sous vide cooking your beef is a matter of preference. We prefer searing beforehand, and here’s why.
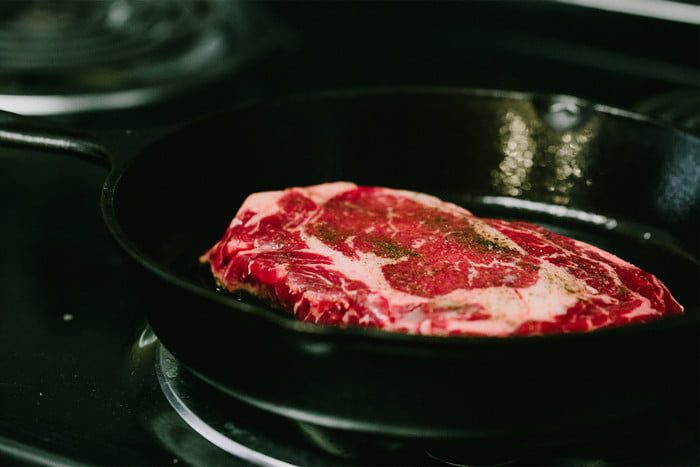
There are two primary reasons to pre-sear your steaks. First, red meat sears best on a hot cast-iron or grill when it’s in its raw state, allowing the Maillard reaction to occur. The Maillard reaction is what gives a steak that heavy, bark-like sear. If you cook in the sous vide first, you’ll get a light-brown to grayish sear at best. You can go longer than a few minutes on each side of the heat source to gain a deeper sear, but then you risk the inner temperature changing from what the sous vide process provided.
The other reason to pre-sear your steak is to lock the juices inside the meat, giving you a more flavorful steak. This pre-sear method is applied to many other slow-and-low cooking methods like roasting and smoking.
Suppose you want to follow our advice and pre-sear your steak before the sous vide process. In that case, there are a few more steps to take before vacuum sealing it.
- First, add a dab of oil to each side of the steak and season to your liking.
- Sear all sides of your steak on a roaring hot cast-iron or grill for 2-3 minutes.
- Put it in the fridge for 15 to 20 minutes to lower the core temperature and allow the internal meat to re-absorb its juices.
The next step takes place after you vacuum-seal your steak.
Step 2: Sealing the steak
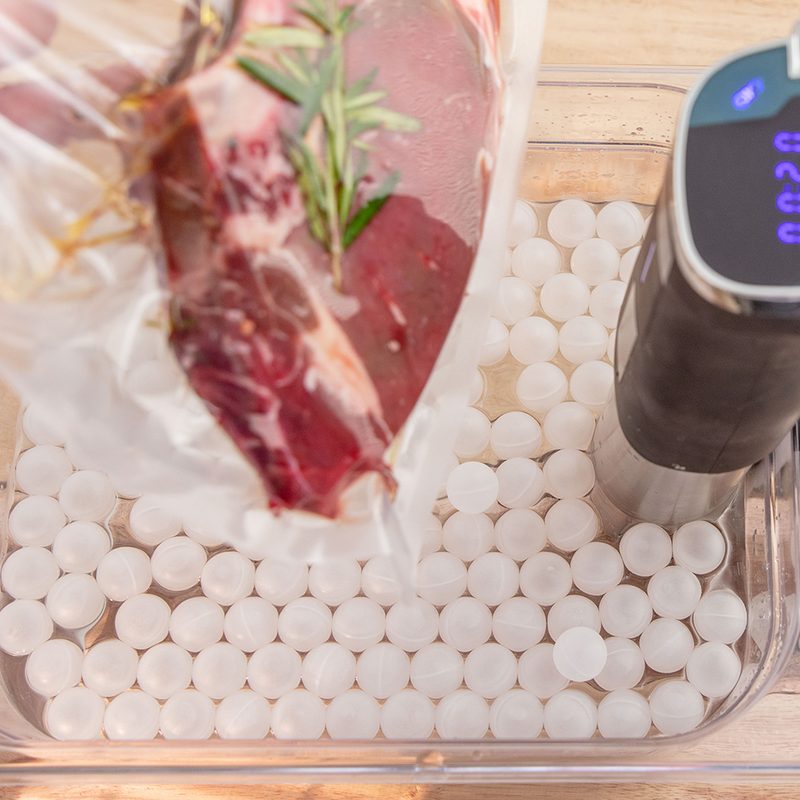
After you’ve seared your steak and lowered the core temperature, then you can start the sealing process. At this point, you can add more seasonings and aromatics (rosemary, garlic, etc.) if you so choose, or just the meat as is.
Once you’ve sealed the steaks, transfer them quickly to an ice bath for about five minutes or so. This step stops any harmful bacteria from germinating as the steak cooks under the water. Remember that bacteria can thrive and reproduce at any temperature under 165 degrees. The ice bath step ensures food safety while still enjoying a rare to medium-rare steak.
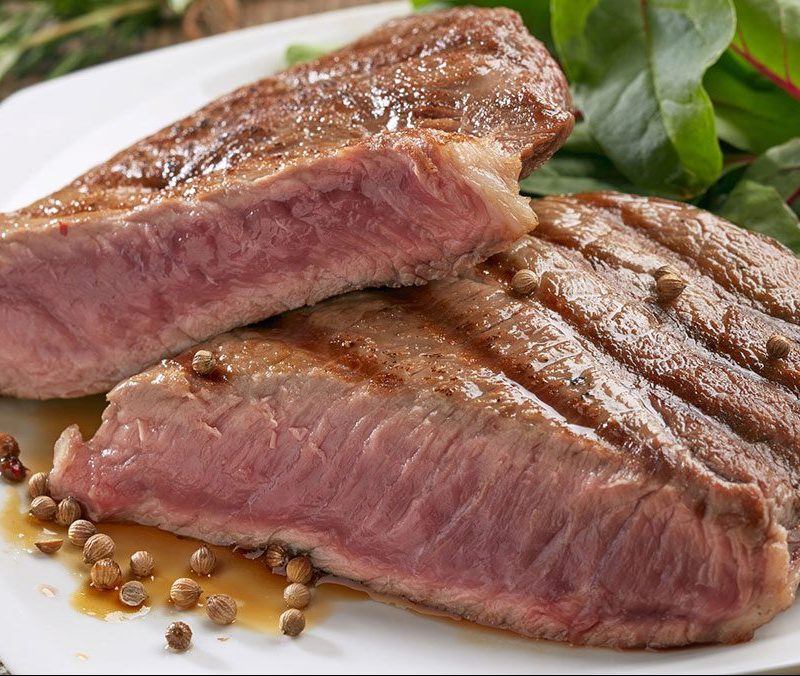
Step 3: Cook time and temperature
As we mentioned earlier, the cut of steak and the desired doneness will determine how long and what temperature you set your sous vide machine to. Below is a quick reference chart of the temperature ranges for each level of beef doneness.
Rare — 120 to 128 degrees
Medium Rare — 129 to 134 degrees
Medium — 134 to 144 degrees
Medium Well — 145 to 155 degrees
Well 155 degrees and up
When cooking, it’s best to picture temperature and time on a sliding scale where the more you increase one, the other decreases by the same amount. However, as we mentioned earlier, the cut of the steak will also play a factor in how long you sous vide it for.
Since leaner cuts lack intramuscular fat, such as tenderloin or filet mignon, the minimum amount of time it takes to cook will be less, at least 45 minutes. Cuts that have more marbling, like a ribeye or t-bone, need a bit more time to break down the fats and disperse the flavor into the meat—at least an hour. A longer time for fattier cuts is also necessary because the fat acts as an insulator for the beef, taking longer for the core temp to reach its desired temperature.
If you like a rare or medium-rare steak, we would not suggest leaving the steaks cooking for much longer than two hours. Even though the circulator keeps the water at a precise temperature, reactions happen in the meat’s proteins causing it to break down.
Think of how a pot roast pulls apart when you cook it at 200 for six hours. The same applies to a steak that sits in the sous vide for a long time. Your steak will be incredibly tender, but it will also have more consistency of a roast instead of a steak. Three to four hours is more than enough time to get a deliciously tender steak, no matter your desired level of doneness.
Other sous vide tips
Preheat the water bath
If you’re trying to be very precise with your precision sous vide cooking device, make sure you pre-heat your water bath. Letting your steak’s temperature rise with the water can affect your overall cooking time and temperature.
Also, keep in mind that adding cold meat to the hot water will lower the water bath temperature for a few minutes until the outer temperature of the steak matches the water. If you’re a real stickler for a consistent cooking temperature, raising the water temperature by about five degrees and then lowering it after the meat has adjusted is worth trying.
However, the good thing about steak is that it’s more hearty and forgiving to fluctuating temperatures. More delicate items like eggs or seafood require more attentiveness to temperature.
There’s no harm in re-searing
Even though we prefer pre-searing our steak before it goes in the bag, there’s no harm in re-crisping it once it’s done. A steak cooking in its juices for hours will alter that crispy sear the meat had when it went into the bag. Searing it again on a hot cast iron skillet or even breaking out the culinary torch can bring the first sear back to life.
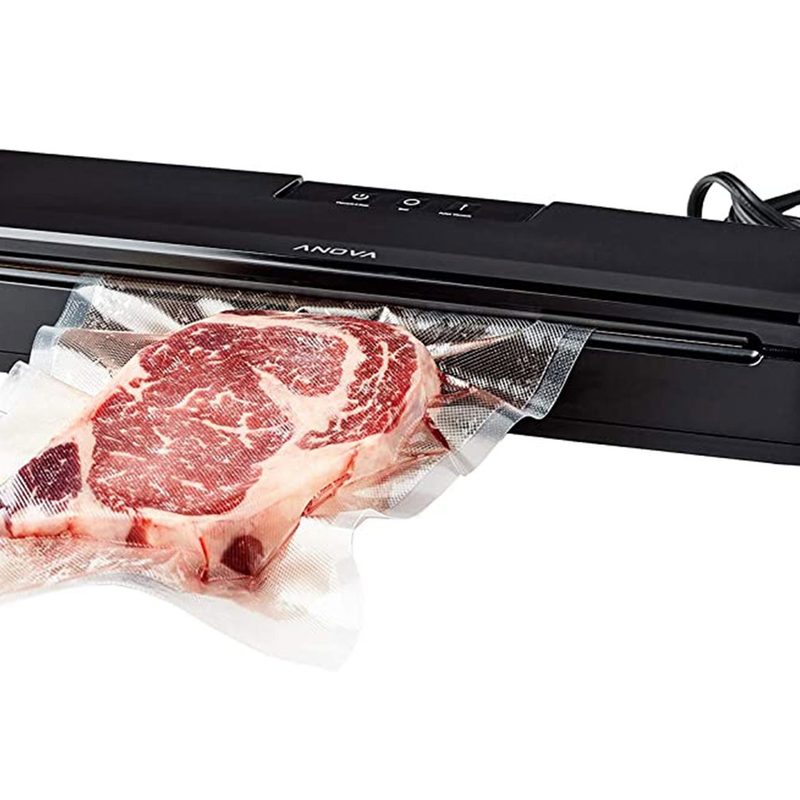
Invest in a vacuum sealer
There are some “hacks” out there for sous vide cooking food in a water bath without investing in a vacuum sealer. One way is to use a freezer bag and clip it to the vessel’s side. A natural vacuum sealing effect will occur as you press the meat under the water.
Although this method indeed works, it’s a risky move. Sous vide cookers circulate water, which means your food can move around in the water bath. If you’re using the freezer bag hack, you’re risking the meat going back up to the surface where it can lose the seal, or the bag can fall off altogether, and you wind up poaching your steak.
Vacuum sealers are an affordable investment to ensure your sous vide steak is a success every time. Plus, if you have leftovers, you can use them to preserve them for longer.
Avoid acidic marinades
When sous vide cooking steak (or most meats), you’ll want to avoid marinades that contain acidic ingredients like citrus or vinegar. These ingredients break down proteins over time. Combined with the slow-and-low cooking method of the sous vide, your steak will come out mushy and weird.
Where did sous vide cooking come from?
Now that we’ve shown you how to cook a steak with the sous vide method, you might be asking, “Where did sous vide come from?”
As cooking methods go, sous vide is a relatively new arrival on the food scene. According to NPR, the creation of the sous vide cooking method can be traced to French chefs Bruno Goussalt and George Pralus, who independently came up with the idea of cooking in a water bath before joining together to perfect the method. Pralus said he discovered that when he cooked foie gras in plastic in a water bath, it did not lose as much fat and had a better texture.
As plastics improved and were better for cooking, the sous vide method started to become more popular. It was slow to spread to the U.S., but in the early 2000s, thanks to the internet, it started to catch on here, and now sous vide cooking is done in the finest restaurants as well as by cooks at home.