Dirty hands might feel like badges of honor after a hard day’s work. Whether they're the result of running up a mountain, breaking your bench press record at the gym, tuning up a motorcycle, or renovating your backyard, your hands can become deeply soiled in a way that no mere 30-second scrub session is going to alleviate.
That’s right: It’s the grease and grime that seem to seep down into the pores. You may wash with regular hand or bar soap, yet your skin still looks blackish-gray. You wash your hands again, and that grime is still bonded to your skin like glue. Your regular hand washing routine isn't going to cut it.
If your big, strong hands remain mighty dirty, and if regular soap and water just aren't working, it's time to try some special cleaning tactics that are customized to the mess at hand. If your favorite bar soap or liquid hand soap is not cutting it anymore, reach instead for these rugged and ready hand-cleaning solutions. Quick reminder: Make it a habit to wash your hands frequently, and to use hand sanitizer when you can’t wash. Also make sure to keep some hand lotion handy to avoid dryness. Keep reading to learn how to clean greasy hands and more.

How to get grease off your hands
Whether it's engine grease from servicing your vehicle or that gross goo that comes off a bicycle's chain and gears, if you have a case of "The Grease Hands," you're probably not going to get properly clean using hand soap alone. Here's when you should reach for some sugar.
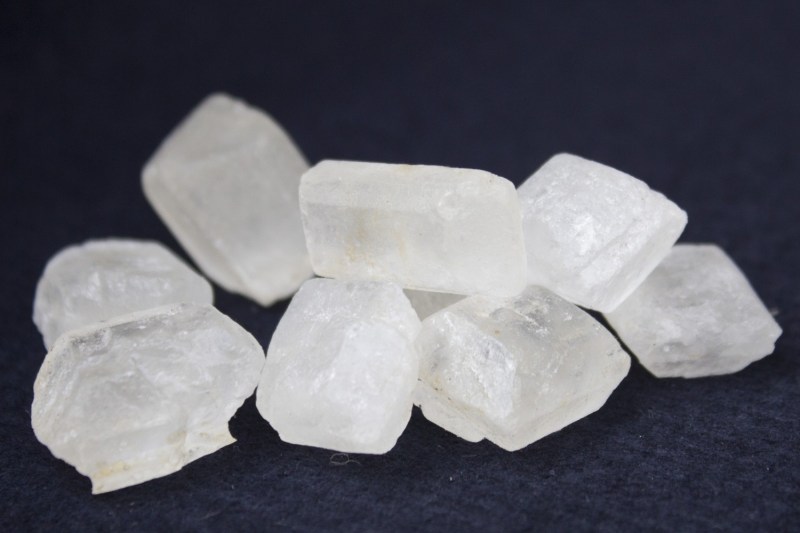
Ideally, you can use a paste made from a tablespoon of a rough, crystalized sugar mixed with some water, but really any sugar will do. Rub that sweet paste all over your hands, then wash as usual. Repeat as necessary, but often a single sugar scrub should be enough to break up and lift off the grease.
Step 1: Mix together a paste with the sugar and the water.
Step 2: Scrub your hands with the homemade sugar paste.
Step 3: Rinse off the sugar paste, then wash with standard hand soap and water.

How to wash spicy pepper residue from your hands
If you spent a half-hour chopping up spicy habanero peppers for tonight's dinner, please do not touch your eyes, nose, mouth, or other people for an hour or two, then wash your hands once you're done!
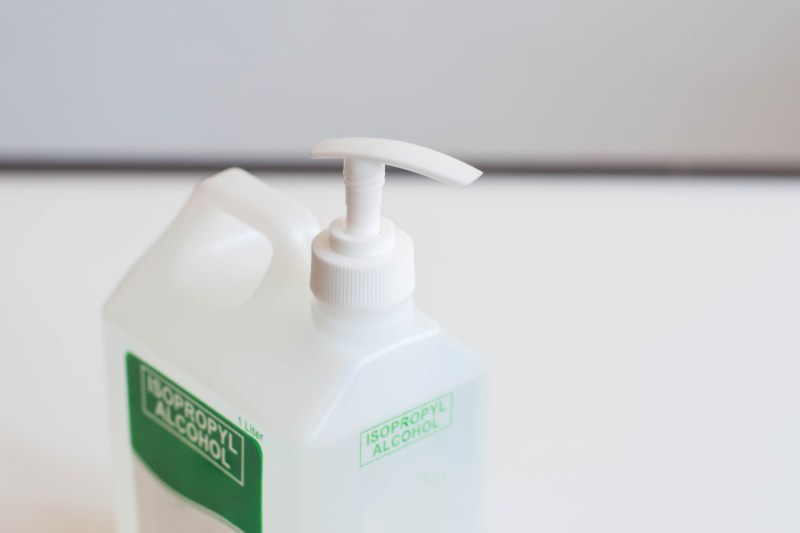
Since regular soap and water often fails to remove the spicy capsaicin from those peppers that you chopped, reach for some alcohol to rinse off that capsaicin once and for all. Concentrated isopropyl alcohol (as in, rubbing alcohol — do not drink) works best, but many hand sanitizers can also help remove the spicy stuff. If you don't have any rubbing alcohol or alcohol-based hand sanitizer on deck for whatever reason, go ahead and rinse your hands with a shot of gin or vodka. Whatever you use, follow it up with a normal hand washing.
Step 1: Carefully pour a light to moderate amount of rubbing alcohol onto your hands.
Step 2: Rub the alcohol over your hads as you would do if you were washing them.
Step 3: Rinse off the alcohol, then wash your hands with standard hand soap and water.

How to clean mud, dirt, and grit
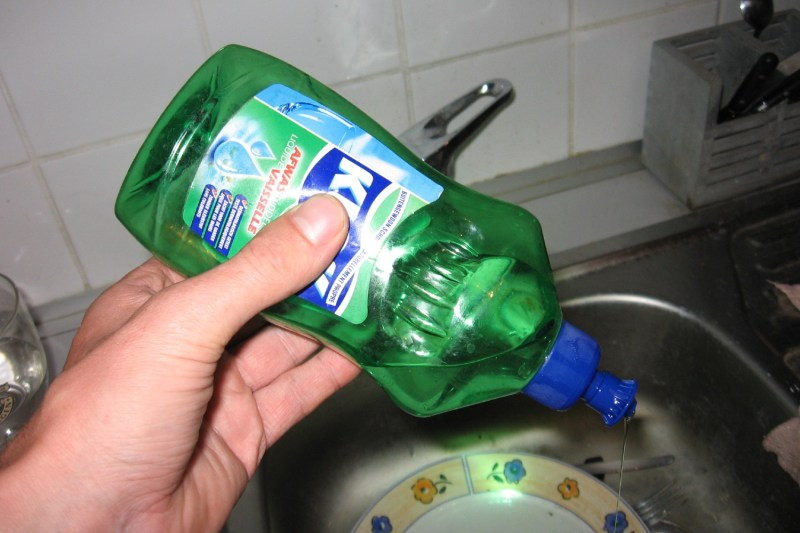
If your hands are just generally very dirty but not soiled with a specific compound like oil or grass, then forget about the hand soap and turn to dish soap instead. While frequent use of dish soap on your hands will leave them dried-out, crusty, and hobbit-like, detergent is more than suitable for occasional use on the hands and forearms — and it cuts through caked-on messes much more reliably than standard hand soaps.
Do consider using a moisturizing hand lotion if you use detergent on your hands regularly. As terrible as exceptionally dirty hands are, so are painfully dry hands.
Step 1: Squeeze a small amount of dish soap onto your hands, and scrub.
Step 2: Rinse your hands with water.
Step 3: If you're finished working outside (or wherever), grab some lotion and apply some onto your hands.

How to clean grass stains off your hands
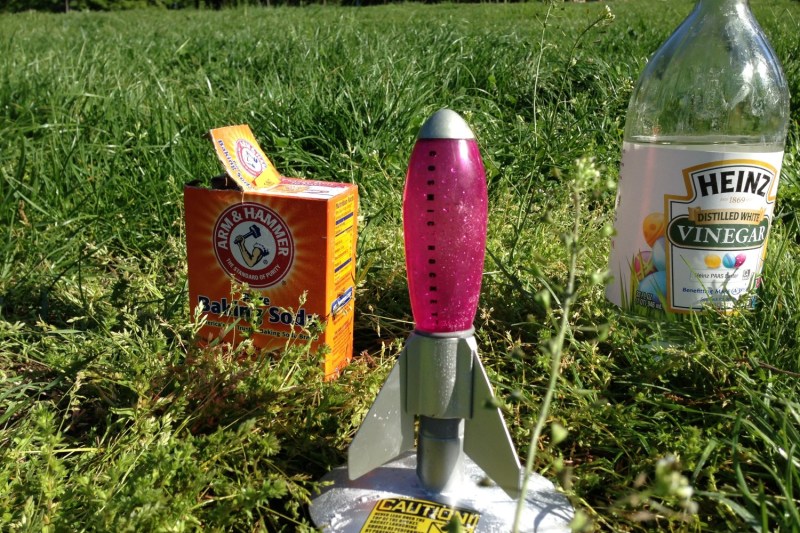
Baking soda and vinegar: They're not just for homemade volcanoes anymore. If your hands are stained a deep shade of green after a long day of mowing, edging, and otherwise perfecting your lawn, then you need to combat the chlorophyll stains using science.
Mix about a teaspoon of baking soda with about 2 ounces (a hearty shot's worth) of vinegar, then stand back — there will be foam! Indeed, this is largely the same mixture used to make those totally awesome foaming volcanoes that you made in grade school. Rub the foul-smelling mixture all over your hands, scrub, then wash with regular soap.
Step 1: Mix together roughly a teaspoon of baking soda with about 2 ounces of standard white vinegar. (Do not use balsamic vinegar!)
Step 2: Rub the baking soda and vinegar blend onto your hands, and scrub.
Step 3: Rinse your hands in water, then finish washing with standard hand soap and water.

How to get paint off your hands
We've all done it, tried to do a quick paint job without bothering to put on gloves. But no matter how careful we are, we always end up with a hand covered in paint like a Jackson Pollock painting.
If the paint is still wet, it's pretty easy to get it off, usually just a quick wash in soap and water will take care of it, especially if it is a water-based paint. However, oil-based paints are another story, especially if they dry on your skin. You could use paint thinner or other solvents to remove the paint, as long as you wash your hands right afterward, as those solvents are not good for your skin. However, according to Healthline, there is a more natural way to get that paint off by using mayonnaise, olive oil, or baby oil.
It goes without saying to do this over a large sink, as removing paint this way can get quite messy as you can imagine.
Step 1: Take a healthy amount of mayonnaise, olive oil, or baby oil and rub it over the paint on your hands.
Step 2: Scrub your hands for a few minutes to start to loosen the paint on your hands, then let it sit and soak in to finish loosening the paint.
Step 3: Don't wash your hands. Instead, take a paper towel and rub your hands clean, taking off the substance you used, as well as the paint.
Step 4: Rinse with water. Note: You may have to repeat these steps to remove particularly stubborn paint stains.
We hope this helps you clean up after a hard day of work. If you still need some help with taking care of your hands, check out our guides to the best body lotions and the best lotions and bath soaks.


