If you have jumped into the world of mountain biking like so many over the past few years, you may find that it can be an overwhelming space. Even figuring out what type of mountain bike you need (or that there even were different types) can feel like a lot.
With the first step of actually purchasing a mountain bike behind you, there are quite a few other things you want to consider. What mountain bike helmet should you get? What should you bring on each ride?
These are essential things to focus on and figure out. Riding without a helmet is a terrible idea. Not being prepared is nearly as bad. But I often see new riders hitting the trails with lousy technique and poor form, putting them at serious risk.
I have also seen people mountain biking that I wouldn’t have considered “new” doing equally dangerous things. This almost always comes from not forming needed habits when first learning to ride a mountain bike.
Forming proper mountain bike habits is easiest when swinging your leg over a bike for the first time. If you were unaware of these five habits, don’t worry. It’s not too late. With some intentionality and discipline, you can change how you mountain bike.
Covering your brakes
Perhaps one of the most important habits you can form on your mountain bike is to cover your brakes. Cover your brakes? What on earth does that mean?
If you have a modern mountain bike, your bike brakes likely consist of three parts: rotor, caliper, and levers. The rotor is the large disc attached to your wheel that spins through the caliper attached to the frame. When you squeeze the lever attached to your handlebars, the hydraulic fluid causes the caliper to pinch the rotor, slowing your mountain bike down.
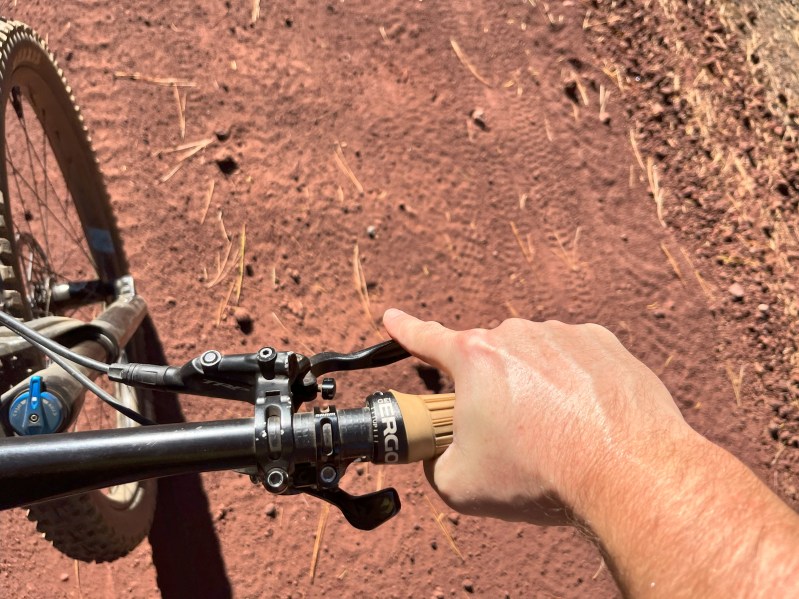
Covering your brakes refers to learning how to ride with your index fingers resting, or “covering,” both brake levers at all times. Jumping, dropping, and fast descents, you will always be ready to grab the brake lever.
Often, the fractions of a second it may take to move your finger off the bars to the levers can result in a crash. Sometimes, your finger may catch the underside of the lever, not allowing you to get a finger on your levers. Get in the habit of covering your brakes always.
The best way to do this? Ride your bike around your neighborhood, park, or any easy, flat surface with your index fingers on your brake levers. Next, take it to easy trails, practicing easy climbs and descents. You’ll begin to feel the normalcy of mountain biking with your index fingers off the bars.
Level pedals
Our default position while coasting on our mountain bikes is to have one pedal up and one down. This is usually how we can relax our leg muscles the most. It is also the way we hit rocks or roots with our pedals.
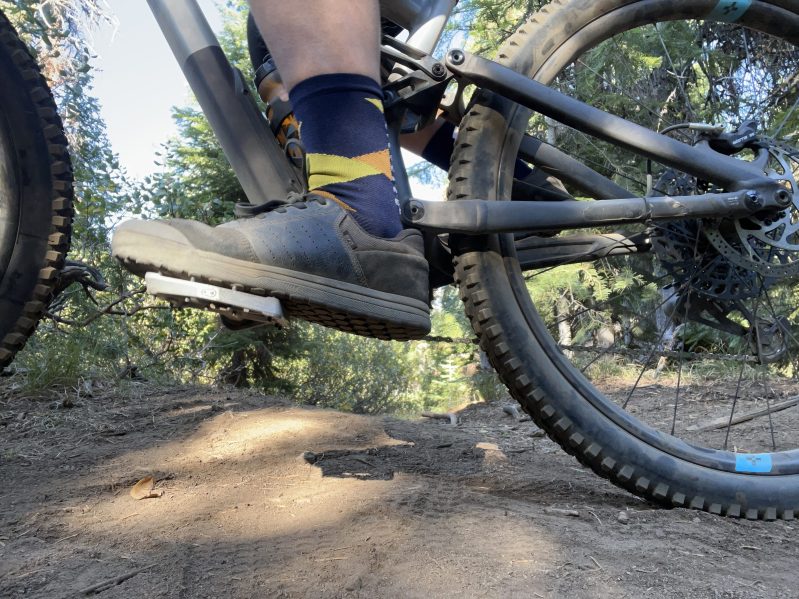
You want to keep your pedals level whenever you are cornering or going over any technical obstacles on your bike. Think of a clock. You want your pedals at 3 and 9, not 12 and 6.
This is especially true as you ride into corners. As your mountain bike leans into the corner, pedals that aren’t level will have one very close to the ground. Add in a rock or root sticking up, and you have a recipe for a crash.
Like covering your brakes, practice is the best way to form this habit. Find a rocky or rooty section and practice mountain biking through with level pedals. Repeat this process for corners, drops, jumps, bumps—nearly everything.
Looking down the trail
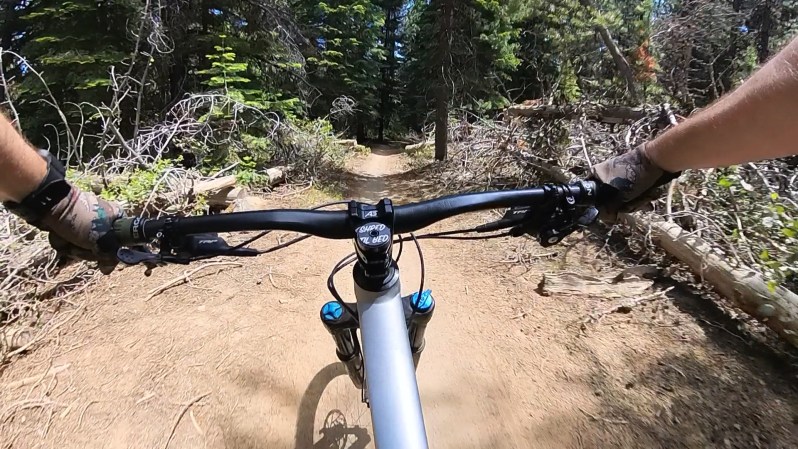
Stop looking at the front tire when you ride your mountain bike. We tend to stare directly down at the space of the trail in front of our tire. This gives us little to no ability to see and anticipate what is coming up.
Try to keep your eyes looking as far down the trail as possible, within reason. Perhaps you’re mountain biking trails that are flat and straightforward. You don’t need to look to see the earth’s curvature, but keep your gaze down the trail at least 10 yards ahead.
This will take some intentionality, and you will find that it is very easy to focus your gaze down. One trick I recommend is practicing looking for immediate and secondary lines. Immediate lines are when you look at where you are at that precise moment (looking down), and secondary lines are when you look down the trail, seeing what comes next.
Standing during obstacles
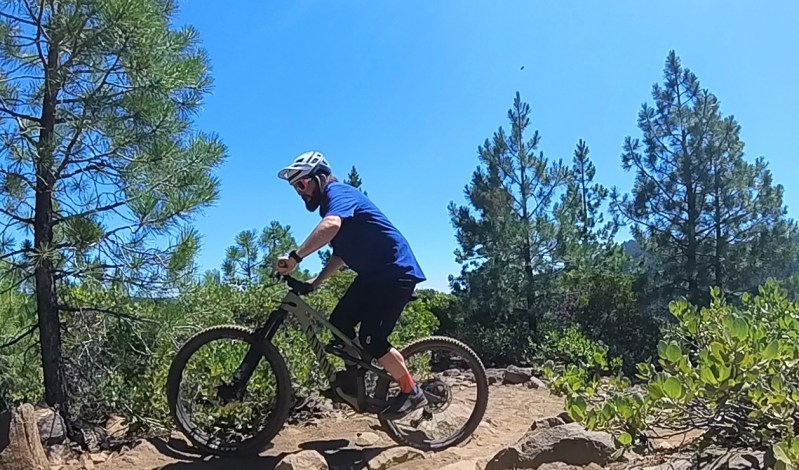
You can get bucked off your mountain bike. This can happen in a few different ways, such as coming off of a jump wrong. If you don’t have it timed right, the lip of the jump will cause your rear wheel to pop up, causing you to start going over the handlebars while in the air. That is getting bucked.
This can happen on the ground, too. If your rear end is firmly planted on a raised seat while going over chunky, rocky, and rooty terrain, you may feel the back end of your bike bucking you off. You may not front-flip over the bars, but it can easily cause you to be out of control and crash.
Instead, get up out of the saddle, standing on level pedals when going over rough terrain, obstacles, or through turns. Keep your arms and knees bent, ready to absorb impacts from the rough trail. The suspension on your bike helps a lot, but your arms and legs are the most significant suspension you have.
As you can imagine, this skill goes along with keeping your pedals level.
Proper braking
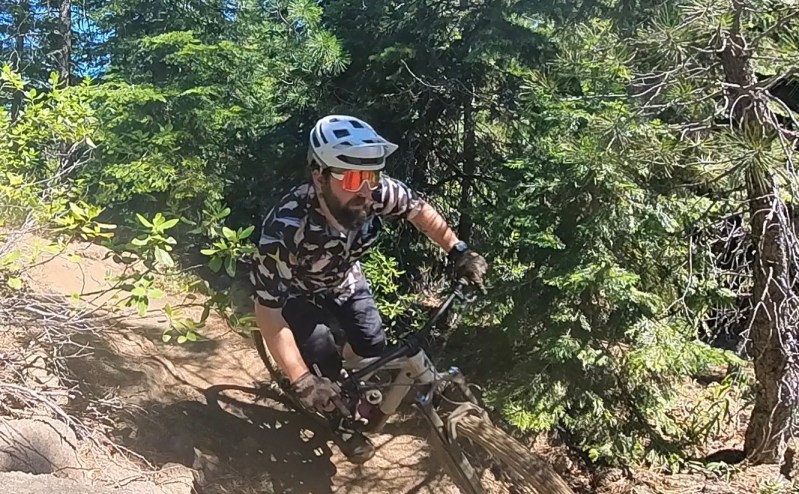
One of your first priorities should be learning to cover your mountain bike’s brakes. When, where, and how much to brake all rely on your immediate response to the trail.
What brakes you are going to apply is also important. We all remember the first time we got on a bike without kick brakes, grabbed a handful of front brake, and went over the bars. The rear brake became our friend because we didn’t want to flip over again, and, let’s face it, skids are cool.
Skids aren’t so cool, however, on your local mountain biking trails. In fact, you will likely be in some trouble with the trail builders because of the damage you are causing. Instead, apply even amounts of front and rear brake when slowing down. Practice it first at lower speeds and work your way up. If your weight isn’t over the front, you’ll be fine.
Equal front and rear brake pressure should be applied before, not during, your turn. Learning to slow down before your turn not only helps you carry appropriate speed through the turn but is also the safer way to execute a turn.
Mountain biking is a long learning process. You’ll never be done gaining and achieving new skills. You will then continue to work on perfecting those skills. Make sure you are working on those skills from a solid mountain biking foundation.


