There’s nothing quite like whitewater rafting. Grouping up with some friends and challenging Mother Nature’s most intimidating rivers and streams can be a tall task, but it’s also an immensely rewarding activity that requires each crew member to contribute in equal share.
While most rafting excursions only include two or three hours of time spent in the water — this varies, of course — preparation is not something you should take lightly. Forgetting to bring the right shoes to raft a Class I rapid might only end in mild discomfort but the same mistake could prove much more costly when traversing dangerous waters.
Gearing up for this outdoor activity tends to be on the expensive side, though it’s better safe than sorry, as the adage goes. Plus, if you have a good time, you won’t need to go out and buy new stuff for your next excursion — in fact, unless you’re paying a guide, you probably won’t have to spend any extra money at all. Regardless, you need to start somewhere. Here are our picks for the gear you should buy if you’re looking to break into whitewater rafting.
Essential Gear
Wetsuit and Drysuit
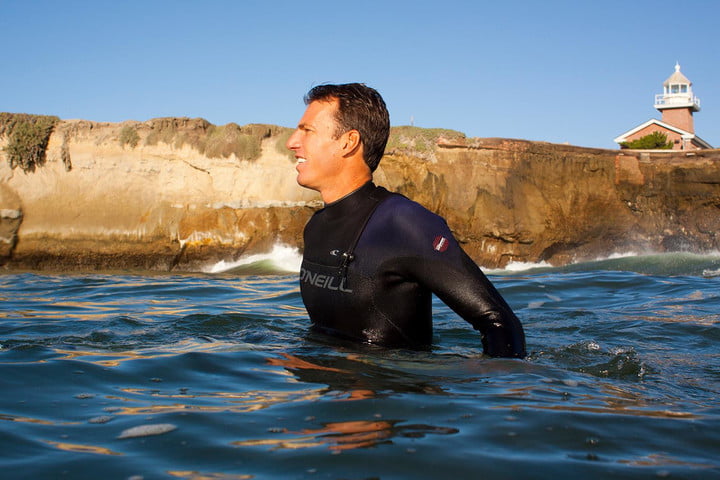
Because water and weather conditions vary dramatically depending upon your rafting location and the season, there’s no “one size fits all” answer for wetsuits and drysuits. First things first: What are they for?
Well, a wetsuit is a form-fitting neoprene shell designed to let water in and then trap it, allowing your body heat to warm up the water and, by proxy, your body. Wetsuits are best suited (pun intended) for warmer conditions, where you won’t freeze to death upon entering the water.
If you plan on rafting in water warmer than 65 degrees Fahrenheit, you’ll probably be okay with a rashguard or a partial suit. On the other hand, for water colder than 60 degrees, you’ll likely need a full suit, as well as boots, gloves, and possibly even a hood.
While wearing a wetsuit, your level of warmth is largely determined by the thickness of the suit — this number usually ranges from 0.5 millimeters to six millimeters. The trade-off here is that thicker suits are less flexible and therefore less comfortable. Most people wear rashguards and/or bathing suits under wetsuits to prevent chafing. Here, you can find a handy chart to figure out what kind of wetsuit you’ll need.
Drysuits, on the other hand, intend to keep you completely dry. Instead of adhering to your skin like a superhero costume, drysuits fit loosely, with seals at the neck, ankles, and wrists to effectively keep out water. Drysuits aren’t designed to keep you warm, however, so you’ll need to equip some (non-cotton) clothing layers underneath. Wool, fleece, and polyester or polypropylene are all good choices here, as they’ll retain their insulative properties, even when wet. Gore-Tex and Kokatat make quality drysuits, though the Gore-Tex ones tend to run more than $1,000.
Generally, drysuits are more pricey than wetsuits, as they’re better suited to cold weather and water. That said, paddling jackets and dry tops — which you’ll need to throw on over a wetsuit, if it’s really chilly — tend to run a few hundred dollars, so it really just depends on how you’re kitting out.
All told, you’ll want to buy a suit appropriate for the conditions in which you’ll be rafting. If it’s your first time, you’ll probably choose to raft on a sunny day and may expect water on the warmer end of the spectrum. To that end, a full body wetsuit will probably do the trick, and afford you some freedom in case the environs turn out more hostile.
Our top pick for beginning rafters: O’Neill Epic 4/3mm Wetsuit

O’Neill’s Epic wetsuit is an excellent starter suit. Made of 100 percent Ultraflex Neoprene, the FluidFlex Firewall technology wicks away water and sweat to keep you warm and dry in temperatures down to the mid-50s. A Covert Blackout back zipper and a double-layered neck seal closure ensure the suit easily slips on and off, while still providing maximum protection from the elements. If you know that you’ll be rafting in cold water, a thicker suit behooves you.
Amazon
Helmet
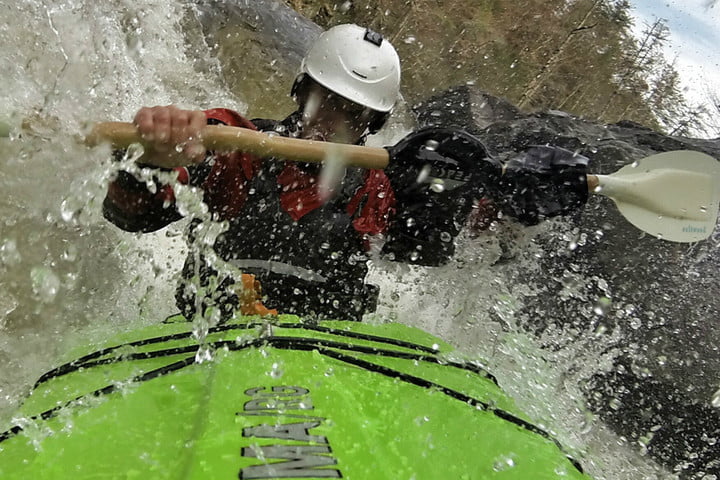
They might look silly — okay, they definitely look silly — but helmets are one of the most important pieces of gear for whitewater rafting and kayaking. Even if you’re planning on simply floating a lazy river, you’ll still want to protect your cranium in case you somehow exit the craft (probably by accident). Rocks and other debris are unforgiving, especially if you hit them at high speeds.
There are multiple styles of water helmets, ranging from basic skateboard-style headcovers to more expensive helmets that look like something a motocross rider might wear. No matter how much money you allocate for a helmet, you’ll want one that’s brightly colored so you’re easy to spot in the water. Cheaper helmets use ethylene-vinyl acetate (EVA) cushioning, while more expensive models incorporate a variety of materials to keep your brain cells intact.
If you’re just starting out, a cheaper model will do just fine. Sometimes, guided rafting trips provide helmets. Once you start tackling more challenging classes of rapids, you’ll want to upgrade your headgear appropriately.
Our top pick for beginning rafters: NRS Havoc Livery Helmet
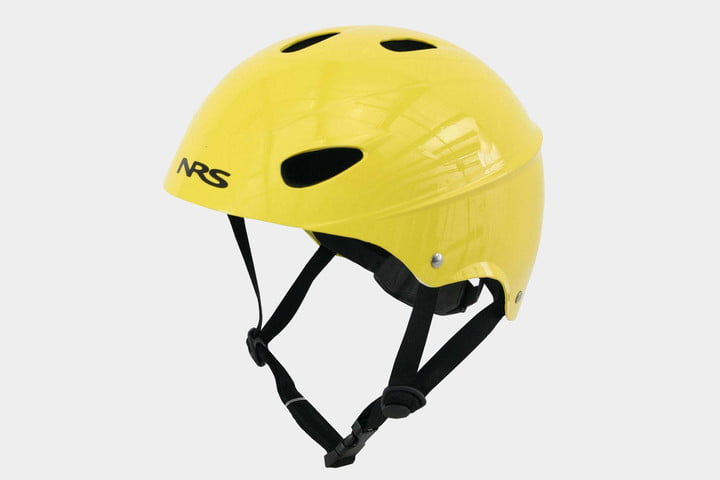
This “one size fits most” helmet provides good value for adults, with solid surface area coverage and a DialFit system that allows users to adjust the fit by simply turning a knob. The adjustable chin strap ensures the Havoc won’t pop off your dome and protective EVA foam lines the inside. We recommend red or yellow.
Amazon
Personal flotation device
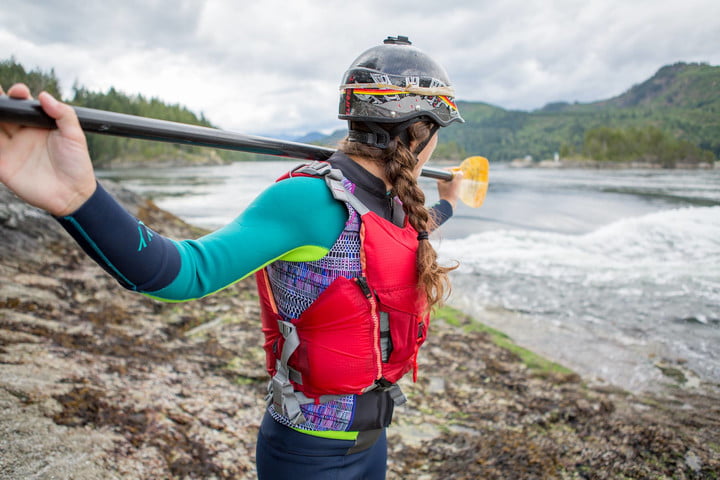
Personal flotation devices — sometimes called PFDs or life jackets — are an absolute must for anyone looking to raft. Falling into fast-moving rapids (especially whitewater) without a life jacket is essentially a death sentence, as you’ll more than likely sink to the bottom and hit a few rocks.
You never want to wear a flotation device but in the event something goes wrong, you’ll be thankful you did. Like helmets, bright colors are a good idea here. The best PFDs feel like a second skin and you’ll (almost) forget you’re even wearing one. More expensive models often include pockets, pouches, and loops onto which you hook vital gear. Weight is also a concern here and back support — some vests include lumbar pads.
Our top pick for beginning rafters: NRS Vapor PFD
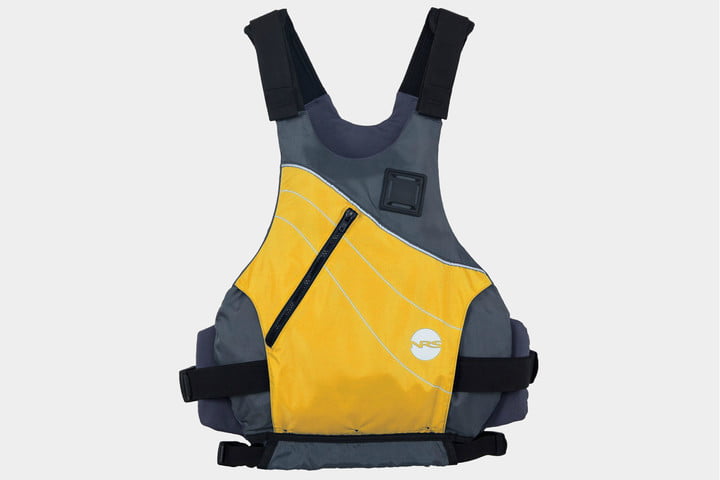
The Vapor, from NRS — the same company who makes the Havoc helmet — lives up to its name in that you’ll barely notice it while paddling. The lightweight vest is ultra-customizable, thanks to adjustable side webbing and shoulder straps, and works for most any adult. A handy front pouch allows for storage of key items — flasks, maybe? The hand-warming pouch can be clutch in cold weather scenarios, too.
Amazon
Footwear

It’s extremely important to wear appropriate shoes or sandals when embarking upon a rafting trip, especially in scenarios where you can’t guarantee warm weather. Generally speaking, there are four types of footwear you can use: boat shoes, wet shoes, water shoes, and water sandals.
Boat shoes — think Sperry topsiders — are not designed to grip on any terrain, or even to be fully submerged. They’re better suited for yacht wear (and nights out on the beach) than for rafting. Don’t wear boat shoes.
Wet shoes are slip-on style shoes designed to drain and dry quickly. These can be a good choice but offer little use out of the water (or on rocky seabeds).
Water shoes are the most versatile choice, featuring mesh uppers designed to drain and rubber soles designed to grip. Some water shoes offer athletic shoe-type support, and they’re great for trips where you’ll be hiking or walking in addition to paddling.
Water sandals are, well, sandals. They dry extremely quickly and they’ll keep your feet cool on hot days. Most water sandals have good grip, though exposed toes and heels can still take a beating.
If you’re just starting out, water shoes are the best choice. They’ll allow you to do more than just raft — but they’re great for rafting too, and they’re the safest option.
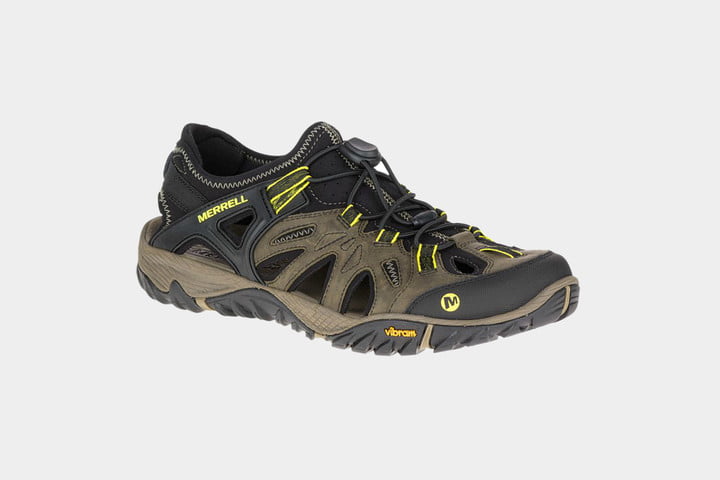
Our top pick for beginning rafters: Merrell All Out Blaze Sieve
Amazon
Raft
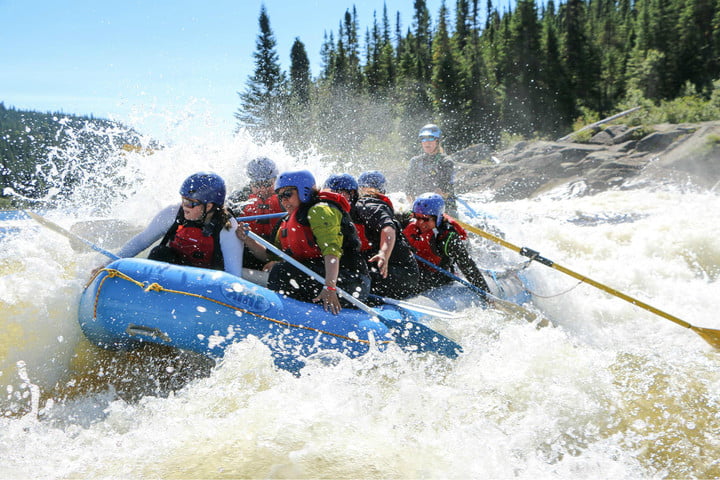
In the event you do need to purchase your own raft, you’ll need to carefully consider the conditions in which you’ll be using it, and the size of your presumed rafting group. There are three materials rafts are primarily composed of: PVC, urethane, and Hypalon.
PVC tends to be cheaper and stiffer, which makes it more suitable for punching through some whitewater waves. PVC rafts are also easier to walk on and the solid floor — assuming you’re using a raft and not a cataraft — is great for more relaxed float activities.
Urethane is the most expensive of the three, as a result of its lightweight, durable nature. Urethane is extremely tear- and puncture-resistant and the welding process used to create a urethane raft is incredibly reliable.
Hypalon is much lighter and more flexible than PVC but it’s glued together (as opposed to the welding technique used for urethane), and it’s a bit more prone to tear or puncture than urethane. Hypalon rafts are generally pricier than PVC rafts but cheaper than urethane rafts.
You’ll also want to decide whether a regular raft or a cataraft is best suited to your needs. Catarafts are composed of two inflatable tubes connected by a metal frame, while regular rafts are round boats with inflatable tubes all around the perimeter and a floor covering the middle.
Generally, catarafts are lighter and more maneuverable, and their open design means you won’t have to worry about headwinds or bailing water out (as there’s nowhere for water to pool). Regular rafts, by contrast, are much better for casual outings, as they hold more people, and the greater surface area allows for more carrying capacity — though, as a result of their shape and size, they’re more difficult to transport. If you’ve never rafted before, a cataraft might be more challenging than a regular raft, especially if you’re not planning on tackling difficult rapids.
Frankly, if you’re just getting into the rafting game, spending several thousand dollars on a brand new raft — when it might not even be a good fit for your needs — isn’t the best idea. Check out Craigslist or local raft swap forums to see if you can find a reliable raft without breaking the bank. If you’re dead-set on purchasing one directly from the source, though, we’ve got a recommendation.
Our pick for beginning rafters: NRS Outlaw 130

NRS’ Outlaw series combines versatility and value. The 13-foot Outlaw 130 features a 4-inch thick drop-stitch floor insert which inflates to provide stability and strength against even the strongest waves. 12 stainless steel 2-inch D-rings offer tie-down points for your gear, and a self-bailing floor lets you ditch the buckets and enjoy your trip. For less than $2,000, it doesn’t get much better than this, although the 2-piece floor design leaves something to be desired if you plan on running through rockier rapids.
Paddles

If you’re going to buy your own raft, you might as well buy some paddles to go with it. This might seem like a minor detail but you definitely don’t want to find yourself with two broken paddles as you approach the most difficult section of your run.
First, you’ll want to make sure you’re buying paddles of an appropriate length. REI has a great guide here to figure that out, with or without a raft. Paddles usually come in one of four materials: wood, fiberglass, plastic, and aluminum. Wood paddles are the most popular and are generally laminated or wrapped in a thin fiberglass shell. Wood paddles are comfortable to use, though they do require some upkeep over time (like sanding, for example). Fiberglass paddles are more expensive and less common but they’re nearly indestructible and you never have to worry about their condition. Plastic and aluminum paddles are cheaper and a bit less comfortable.
Longer paddles are best suited for floating and river paddling while shorter, wider paddles work better for river rafting or shallow water. Palm-grip paddles are the most common, as they fit naturally into your hand and provide a smooth, comfortable experience. T-grip paddles are better if you need more control over the paddle and the boat, and are favored by people braving more difficult waters. If you’re rafting, you’ll want a straight paddle, as opposed to a bent paddle.
Our pick for beginning rafters: Carlisle Economy Aluminum Canoe Paddle
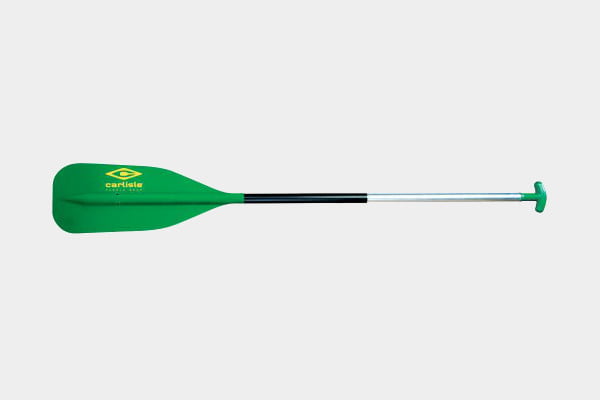
Carlisle’s Economy paddle isn’t the best fit for experienced rafters or people looking to challenge nature’s most difficult rapids, but it’s an excellent (and affordable) choice for anyone breaking into rafting. The blade itself and the T-grip handle are made of high-impact polypropylene, while the shaft is composed of tempered aluminum. It’s a lightweight paddle that should work especially well for rafters with less muscle mass, and the grip is more skin-friendly than most wood paddles.
Amazon
Where to buy your gear
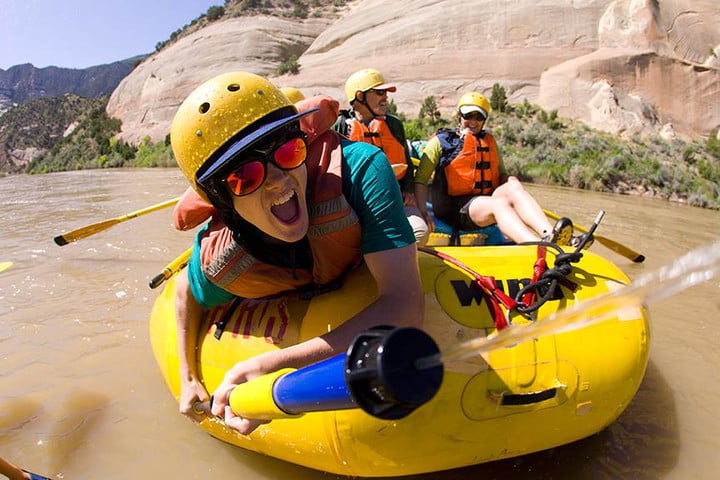
As previously mentioned, buying new gear is not recommended when rafting for the first time. Nearly all of the items on this list can be reliably sourced from flea markets, swap websites, or Craigslist, if you’re feeling froggy. In particular, BoaterTalk’s GearSwap is a great resource, if you’re not afraid of buying stuff from strangers on the internet. Of course, if you’ve got the cash, you can just buy new stuff but if you don’t end up using it very much, that’s a lot of dough down the drain.
What else do you need?
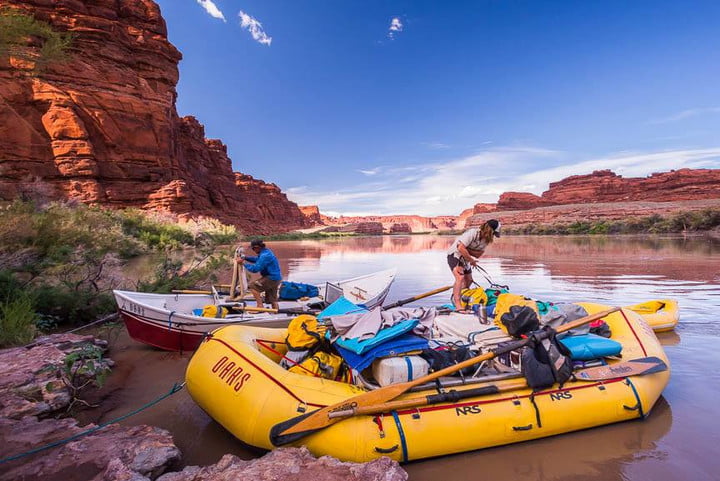
Sunglasses are often a necessity when rafting — even if it’s not that nice out, the sky can be blinding, and your retinas will thank you. In the same vein, you’ll want to get a sunglass retainer — like this one, from Chums — to keep those polarized bad boys on your head. There’s nothing more frustrating than hitting a rock and watching your $200 pair of shades fly away, never to be seen again. You’ll also want to apply sunscreen. Don’t be the person who forgets sunscreen and ends up miserable. Just don’t.
These days, most people want to bring their smartphone or a digital camera on rafting trips. While we can’t blame you — how else are you supposed to brag to your Insta followers? — we can recommend that you bring a dry bag
Knives — particularly river knives — can also be a handy tool if used responsibly. A knife gets you out of sticky situations by sawing through ropes or branches in a jiffy. Finally, don’t forget to bring food and/or drinks if you’re going to be out for a while. Nothing is quite as refreshing as an ice cold beer in the middle of the river. Nalgene bottles or Hydroflask-style temperature regulated bottles can be of use here. Bringing lightweight, high protein food (like Clif bars) is also recommended.


