
The Manual may earn a commission when you buy through links on our site.

Hiking poles 101: All the different kinds — and our top picks

Get a great set of trekking poles for your next adventure

A man stands in a field wearing backpack and using Black diamond walking poles.
Colby Winfield / Unsplash

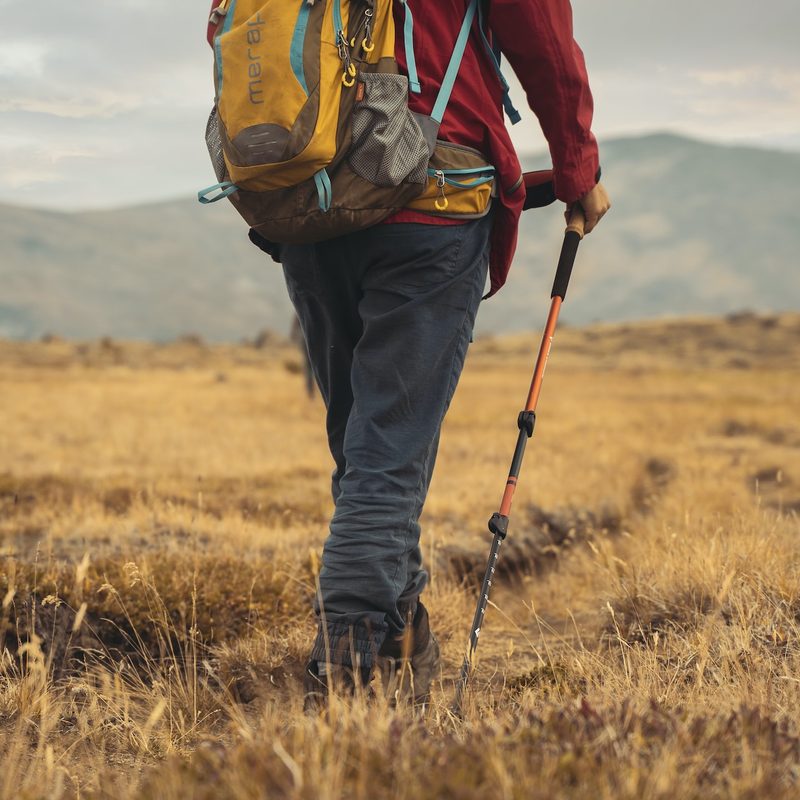
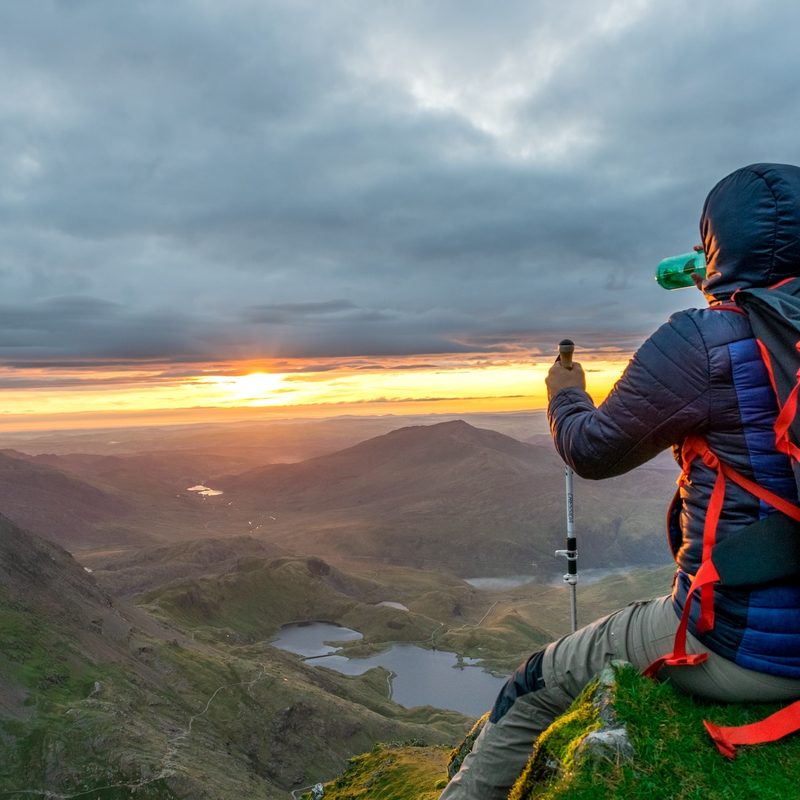
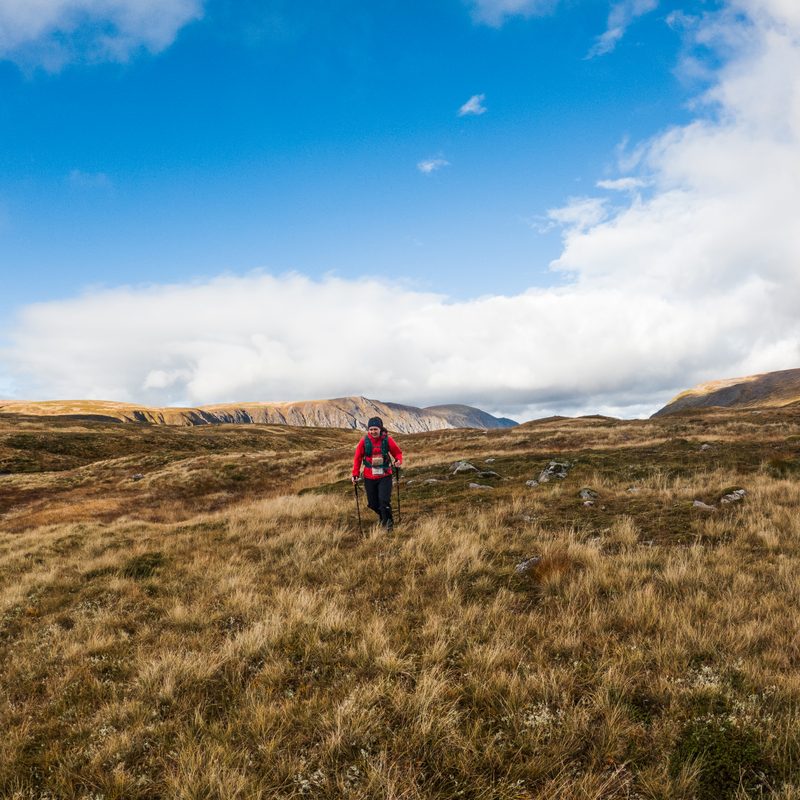
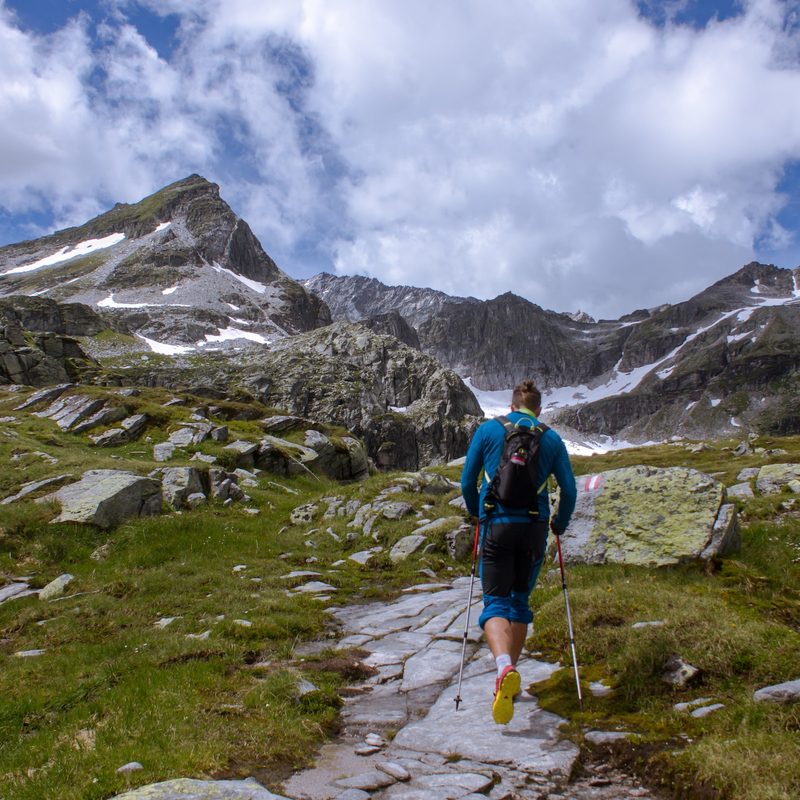
It’s generally recognized among hikers and backpackers that there’s no going back once you transition to using hiking poles. Using trekking poles may not be proven to reduce the strain on your body, but they help you balance on technical sections and help you to maintain posture, and increase your oxygen intake. These same reasons also see members of the ultralight and fastpacking communities using poles to help them cover longer distances more quickly.

While hikers understand that hiking poles positively impact your experience on the trail, many aren’t aware that they come in multiple styles designed for different terrain. Different hiking poles are determined by various factors, including the tip and basket, handles, and how they fold up. Many of the best trekking poles can be adapted to suit a variety of terrain, saving you from having to buy multiple sets, but some sets are more niche for specific environments. Here are the different types of hiking poles and how to pick the best for you.

A man sits on a rock looking out over a view.
Khamkhor / Unsplash

Telescopic hiking poles

Most hiking poles are telescopic, making them highly adjustable and easy to pack to fit inside your backpack when you don’t need them. These poles have at least 35 cm of adjustment and can be easily altered depending on your footwear stack height or terrain. Historically, telescopic hiking poles used a twist-lock system to secure the various sections, but more modern high-end poles use a clip-lock instead for a more secure setting that is less likely to slip.

Recommended Videos

While telescopic hiking poles may not be as strong or as light as fixed-length poles, they are strong enough for river crossings and to be used to support your tarp shelter. Telescopic hiking poles are the go-to for most hikers and have the bonus that sections can be easily replaced if they get bent or broken on the trail. Leki trekking poles are among the best telescopic options on the market, with the Black Series Carbon Trekking poles our top pick.

A person runs through the mountains with hiking poles.
Tom Kilpatrick / The Manual

Hiking Z-poles

The lightest hiking poles available may be fixed length, but when it comes to lightweight foldable options, look no further than z-poles. Unlike telescopic poles that fold inside one another, z-poles don’t require excess pole sections and the associated weight. Instead, these hiking poles have an internal shock cord that allows them to collapse into a Z-shape but to be pulled together to form a rigid pole.

Z-poles lightweight design makes them popular with the fast and light fraternity, though they aren’t quite as strong as telescopic poles and may not be suitable for river crossings and highly technical terrain. However, these poles tend to have limited — if any — adjustability and are, therefore, less versatile. The Black Diamond Trekking Poles Distance Carbon Z are arguably the best z-poles on the market, with the aluminum version a less stiff and expensive option.

Man walking with hiking poles
Jan Niclas Aberle / Unsplash

Pole tips

Most high-end poles come with adaptable pole tips. Additional ends can be added for varying terrain, and baskets can be changed depending on the ground conditions to help prevent your pole from sinking as you put weight on them. Hikers are often guilty of trekking pole laziness, though, and once their poles are set up will often neglect to change them as the conditions or trail vary. Here’s how you should set your hiking poles up for the trail:

Carbide tips

Most hiking poles are fitted with carbide tips, designed to not only withstand the hardships of the trail but also to dig into the ground and provide a stable position to push from. Carbide tips are best used on dirt, ice, and soft mud but are also used in gravel and even on some technical rocky terrain, where the precision of the narrow tip is preferable to a broader rubber tip.

Carbide tips are noisy, though, and provide no extra shock absorption. On the hard ground and solid trails, you may find that the sound of your tip hitting the floor begins to grate on you after a few hours and that your arms could benefit from a softer end. Carbide tips also leave a noticeable scar on the trail, and you should be aware of this before using them in environmentally sensitive terrain.

Rubber tips

Rubber tips are probably the most commonly used among thru-hikers and those on non-technical terrain. These feet are excellent on hard trails, where the rubber end protects the hiker and stops the carbide tips of your pole from wearing down and needing to be replaced. These soft rubber hiking pole tips won’t grip the ground in the same way as a carbide tip would, but on a solid trail, this won’t be a problem.

Should you lose or break a rubber tip, replacements are inexpensive. Many hikers carry a set of rubber tips for their trekking poles in their bag on all hikes, where they rely on carbide tips. If you hit a road or solid trail, you can slip the tips on and protect yourself and your poles from wear.

Boot tips

Boot tips take the idea of rubber tips one step further and give you a more directional style of pole tip. These boot tips are designed like the underside of a trail runner shoe, with a little rocker to help propel your pole plant forwards and keep you moving efficiently along the trail. Like rubber tips, boot tips are suited to hard surfaces but tend to have a larger surface area and more pronounced tread to offer more grip in various environments.

Mud baskets

In soft dirt, you can easily expend as much energy pulling your poles back out of the trail as propelling yourself forwards. Diving your poles deep into the mud wastes energy, and you risk losing your balance and falling or breaking your poles. Mud baskets screw or clip onto the end of your hiking poles – at the top of the carbide tip section — and act as a barrier preventing your pole from sliding easily into the floor.

Mud baskets are a valuable addition in soft mud and off-trail conditions, but be aware that they can sometimes impede precise pole placement in technical terrain. These mud baskets are also necessary for hiking in soft sand or long grass.

Snow baskets

Snow baskets on hiking poles are similar to mud baskets but tend to be much broader to create a larger surface area. If you’re hiking, snowshoeing in deep snow, or hitting the backcountry for some ski touring or splitboarding, a reliable set of hiking poles is a must-have. Without snow baskets, your entire day will be spent with your pole deep in the ground ahead of you. Like mud baskets in the summer, these snow baskets allow you to maintain your hiking rhythm. Similarly to mud baskets, though, snow baskets come unstuck in rocky and technical terrain, where the extra width can be an obstruction.

Tom Kilpatrick
A London-born outdoor enthusiast, Tom took the first ticket out of suburban life. What followed was a twelve-year career as…
How to calculate hiking time and plan for being away
Calculating your hiking speed isn't as hard as you think
Two people hiking together

To most people, planning a hike can be tedious, but for me, packing my bag gets me even more excited for the adventure ahead. One of the most important aspects of preparing for my hike is determining how long it will take to complete it. This is important for several reasons. First, you'll be able to determine what kind of equipment you'll need during that timeframe, and second, you'll be able to tell someone when to expect you back in case you go missing. About 600,000 hikers get lost every year in the U.S., so if you're one of them, calculating this could mean your survival. Here's how to calculate hiking time.
How to calculate hiking time accurately

If you’re an experienced hiker, you might have noticed that sometimes there is an estimated time listed for a hike in a guidebook or app, which is termed "book time." Almost across the board, these hike time estimations are calculated using Naismith’s (Time Estimation) Rule, which essentially says that it takes about 1 hour to hike 3 miles plus an additional hour for every 2,000 feet of elevation gained.

Read more
Try these lunch ideas the next time you go backpacking
Got a rumbling tummy on the hiking trail? Try one of these backpacking lunch ideas
Hiker with a backpack in front of a mountain lake background

Trail mix has to be one of my personal favorite snacks while backpacking. That said, you can't live on it, especially when you're hiking for miles every day. I'll be honest — dinner is my favorite meal while out on the trail, mostly because there's a higher chance that I can start a safe fire and simmer something delicious. Lunch, however, has been a challenge. Not only do backpacking lunches have to be delicious and satisfying, but they also need to be easy to prepare. Hopefully these backpacking lunch ideas will help.
Things to consider for backpacking lunch ideas

When planning backpacking lunch ideas, it's more important than ever to choose foods that are nutritious, lightweight, nonperishable, high in energy, and most importantly, easy to prepare. You might not have access to a campfire while you're out backpacking, so here are a few considerations to keep in mind.
Easy preparation
I love preparing a hearty meal while backpacking or camping, but not during prime daylight hours when I could be making better time. That's why I always reach for easy-to-prepare meals. Sometimes, I even do a lot of the prep work while I'm still at home. That way, all I need to do is find a nice view.
Weight and packability
I've made the mistake of packing a huge cooler with sandwiches. Not only do you have to lug the entire thing up the mountain, but you've got to bring it down, too. Plus, on a multiday backpacking trip, no ice pack is going to last that long. Be careful that the food you take is lightweight, and avoid foods that require excess packaging or bulk.
Caloric density
Since backpacking is a high-energy sport, you'll want to select foods based on nutrients. High calories are one thing, but to get the most energy from your food, aim for a balance of carbohydrates, proteins, and fats. Make sure you're incorporating proteins so your muscles can repair after a long day of hiking.
Shelf stability
A lot of backpackers plan their trips for the summer, which means having to deal with the heat. This can definitely play a part in what kinds of foods you bring. Backpackers aim to bring as light as possible, so foods that don't spoil and don't need excessive cooking are going to be your best friend.
Our favorite backpacking lunch ideas

Read more
How to choose the perfect sleeping pad for winter camping (plus, top picks)
Don't go winter camping without a sleeping pad
Woman with a headlamp camping in a winter tent surrounded by snow.

No matter how thick your winter sleeping bag is, you'll lose the battle with the cold if you don't have a sleeping pad. Sleeping pads serve two very important purposes: insulation and comfort, both of which are critical for winter camping. In this article, we'll explain what to look for when you go out to buy your sleeping pad, as well as our best sleeping pad for winter camping.
What to look for in a sleeping pad for winter camping

What is an R-value?
The resistance value, also known as R-value, is the measure of thermal resistance or the effectiveness of your insulating material. In the context of your sleeping pad, it indicates how well the pad prevents heat loss from your body to the cold ground. The higher the R-value, the more effective your sleeping pad will be at keeping you warm. For winter adventures, we recommend a rating of 4.5 for moderate winter conditions, 5 if you're expecting to see temperatures below freezing.
Types of sleeping pads
Air pads are going to be your best bet if you're looking for something super compact, however they come with some drawbacks. Since they are not super durable, you can accidentally puncture a hole in one fairly easily. Blowing them up by mouth will also introduce moisture into the pad, which can reduce its insulating properties. That said, they're pretty comfortable and you can adjust the firmness by deflating the pad to your preference. Most campers recommend putting down a closed-cell sleeping pad below the air pad to keep it from scraping against the ground.

Read more