GPS devices and GPS apps for your phone and even navigation watches with GPX files are nearly foolproof today. But what about when you run out of battery or your waterproof device isn’t as waterproof as you had hoped? Even worse, what if you spend your entire trip with your head buried in your GPS without taking the time to get to know your surroundings?
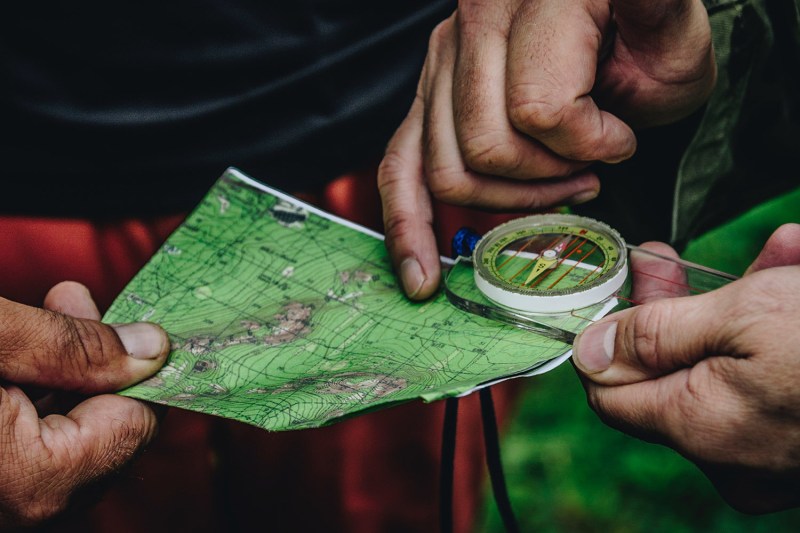
Here at The Manual, our number-one backpacking essential for every outdoor adventure is the humble map and compass. It’s no use just buying these items and stuffing them into your backpack. First, you need to learn how to read a topographic map and know what all the twisting bits do and what the numbers mean on your compass. It can all look quite confusing, so we’re going to demystify the art of how to navigate using a map and compass and let you go old school, ditch the GPS, and get to know your surroundings intimately.
Know the parts of the compass
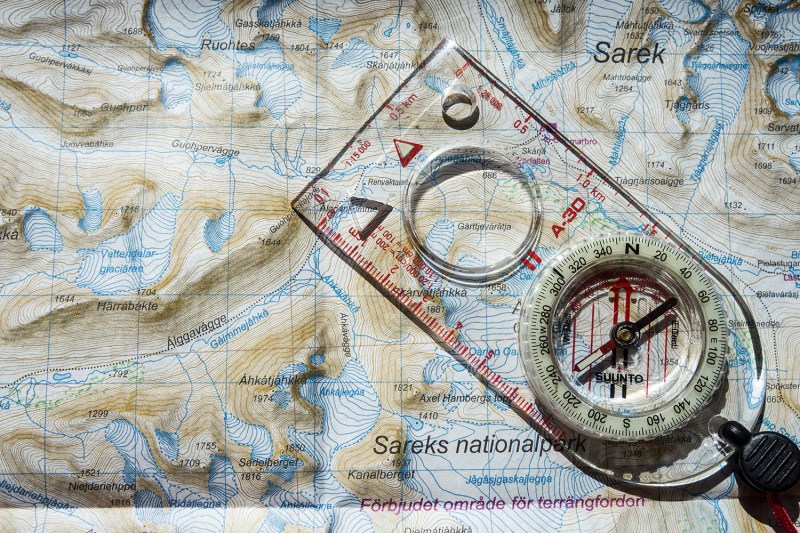
- Direction of travel: the printed arrow at the head of the compass.
- Scales and rules: printed scales down the side of the compass. These denote distances for maps of various scales.
- Magnetic needle: the most important feature of a compass. The red end points north.
- Rotating bezel: also known as the azimuth. This bezel is marked with degree increments.
- Orienting lines and arrow: inside the rotating bezel are orienting lines and a red arrow. These are used for bearings.
Orient your map
You don’t want to set off in the wrong direction, do you? In a landscape with obvious features, lining your map up with the real world can be straightforward. In a forest or on an open hillside, where there aren’t large and obvious features, you are usually best off using your compass to orient your map.
Step 1: Adjust your compass for declination
There are two types of north: magnetic and true. These two norths don’t quite align, and with magnetic north drifting every year, you may need to use a geomagnetic calculator to check the current difference where you are. If your compass has adjustable declination, alter it to the number of degrees for your location. This may be a moving bezel or a screw on the rear of your compass. If your compass does not have adjustable declination, you will need to add or subtract the number of degrees manually each time you take a bearing.
Step 2: Line up your orienting line with your direction of travel
Spin your bezel until the orienting lines and arrow align with the direction of the travel arrow printed on the baseplate. If you are manually adjusting for declination, remember to do so now.
Step 3: Line up the orienting lines with the northings
The north/south grid lines on your map, also called northings, should be aligned with your orienting lines in the compass housing. Place your map on a flat surface, or hold it level, and place your compass on top lined up with these northings.
Step 4: Line up your orienting arrow with north
Turn your body until the magnetic needle comes to rest in the orienting arrow. Give your compass a moment to settle, and remember to keep it flat. Your map is now oriented north and you are ready to navigate.
Using your compass to take a bearing
Often, it’s enough to know that your desired campsite is to your east or perhaps your southwest. If you want to get more specific, a bearing allows you to give precise directions in increments of degrees. This is really useful in open ground or poor visibility, where a slight error can lead you astray.
Step 1: Line your compass up with your direction of travel
Lay your compass on your map with the edge, and therefore, the direction of the travel arrow, pointing from your current location to your endpoint.
Step 2: Line the orienting lines up with the northings
Turn the bezel until the orienting lines are aligned with the north/south grid lines. Make sure these are round the right way — as a hint, your orienting arrow should be pointing north on your map.
Step 3: Read your bearing
The markings around the bezel are degrees. There is an index line aligned with the direction of the travel arrow and this will give you your bearing.
Step 4: Follow your bearing
Remove your compass from the map and hold it level at around waist height. Remember, if you are adjusting for manual declination, you may need to add or subtract some degrees as you move from grid north to magnetic north to ensure a true bearing. Turn your body until the magnetic arrow lines up with the orienting arrow. Your direction of the travel arrow will now be pointing towards your chosen destination.
What’s the difference between triangulating with a map and taking a bearing on a compass?

Triangulating and taking a bearing aren’t the same thing, but they are related techniques used in navigation. We’ll explain the difference.
- Taking a bearing: As explained above, this involves using a compass to determine the direction (in degrees) from your current location to a specific landmark. You would use the map to identify the landmark and then take a compass reading to get its bearing. This tells you the compass direction you need to travel to reach that landmark, but not necessarily your exact location.
- Triangulation: This is a technique for finding your current location on the map. It involves taking bearings to multiple landmarks (usually two or three) from your current spot and plotting those bearings on the map. The point where the lines you draw on the map intersect indicates your approximate location. So, triangulation uses bearings as a tool to pinpoint yourself on the map.
Think of these two navigation terms like this. Taking a bearing is like pointing your finger at a specific landmark and asking, “How do I get there?” The compass gives you the direction to travel. Triangulation is like asking, “Where am I?” It uses bearings from multiple landmarks to figure out your location on the map.
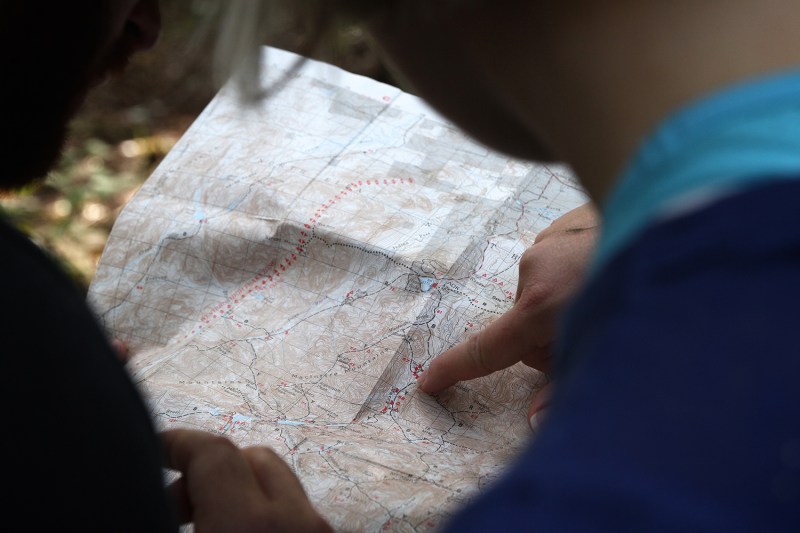
We recommend practicing these skills before you rely on them in the backcountry. Your mind can play tricks on you, and it’s not uncommon to meet experienced outdoorsmen with stories of disregarding their compass in favor of their instinct, only to find out that they should have trusted the needle. Lowering your dependence on technology in the backcountry not only means you’re not relying on batteries, but you also get your head out of the phone screen. Using a map means looking around you, taking in the surroundings, and getting a deeper appreciation of where you are.
Need more convincing? Well, a map isn’t going to interrupt you with an urgent work email halfway through a hike.