How To Use a Foam Roller Like a Personal Sports Masseuse

Foam roller exercise
Image used with permission by copyright holder

Contrary to their innocent appearance against the backdrop of huge weights and complicated exercise machines at the gym, foam rollers are actually quite powerful tools of self-myofascial release — otherwise known as self-massage — when used the right way. They can help flexibility, boost circulation, reduce soreness, increase range of motion, and remove lactic acid to speed workout recovery. This exercise can be done pre or post-workout, or even at home on off-days. On top of that, foam rollers cost only a fraction of what a sports therapist or deep-tissue masseuse will charge you for a similar experience.

“All men can benefit from foam rolling, whether you’re a weekend warrior or an ultra-marathoner. Stress, diet, and your daily life are also reasons why foam rolling is for everyone. Starting tomorrow with just a couple of minutes of building, the habit and routine will be beneficial for you,” says Bill Elkins, athletic director at New York Health & Racquet Club.
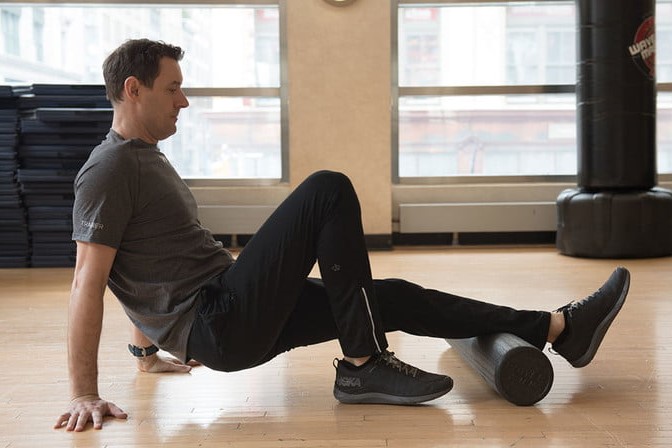
Image used with permission by copyright holder

To help your body continue operating at peak performance, we leaned on Elkins to create the following guide to foam rolling. You can use foam rollers to help you warm up before a difficult workout session, cool down and alleviate soreness, and even speed up recovery time. Learn how to use this powerful tool with the help of Elkin’s tips and stretches below.

Recommended Videos

How to Use a Foam Roller: Exercises

Image used with permission by copyright holder

Calves: With the roller placed under the calf, keep your toe pointed toward the sky and roll from the ankle to below the knee. Roll for 30 to 60 seconds and apply pressure as is comfortable. Stack your legs to add pressure.

Hamstrings: Similar to the calves exercise, start with your legs out in front of you and place the foam roller beneath your hamstrings below your glutes. Roll up and down between the back of your knees and your glutes, stopping to linger on tender spots.

Foam roller exercise
Image used with permission by copyright holder

Quadriceps: While lying on the stomach, place the roller under your upper thigh and roll down to the top of the knee and back. Roll for 30 to 60 seconds and apply pressure as is comfortable. Stack the legs to add pressure.

IT Band: The IT band runs along your outer thigh from the hip to the knee and is made entirely of connective tissue. It helps to extend, abduct, and rotate your hip and tends to get sore from sitting for long periods of time.

Image used with permission by copyright holder

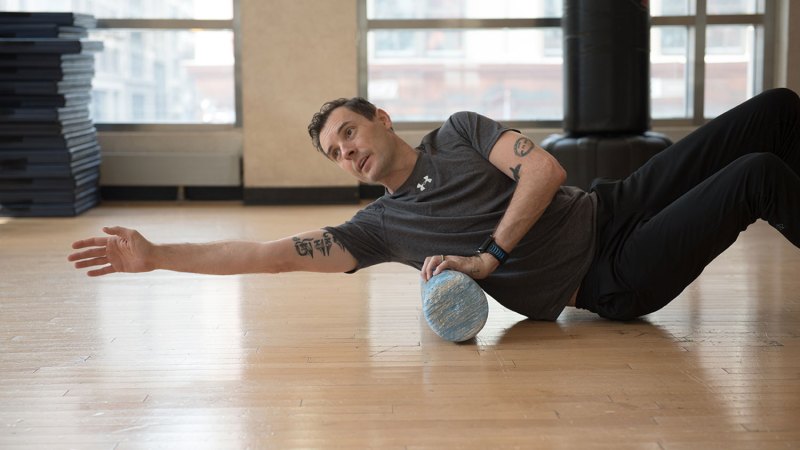
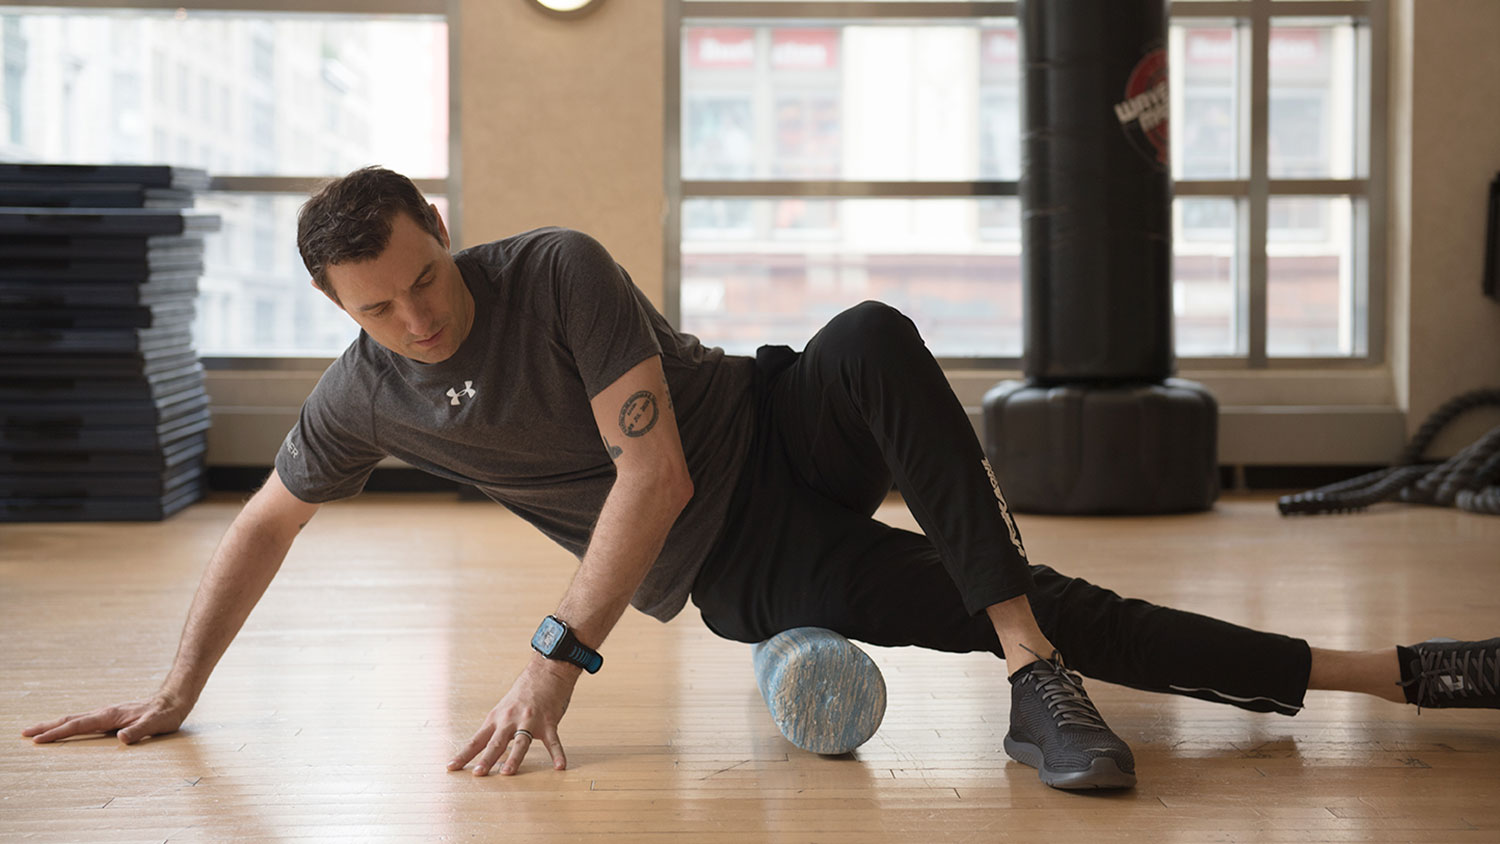
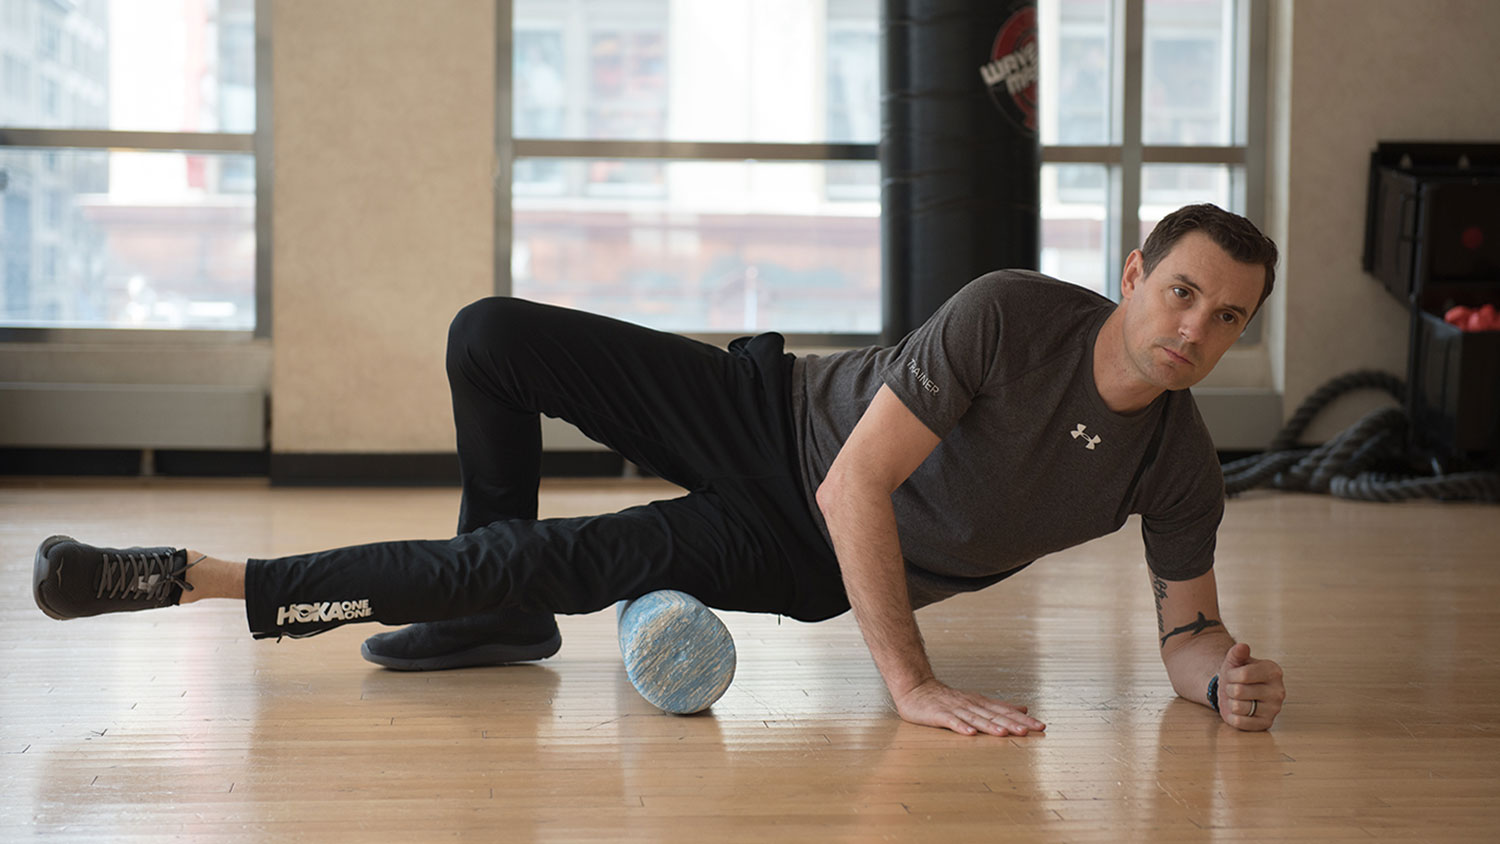
While lying on your side, place the roller under the hip. Roll down to your knee then back up to the hip. Place your hands on the ground for balance. Roll for 30 to 60 seconds and apply pressure as is comfortable. Stack your legs to add pressure.

Upper back: If you tend to hold a lot of tension in your upper back, using a foam roller could provide you with some relief. Simply begin by lying with your back on the foam roller, knees bent and feet on the floor. Brace your core and lift to begin rolling up and down the spine, loosening up any tight spots along the way.

Image used with permission by copyright holder

Lats: Recovering from a tough back workout? This stretch can help loosen up the area commonly referred to as the “wings,” located on your back below your armpits. Start by lying on your back at a 45-degree angle with the foam roller resting under your right lat. Bend your legs in a comfortable position, with one lying on the ground and the other foot on the ground with the knee bent. Start rolling from your right armpit down to your mid-back area, focusing on tender areas. Switch sides and repeat.
Nate Swanner
Former Digital Trends Contributor
Nate is General Manager for all not-Digital-Trends properties at DTMG, including The Manual, Digital Trends en Espanol…
A beginner’s guide on how to shift bike gears like a pro
Mastering how and when to change gears on your bike can help you become a faster, stronger, and better cyclist.
how to shift bike gears bicycles parked on road

With spring here and summer just around the corner, the days are steadily getting longer, and that means it's time to head outdoors. Thoughts of racing a bicycle along a forested single-track trail or a tight city street might soon begin to fill our minds. Biking is a nice middle ground — a bit more exhilarating than hiking, but not as expensive as buying a motorcycle.

Perhaps you're a mountain bike beginner, considering buying your first setup. Maybe you're upgrading from a single-speed. You could even be looking to ditch your city-friendly folding bike and start heading for the hills. Whatever style of bike or bike riding you're into, knowing how to shift gears is essential to optimum pedaling efficiency. Let's dive into the basics of how to change gears on a bike.
Bike gears explained

Read more
How to plan your Glacier National Park visit for 2025: Reservation deadlines and key rules
Here's what Glacier National Park's new reservation system will mean for you in 2025
Hiking Glacier National Park in Montana.

Glacier National Park is one of the most gorgeous ones in the United States, so it's not a surprise that it saw almost three million visitors in 2023. Visitors can't get enough of Going-to-the-Sun Road, Lake McDonald, and the many lakes and glaciers in the area — the best time to visit Glacier National Park is often the busiest time. Because of the congestion in recent years, the National Park Service had previously enacted a reservation system for entry to the park as part of a pilot program. The National Park Service recently revealed this will continue in 2025, including timed entry reservations for the west side of Going-to-the-Sun Road and the North Fork — here's what you need to know.
Here's how it will look like going into 2025
Going-to-the-Sun Road, Glacier National Park Tevin Trinh via Unsplash / Unsplash
West Entrance: Going-to-the-Sun Road

Reservations required: 7 a.m. – 3 p.m., June 13 – September 28.
Applies to travel beyond Apgar Village.
Entry without a reservation: Before 7 a.m. or after 3 p.m.
Exceptions: Visitors with lodging, camping, or certain commercial reservations (originating beyond Apgar checkpoint) will be allowed entry.

Read more
How to plan a day hike: Essential tips for beginners
Day hikes aren't hard to plan; just follow these steps
Man wearing yellow jacket and backpack hiking or rucking in forest or woods with tall trees

Day hikes are one of America's most treasured pastimes, and with some of the most amazing sights for hiking on the globe, it's easy to see why. Nothing beats the fresh air and the invigorating exercise, and the best part is that you can go on these adventures pretty spontaneously. While day hikes require minimal planning, there are still a few things you should bring together before you go.

In this guide on how to plan for a day hike, you'll find essential tips for mapping out your route, packing the right gear, staying nourished, and ensuring your safety on the trail. Follow these steps, and you'll be ready for a successful day hike.
Get the route right

Read more