So you’ve made up your mind and you’re ready to commit to the one-person tent lifestyle. Good for you. These bad boys are faster, lighter, and more efficient than anything else on the market. And while fast and light are always nice, take it from us: You don’t want to get caught up simply chasing the lowest weight and smallest packed size possible. Don’t get us wrong, both are important aspects of a one-person backpacking tent, but they aren’t the end-all-be-all factor in the segment.
Any solo backpacking tent worth buying is both small and compact. Why else would you buy one? With that being said, unless you’ve got strict goals for total pack weight and/or volume, neither one should be your primary concern when choosing a one-person tent. So, what makes a one-man backpacking tent a winner? Simple: Livability.
The term “livability” refers to a broad range of features you’ll want to look out for in a solo tent. We’ve conducted extensive one-person tent testing and decided to narrow down the features we’ve found that make a one-person tent as livable as possible. Below, we’ll break down what we consider the most important aspects of livability and how to spot them in your next tent.
Bonus: Three-season tents explained
If you’re interested in camping most any time of the year, a three-season, one-person tent is a smart investment. With a three-season tent, you can comfortably camp during the spring, summer, and fall. These specialized tents prioritize breathability and weight over features for extreme weather conditions. They also protect you from light rain, wind, and insects.
You want as much interior space as possible

There’s no easy way to put this, so we’ll just come out and say it: The interior space on your average one-person tent falls somewhere between the back seat of a Volkswagen Beetle and a plus-sized coffin. Once the rainfly is on and the door is closed, it’s all a little cramped, a little awkward to shift around in, and incredibly inconvenient to change clothes inside. That’s just part of the experience.
For that reason, we can’t over-emphasize shopping for a one-person tent with as much interior space as possible. When we talk about interior space, we’re referring to three main dimensions: Floor space, peak height, and shoulder room. All three are important, so let us explain how they work.
Floor space explained
Floor space refers to the dimensions of the actual floor of the tent, where you’ll be spending all your time laying down and (hopefully) getting some much-needed rest. The first number you’ll want to know here is “floor area” which refers to the total square footage of the tent floor, head to toe and side to side. The sweet spot is typically somewhere around 20 square feet, but that number doesn’t tell the whole story.
The second number to look at here is the actual “floor dimensions,” which dictate how that total floor area is distributed throughout the tent. Because most one-person tents use a “tapered” shape, you’ll find the floor dimensions listed in one number for overall length (the head-to-toe measurement) and then two different numbers that tell you the widest and most narrow portions of the tent.
You want to focus on the larger of the two measurements first and foremost because this number dictates how much shoulder room you’ll have when laying down, and also factors into how much total space you’ll have when sitting upright in the tent. A good one-person tent manages between 35 and 40 inches at its widest point, but some do even better than that. The smaller number of the two is less significant, since you’ll only be keeping your feet there while resting/sleeping. Just make sure there’s enough room there to fit your sleeping pad with an extra inch or two on either side to keep you off the walls of the tent.
Less expensive one-person models often use a simple rectangular shape like a camping tent, and only have two measurements listed for length and width. This approach saves money and is by no means a deal-breaker, but these models are typically heavier and less livable because they don’t maximize space at the torso where you really need it.
Peak height explained
The “peak height” measurement listed for a one-person tent describes the height of the ceiling of the tent at its tallest point. In the case of one-person tents, this number only applies to the small portion of the ceiling where your head hangs out when you’re sitting upright inside the tent.
We’ll note a few important aspects of peak height here: First, because you’ll inevitably pass several hours at a time inside your tent waiting for bad weather to pass, you need to make sure you’ve got enough peak height to sit upright comfortably without your head touching the ceiling of the tent. Waiting for the rain to pass isn’t fun, but waiting for it to pass while hunched over is worse. Second, you need to factor in your sitting height plus the extra inch or two added on by your sleeping pad of choice to make sure you’ve got the height you need. For best results, get a friend to measure your height while sitting cross-legged on your pad, and add another inch or two to that for breathing room.
Shoulder room explained
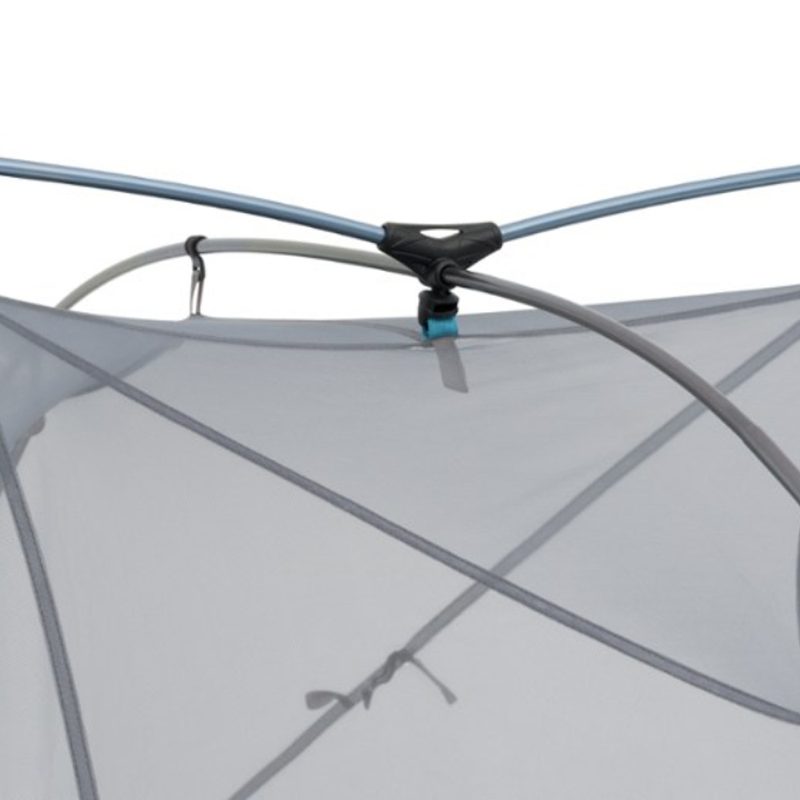
Shoulder room typically isn’t explicitly listed in a tent’s dimensions, but you’ll want to take it into consideration when shopping. Again, what we’re after here is maximizing the amount of space in the part of the tent we’ll be spending the most time hanging out. On one of our test tents, the Sea To Summit Alto TR1, you’ll see in the image below that the manufacturer cleverly maximizes shoulder room by utilizing a lateral support bar called a “tension ridge,” which pulls the walls of the tent out and away from your body until they’re nearly in line with the widest part of the tent floor. It may seem like a small detail, but making a one-person tent livable is all in the details.
You can’t put a price on a great vestibule
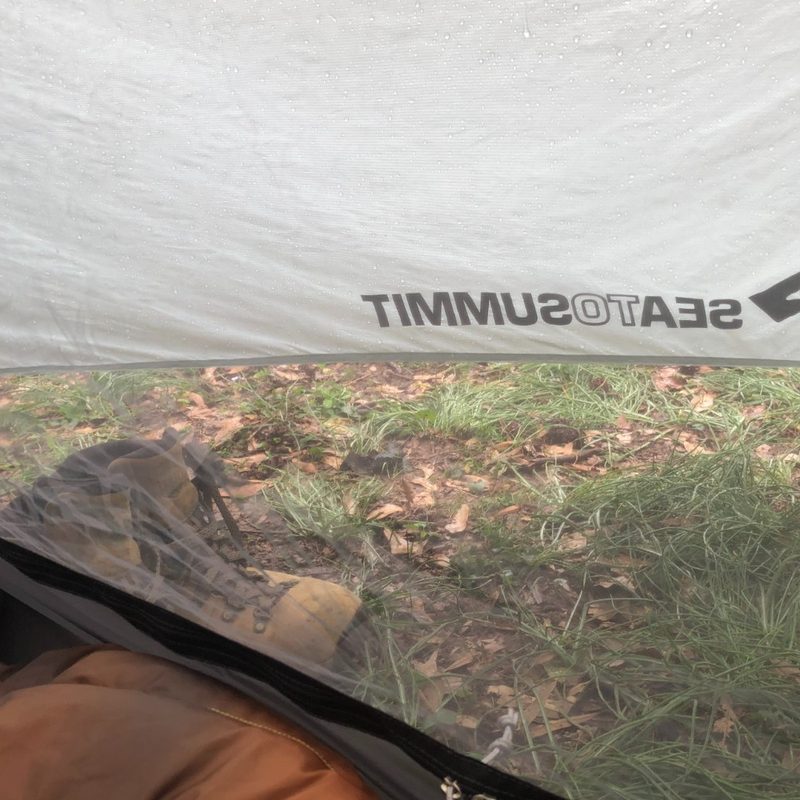
We’ve already established that there isn’t room inside the canopy of a one-person tent for much more than a resting body, which means you’ll want to pay special attention to the dimensions and features of the tent’s vestibule design.
Your vestibule is the part of the rainfly that extends outward from the door of the tent, and the best vestibules serve two purposes: First and foremost, they give you a place to store outdoor gear and equipment outside the tent that’s protected from rain. You want enough vestibule space to store your pack and a pair of muddy boots at a minimum. The second thing your vestibule does is give you more shady space to hang out when the weather is good: Sometimes we sleep under the canopy of a dense forest, sometimes we’re in the middle of an open field or a hot desert. Having somewhere to beat the heat is always nice.
Small interior features go a long way
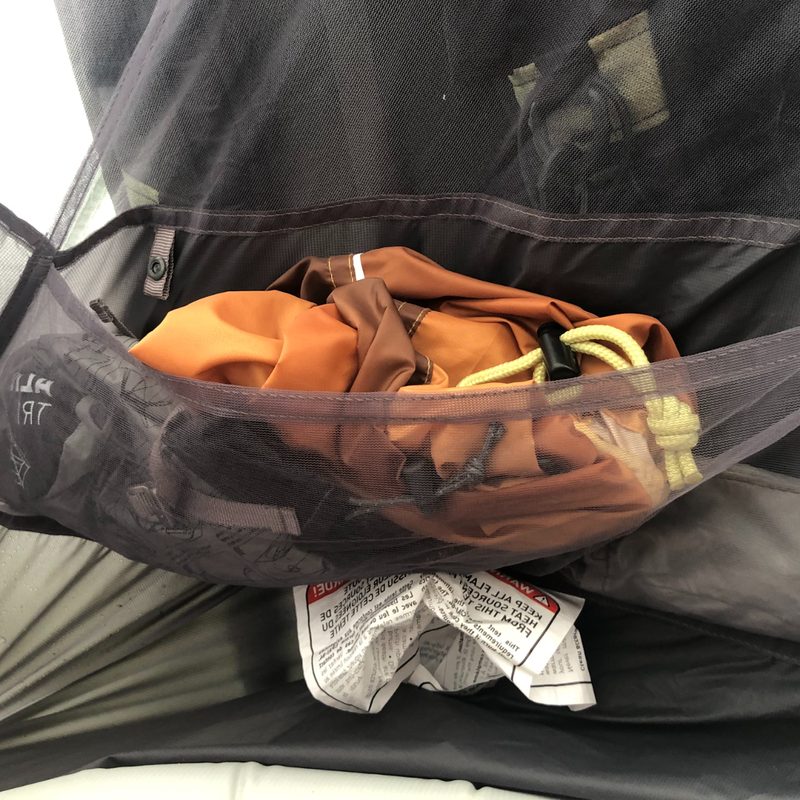
Because space inside the tent is already at a premium, one of the things that makes a one-person tent extra livable are all the little extras manufacturers cleverly build into the interior. Light-diffusing panels that turn headlamps into nightlights are always nice to have, as are all the streamlined mesh pockets you can stand inside the tent to help you keep organized.
The sky is the limit here, but every little bit counts. Every little pocket, hook, and snap inside your tent has a use, whether it’s storing electronics, hanging pairs of hiking socks, or making hands-free reading that much more convenient.