
Don’t make these 5 mistakes when packing your hiking pack

Don't make these 5 hiking pack mistakes

A hiker carrying his hiking pack and gear.
Image used with permission by copyright holder
A hiker carrying his hiking pack and gear.
Image used with permission by copyright holder

Lace up your boots, grab your hiking pack, and get ready for an adventure! Hiking is a great way to explore the great outdoors, get some exercise, and maybe even spot a wild animal or two. But before you hit the trails, there are a few things to keep in mind when it comes to packing your bag. 

Keep reading to discover the top 5 hiking mistakes you should steer clear of for a successful trek.

A man hiking with gorgeous lake view
Unsplash

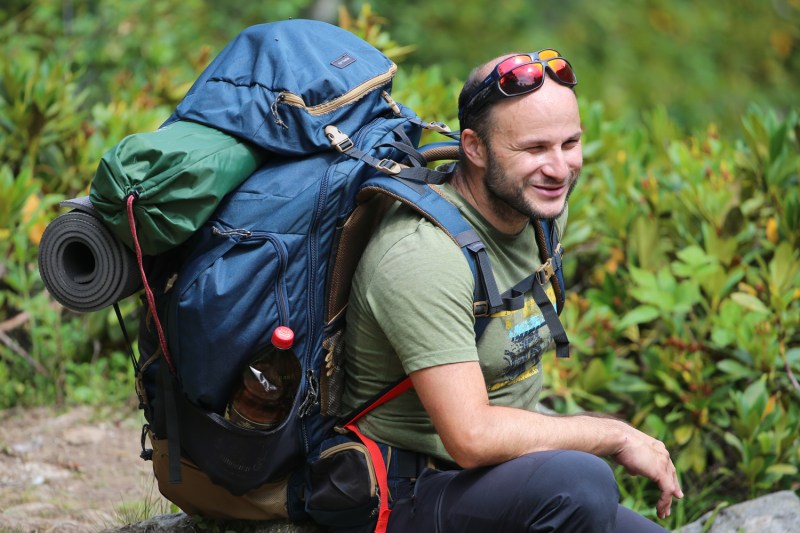
Don’t forget essential items

When preparing for a hiking trip, it’s important not to forget any essential items. Since excitement can sometimes lead to forgetfulness, it’s best to make a list of all the gear you’ll need. Start by gathering all of your essential gear, including backpacks for hiking, proper footwear, appropriate clothing, food, water, and a first aid kit. Once you have everything you need, double-check your list to ensure that you haven’t forgotten anything important.

Recommended Videos

man hiking 10 miles.

Check your gear before the trip

Before packing, check all your gear to make sure it’s in good condition. Broken or damaged equipment can make your trip uncomfortable and even dangerous, so don’t make this mistake! Fix any rips, fraying laces, or buckles to ensure a safe trip. This is also a great time to re-evaluate your gear and figure out which things you actually use and which can be left at home. 

Man hiking on a trail with small girl.
Juliane Liebermann / Unsplash

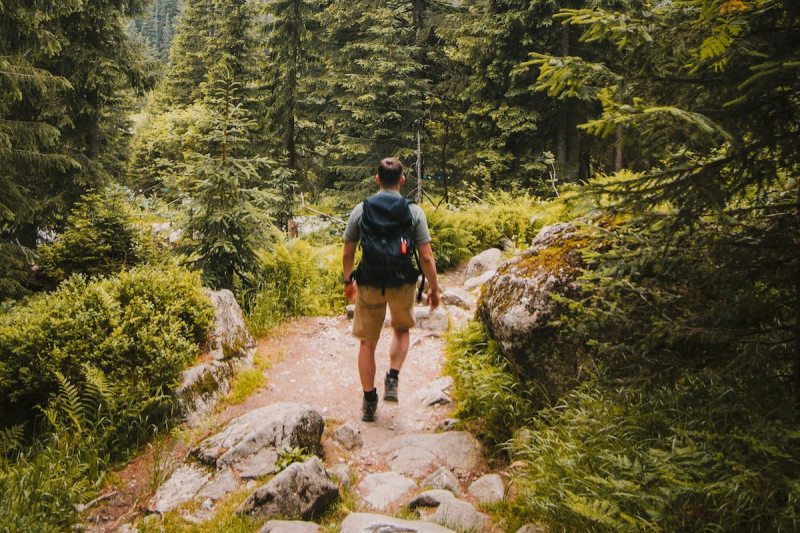
Don’t overpack your bag

After that, it’s time to tetris everything in! But don’t be too hasty. While it’s tempting to bring some comforts of home, luxury items can add unnecessary weight. Overpacking your bag can make the hike more challenging than it needs to be, so think critically about each item you bring and leave the non-essentials at home. 

warm weather hiking clothes.
stokpic / Pixabay

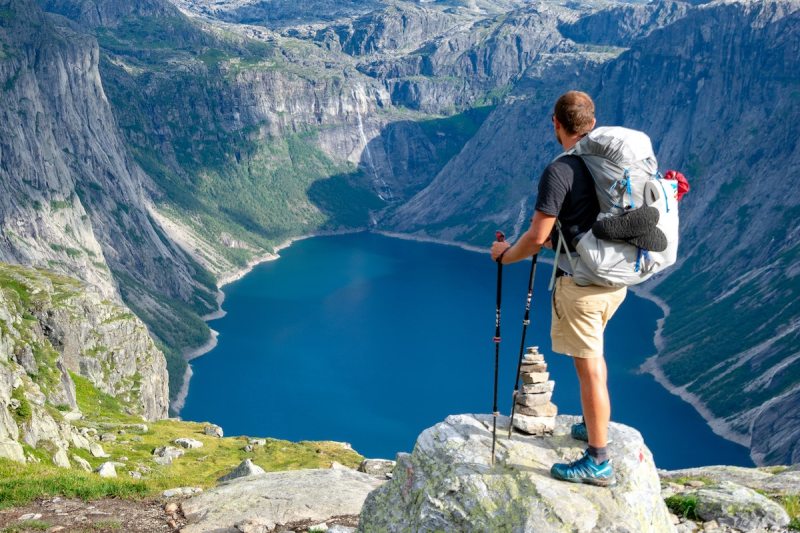
Distribute items by weight

The last thing you want is to be climbing up a boulder, only to lose your balance because you’ve placed all of your heavy items to one side of your bag. To ensure a safe hiking trip, distribute the weight as evenly as possible by placing heavy items in the middle, and lighter items to the sides. If possible, avoid placing your heavy items on top of lighter ones. This could make you top-heavy and could cause discomfort or even injury. 

Person pouring coffee from a thermos on a hiking trail.
Annie Spratt / Unsplash

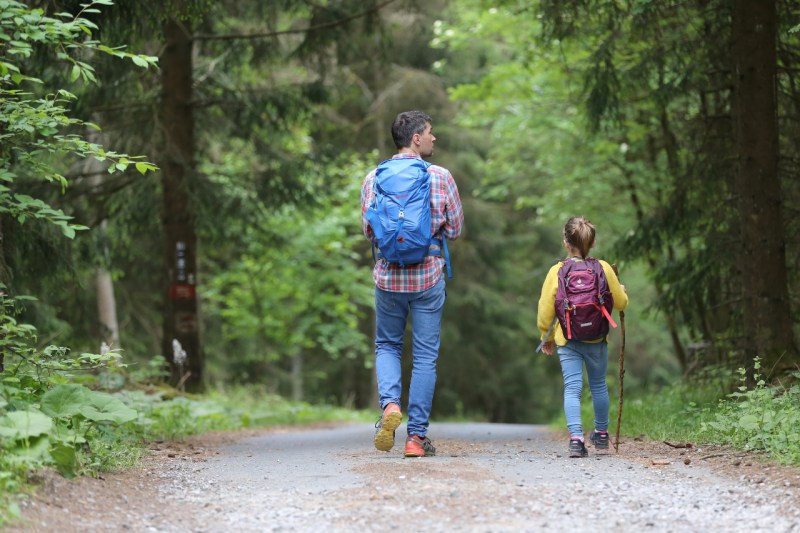
Pack your must-haves in an accessible place

Hey there, fellow adventurer! When you’re packing for a hiking trip, it’s important to keep your must-have items in an easily accessible place. Things like snacks or a first aid kit can come in handy when you need them quickly, so it’s best to pack them in a convenient location within your backpack, such as a waist belt pouch. Trust me, it’s not fun rummaging through your entire backpack when you’re in a hurry or an emergency situation! 

There’s a lot that goes into packing a hiking backpack, but if you avoid these mistakes, you’ll be well on your way to a smooth adventure. Just remember to use your best judgment and learn as you go. Double check your gear, leave non-essentials at home, and keep your must–haves at hand, and you’re sure to have an stress-free and safe hiking trip. Have a blast on your adventure!

Topics
Sarah Joseph
Sarah is a lover of all things outdoors. With a bright sense of adventure and a heart for the mountains, she is always…
When you’re hiking in Death Valley, don’t do this
Taking the path less traveled is not advisable in this case.
Rugged and scenic terrain in Death Valley California

Safety should always be a top priority when visiting national parks, and this has become even more relevant than ever as the National Park Service recently had to rescue a hiker from a near-death experience at Death Valley National Park.

Just a few days ago, a hiker found himself in a precarious position after splitting up from his travel buddy and leaving the main trail at Mosaic Canyon. When these two visitors split up, one remained on the established path, and the other decided to attempt to navigate a side canyon, believing he could reconnect with the main trail further ahead. However, as the canyon became steeper, the hiker found himself trapped, unable to move forward or descend safely.

Read more
How to use a compass for navigation when GPS fails
Don't get lost this hiking season: try out a compass!
Baseplate compass on top of a map

In the days since GPS was invented, many of us have lost the skill of navigating by a good old compass and map. As a family on the road in a 1991 Airstream Motorhome, we were early adapters to the GPS, but I still remember a time when we had to navigate New York with the crinkled old maps in the glovebox. Out in the wild, things are a little bit different. Milestones don't often sweep you by while you're busy using a magnifying glass to figure out what intersection you're on, but it can still be a challenge. Today, compasses are still considered to be a top 10 safety item by the National Park Service, but it's a shame how many people don't know how to use a compass. Here's how to get started.
Parts of a baseplate compass

There are so many compasses to choose from, but if you're just starting out, I highly recommend using a simple baseplate compass. These are attached to a ruler, so you'll be able to easily take your bearings. Experts from REI do a great job of explaining the basic parts of a compass and how to use them, but here is the breakdown:

Read more
3 duct tape camping hacks: Why it should always be in your hiking or camping kit
Stick to duct tape while camping — here's how
Closeup of two friends setting up a tent in the woods.

One of the most useful scenarios for duct tape is out in the wilderness, but it can be tricky to figure out how to store it. One of my go-to ways is to simply wrap several feet of duct tape around an old credit card or a sturdy piece of cardboard. I've also seen people wrap duct tape around their water bottles, but that's never appealed to me since it can be a bit of a mess to clean. Regardless of how you do it, taking some duct tape with you might just make or break your next camping or hiking trip. Here's how.
3 uses for duct tape while out in the wilderness

Patch repairs with duct tape
Sleeping pads pop and nylon tears. We've all been there, and duct tape can save the day! It's great to have duct tape on hand to patch a hole or close a gap in my tent. If you happen to accidentally tear your sleeping bag, a patch of duct tape will get you through it. Reinforce broken straps, seams, zippers, or even sole separation in your shoes and you'll make it home all right.
Duct tape in first aid
When thinking about duct tape, first aid might not always come to mind. However, duct tape is great in a jiffy for splint support if you or someone in your party ends up breaking or spraining something. With a piece of clean cloth or gauze, you can create a makeshift bandage in an emergency. You can also use a small square as blister protection if your shoes start rubbing your feet raw.
Using duct tape as an organization tool
While masking tape might work a bit better in this case, duct tape can still be used to label and tag gear or mark items. That said, nothing is better than duct tape if you want to seal an open liquid container. Duct tape can also be used to keep loose cords, tent poles, or stakes bundled together in a pinch.

Read more