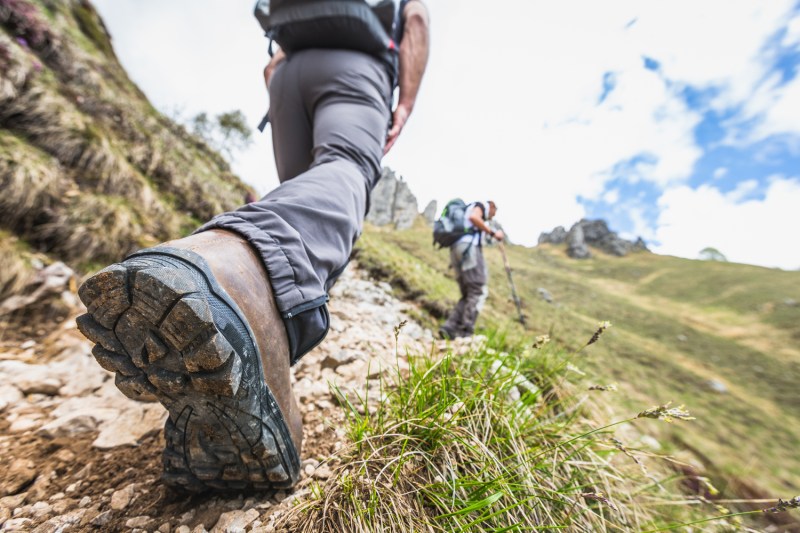
If you’re only going to go overboard on one piece of hiking gear, it really has to be your hiking boots. Get these right, and you will barely notice that you’re wearing anything on your feet. But get them wrong, and you’re in for a world of discomfort, blisters, sore points, and a long day of complaining. Sure, you can go out and buy the best pair of hiking boots on the market and spend hundreds of dollars, but unless they’re properly fitted then you’ll hurl them into the back of a cupboard and swear off hiking forever.
I can’t tell you how many people I have guided and met on the hill who have had their day ruined by poorly fitted boots. If you’re serious about hitting the trails this spring, then you need a pair of boots that fits your feet perfectly and for that. But how should hiking boots fit? Your best bet for a perfect hiking boot fit is still to hit the store and try them out. Wherever you buy your
Try your hiking boots as you would use them
You’ll want to test your hiking boots at the end of the day when your feet will be the most swollen from walking and standing all day. Your feet will get swollen when you’re
Load up your backpack and walk around with it to see how the boots feel with your actual trail weight, and try to simulate walking on as many types of surfaces and angles as possible — indoors, remember. Walk up and down staircases. Try them on inclined surfaces, both uphill and downhill. Make sharp cuts and turns in them. You want to really see what these boots are like.

Those boots should be comfortable
After you’ve been wearing those boots for a while, assess how they feel. Most importantly, ask yourself, Are these boots comfortable? If they aren’t comfortable when you’re first wearing them, they probably won’t be comfortable after you break them in.
If you feel any sore spots, they probably don’t fit your foot right. Make sure you don’t feel any strange seams or pressure points while you have them on. Do you feel any pinching anywhere in the boot? This can happen in the forefoot region, where the boot creases as you step. If something doesn’t feel right, try a different pair.

Fitting hiking boots Goldilocks-style
A big aspect of comfort is fit. Hiking boots shouldn’t be too tight, but they shouldn’t be so roomy that your foot moves around in there, either. Pay extra attention to ensure that your heel doesn’t slide up and down as you walk. If your heel moves as you walk, that’s a recipe for blisters.
Lace those boots tight, but don’t go crazy cranking on the laces either. You should be able to tie them so they’re properly tight easily. If the boots are tied tightly, and there is space above the top of your foot or anywhere else, they are too big. There might be too much volume in the boot. In this case, try to find a narrower boot. If you’re having the opposite problem and the boots are too tight through the forefoot, you’ll need to seek out a wider boot.

How should hiking boots fit around your toes?
You want a boot that has enough room to wiggle your toes. If your toes have enough room to move around, they won’t rub against each other. If your toes are crammed into a boot too tightly, that will cause blisters. Nobody wants their new boots to give them blisters.
You should have at least an inch of space between your big toe and the tip of your boots. More room for your toes will be more comfortable on longer hikes as your feet swell. And, if your toes can splay out as you step you’ll have better stability. Make sure your toes don’t hit the end of the boot as you walk downhill, too.
If you want, you can remove the insole and measure it with your foot on top. This isn’t necessary but could help if you’re unsure if you have enough room for your toes.

More tips for that perfect hiking boot fit
When shopping online, stick with a brand you know fits well. Sizing is usually pretty consistent between models made by the same manufacturer. If you’re trying boots from a brand you haven’t tried before, get your foot’s length, width, and arch length measured with a foot-measuring device. Compare the measurements of your foot to the manufacturer’s size chart.
Aftermarket insoles can help with dialing in the fit as well, especially in the arch. Insoles come in many varieties that help with fit, support, and comfort. This is an entirely different sizing conversation, but it’s worth exploring if you can’t quite get a pair of boots to fit right.
Be sure to break in your boots before taking them on any big trips. After you’ve walked around the house to ensure they’re a good fit, take them on shorter hikes. After that, they’ll be ready for prime time. If you can’t find any boots that you like, you can always try a pair of hiking sneakers. Hiking shoes tend to be lighter than boots and are sometimes more comfortable right out of the box as well.


