As winter rolls in, many of us are thinking about how to get out of the house and enjoy the snow. One way to enjoy the snow is learning how to cross country ski. It’s a great winter activity that everyone can enjoy and you don’t need massive mountains to cross-country ski. All you need is snow.
It’s also one of the more affordable winter activities. You don’t need a lift pass, a helmet, or goggles, and the cost of cross-country skis is quite a bit cheaper than downhill skis or a snowboard. That said, it’s still a ton of fun.
Buying cross-country skis doesn’t have to be complicated. Pop into your local outdoor store or REI and chat with one of the associates. They’ll be able to point you in the right direction. But let’s assume you’ve already got the best skis, poles, boots, good fitting gloves, an outdoor jacket, and you’re ready to go. What do you do next? Read on to learn how to cross country ski like a pro.
How to Put Your Skis On

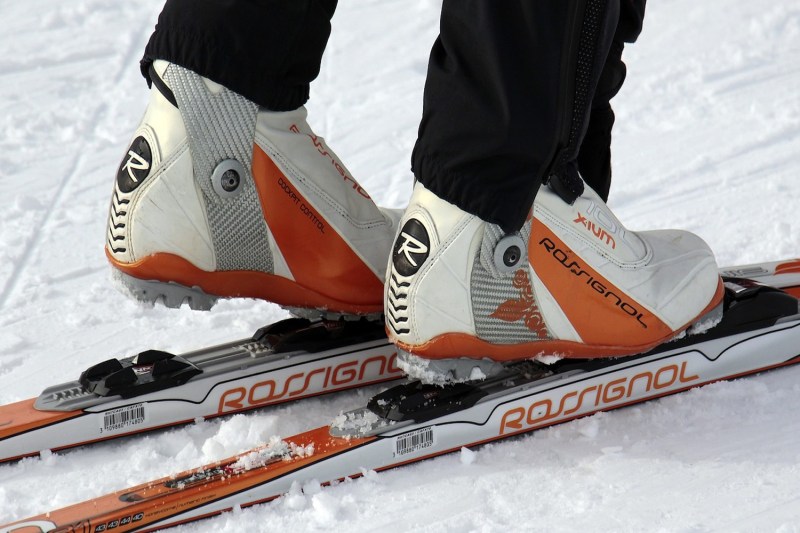
This might seem like an obvious one, but if you’re never cross-country skied before, you might not know how to put on your skis. There are a few different types of cross-country ski bindings. NNN bindings attach at the toe and are either manual or auto. Other types of bindings include SNS and 3-pin. Check out the helpful video below to see how to click into ski bindings. You can try this at home in your living room before you get out in the snow.
How to Stand Without Falling
Once you have your skis on you’ll notice they have a tendency to slide back and forth. You’ll want to bend your knees, keep your center of gravity over your feet, and stabilize yourself with your poles. This video from REI covers how to stand and other basics of cross country skiing.
How to Get Moving on Skis
Okay, you’ve got your skis on and you’ve practiced standing and balancing. What do you do next? Well, you’ve probably noticed that your cross-country skis have a bend or curve in them. This curve is highest just beneath your boot. You may have also noticed that on the underside of your ski, beneath your boot, is a pattern resembling a fish scale. Your skis might have a special patch of fabric instead of the scale pattern. These two design elements of the cross country ski are important to understand in order to ski well.

When walking or climbing a hill, picture that center part of the ski beneath your boot pressing down into the snow. This is going to give you purchase on the slippery terrain and allow you to move forward without sliding. If you find that no matter how hard you push you can’t find purchase, your skis might be too long. Some skis come with a binding that can slide up and down the ski. If you have this type of binding, you might also try positioning the binding more forward on the ski.
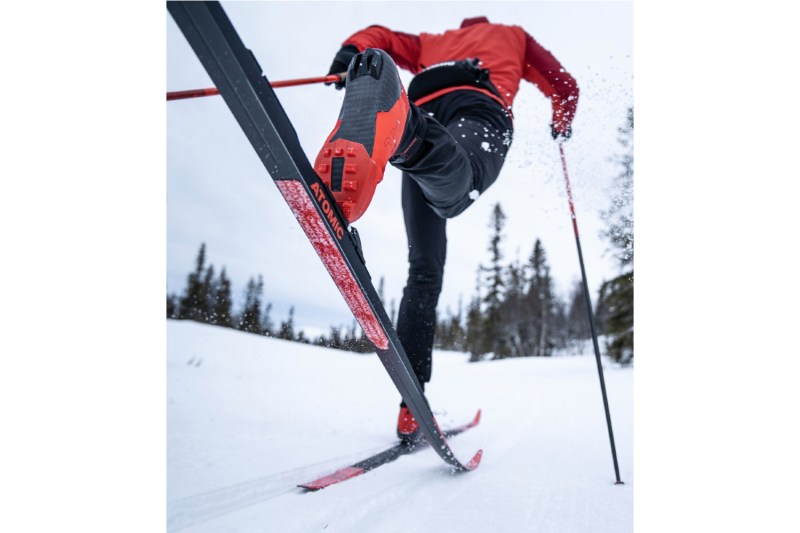
To begin moving, stand on one foot and feel the ski grip the snow. Let your other foot glide forward over the snow while you push yourself forward with your ski poles. Check out the video below to see this movement in action. Jump to 2:30 for the basic movement technique. Their suggestion of trying the movement with only one ski on is great for beginners.
How to Get Up on Skis
The first time you ski, you’re going to fall. That’s okay, it’s part of the learning process. Jump to 8:40 in the video above to see how to stand up. Some of the key take-aways:
- Don’t use your poles
- Postition your skis perpendicular to the slope
- Get your skis parallel to each other
- Lean forward onto your knees
- Push yourself up
Hopefully, this guide has answered any introductory questions you had about cross-country skiing. There are a number of guiding services and classes out there to help you if you have further questions. While videos and reading about how to stand, move and get up while skiing is helpful, the best way to truly learn is to get out there and actually do it. With months of snow ahead, fill your thermos with your favorite warm beverage, pack your outdoor ski essentials, find a buddy or two, and get out there and enjoy cross-country skiing. See you in the snow!


