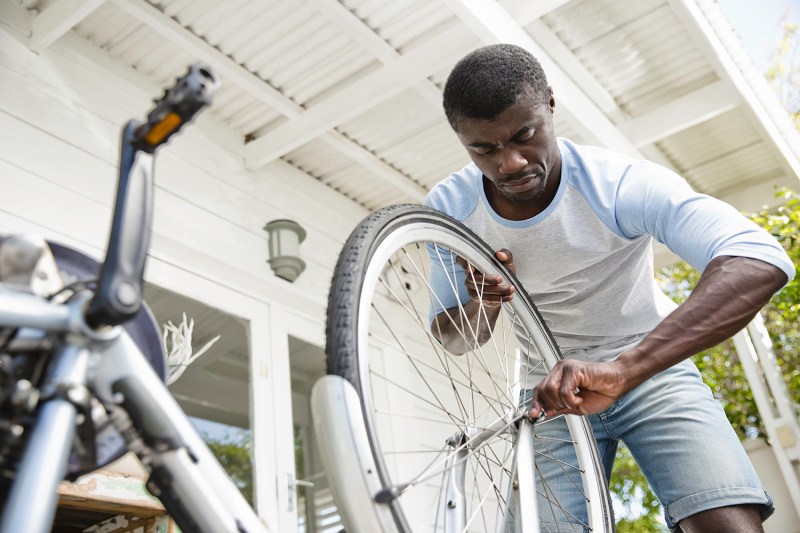
Cycling on the road inherently comes with some risks such as accidents, falls, and flat tires. While you can only control so much, knowing a few basic repairs for your best road bike can keep you rolling no matter where the road has taken you. With a little practice, anyone can typically get their wheels back in order for long enough that they’re not stranded somewhere at the very least. Another benefit of knowing how to fix common issues is the freedom that comes with not relying on a supported ride. As long as you have a basic bike toolkit, these bike problems will be a thing of the past.
Related Reading
How to Change a Flat Tire

Changing a flat can be one of the most intimidating things while on the road. As long as you have a spare tube or a patch kit, you can get rolling again sooner than you think. To change a flat, use the quick release to remove the tire from the bike. Once the wheel is loose, let all of the remaining air (if there is any) out of the tire valve before pushing it up into the tire. You’ll then need to use a tire lever or just your hands to wedge the tire and tube away from the rim. Carefully run your finger along the inside of the tire to find any foreign objects that might have caused the flat as you loosen the tube from the exterior tire.
Inflate the new tire tube just enough that it holds its shape and place it back into the tire. Carefully place the tire back into the wheel rim and be sure to avoid pinching the tube inside the tire. Inflate the tube the rest of the way and place the tire back on the bike.
How to Adjust a Crooked Wheel
If after fixing a flat you find that the tire isn’t exactly where it should be on the bike, you might need to adjust a crooked wheel. If this is the case, the tire is most likely in contact with a brake pad. To fix this, check that the skewer springs on either side of the tire are in place and facing in the correct direction. The narrow side should be to the interior of the bike. This should keep the wheel centered. If not, you can prop the bike up and tighten the wheel to the bike from eye level so you can ensure the wheel is straight and not touching the brake pads.
How to Adjust a Derailleur
Depending on the material the bike is made of and the style of bike it is, it’s possible that the derailleur might need to be adjusted. Sometimes the vibration from the road can cause the bolts that hold the derailleur in place to loosen until the entire apparatus slides. If the problem isn’t caught soon enough, then the chain can suddenly catch on the derailleur sending the cyclist over the handlebars.
Fortunately, this is an easy fix. All you need to do is check the bolts from time to time to ensure they are tight enough. If they are not, you can use an Allen wrench to tighten them. If the derailleur looks like it has slipped and needs to be moved up, then carefully slide it up the bike’s frame while watching how it will interact with the chain. Essentially, the derailleur should be moved up but not accidentally tilted to either side so that the chain will not rub or hit it as you pedal.
How to Fix a Slipped Chain

A slipped chain is one of the easiest bike repairs to do. All you have to do is hold the chain and hook it back into the bottom groove of the bike’s back cog. Once the chain is back on the cog, all you have to do is lay the chain back over the teeth of the chainring. To make sure all of the teeth fit back into the chain properly, slowly turn a pedal forward to let the chain completely fall back into place. With that, you should be set to hit the road again.
How to Fix a Broken Chain
Fixing a broken chain has to be one of the more daunting bike repairs for many people. However, once it’s been done a time or two, it’s actually quite easy. The first thing you need to do is remove the broken chain links with a chain tool. Simply run the pin through the broken link and press down until the chain breaks. With that, you can use the chain tool to then reattach new links to the chain. To do so, line up the new links so that it fits together smoothly from one end to the next. That means you’ll want each “female” end of the link to match up to the “male” end. After the chain has been fixed, you can then simply thread it back onto the crankset and through the derailleur. Finally, push the pin back through to join the chain again with the chain tool.
If you can handle these bike repairs, then you’ll be ready to take on the road no matter where it leads you.


