Whether you’re camping for two nights or a full week, camping requires some careful forethought and planning. No one wants questionable food due to the cooler getting too warm too soon or an unidentifiable snack that’s soggy from falling out of an open package and into melting ice. With some consideration and preparation, you can easily pack a cooler for camping that will seamlessly serve you well throughout the length of your trip.
Type of cooler
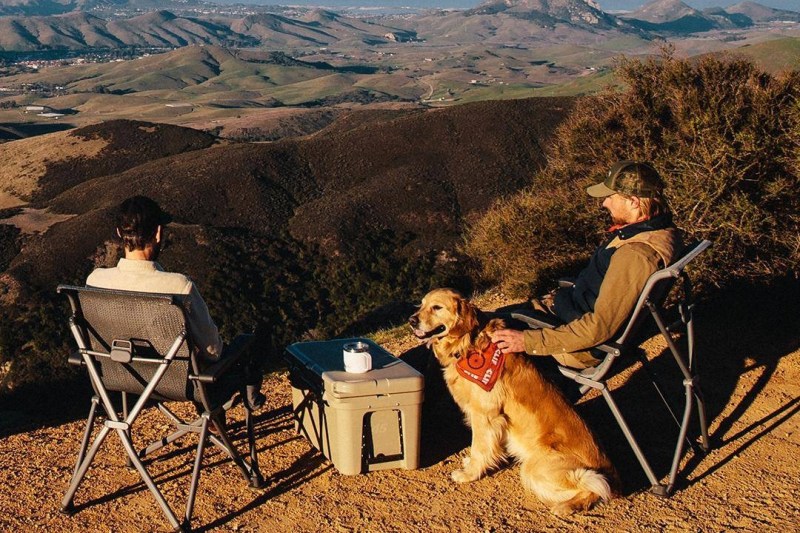
The three greatest factors to consider when choosing the best cooler for camping are its ability to insulate well, its size, and its features. Brands like Yeti and ORCA are both top performers for backpack coolers because they are incredibly durable and excellent at insulating. If you are in the market to buy a fancy new cooler, you can get good sizes from both brands too, should you need a compact design or a more sprawling cooler depending on your needs.
Size
A 56-quart cooler can hold enough food and keep it from spoiling for up to six and a half days, which makes it a versatile option for campers who go on both long and shorter trips.
Features
If you know you’ll be moving the cooler around with other camping gear, opt for a cooler with wheels. And if you plan to have a cooler just for drinks and ice, find a cooler with long ice retention and easy drainage.
Cooling materials
The key to making these coolers keep your food cold and fresh for as long as you need it comes down to how well you pack it with cooling materials. That begins with getting the cooler itself as cold as possible before you even place the first item or ice pack inside. If you have a spare fridge in your garage and can somehow move shelves around to fit your cooler inside, let it chill for about a day prior to packing. Otherwise, place the cooler in the coldest spot you can, even if it’s outside, to let cool it.
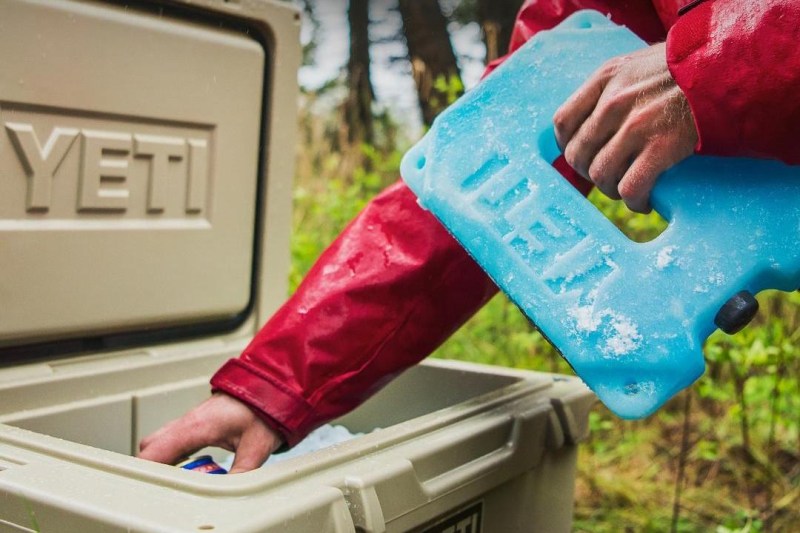
Next, line the bottom with ice packs. If you need more than what you have but don’t want to buy additional ice packs, consider filling sealable plastic bags or food storage containers with water and freezing them. Do, however, stay away from using ice cubes that don’t last as long and actually cause the other ice cubes to melt faster once they start floating those that have melted first.
After that first layer of ice packs is down, place a thin, insulating layer of cardboard, a broken down and cleaned milk carton, or even a foam pad between the ice packs and your food. This benefits the cooler in two ways. It will keep your food organized by preventing it from falling between the ice packs, and if there is water in the bottom of the cooler, it will also keep the food from turning into mush. It’s also a good idea to place an additional insulating layer like this between the food and the lid of the cooler, too.
Pack food and drinks the right way
Consider which foods need to stay the coldest as well as what you will need later in the trip. Those items should go at the bottom. Add another layer of ice packs and continue this layering pattern of food and ice packs until you reach the top.
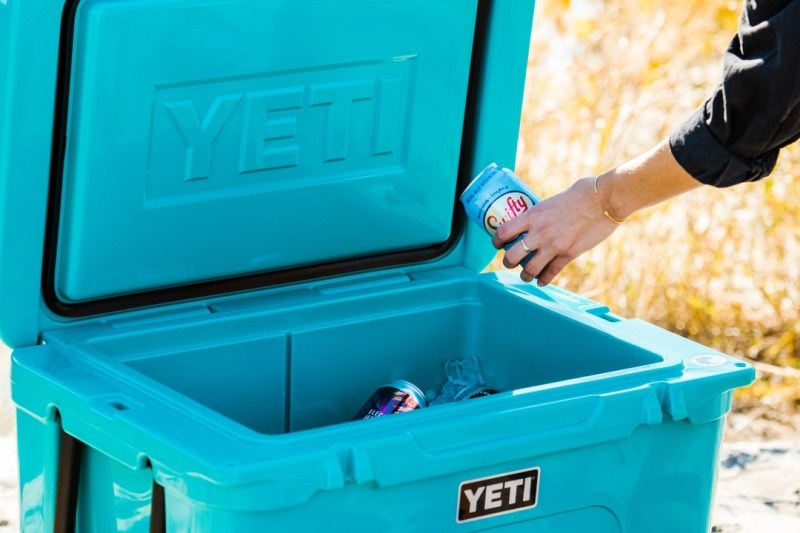
Drinks
Reserve one side of the cooler for drinks so you can easily reach in and find them without leaving the cooler open for too long. Always latch it all the way so none of the cold air slips out. The rest of the food should be well organized so you know where everything is and can easily find it without having to stand over the cooler, pulling tons of items out. One way to prevent this from happening is to pack by meal. The last day should be on the bottom while the first day should be at the top of the cooler. You can even incorporate a separate section for snacks.
Something to consider as well is a second cooler for drinks. You’re likely going to be reaching in for
Food
Coolers are at the top of the list for camping cooking gear and a great way to make everything last as long as possible is to freeze the items that need to stay cold prior to packing them. Things like meat, water bottles, and even fruit can be frozen and then packed.
It’s also helpful to remove the original packaging for most food and repack it in sturdier containers that are less likely to leak. This also allows you to prevent any wasted space because you can do meal prep and package it well. One example is eggs. You can crack them into a plastic bag, add any toppings or mix-ins you might want, such as veggies, then seal it and pack it in a much smaller space.
How to pack sandwiches
Packing sandwiches in particular can be tricky, so here are some tips on packing them in a cooler. First, use leak-proof containers or wrap sandwiches tightly in plastic wrap or reusable food wraps to prevent moisture transfer and keep them from getting crushed by other items. Pack enough ice packs or blue ice around the sandwiches to maintain a cold temperature, and place sandwiches upright in the cooler, like books on a shelf, to avoid them getting squished.
Put sandwiches toward the top of the cooler, where the temperature stays coldest, and consume them before other items. Some additional tips include packing the spreads separately and adding them to the sandwiches when you eat them. You could also toast the bread before your trip to add a slight barrier against moisture.
As you use your camping meals and containers become empty, you can drain off any water from the bottom of the cooler into the now-free containers. Though it won’t freeze, the water should still be cold enough to help keep the rest of the cooler cold within the sealable containers without leaking.


