
How to waterproof a jacket in 3 simple steps

Waterproofing your jacket isn't as hard as you might think

Creative Cat Studio / Shutterstock

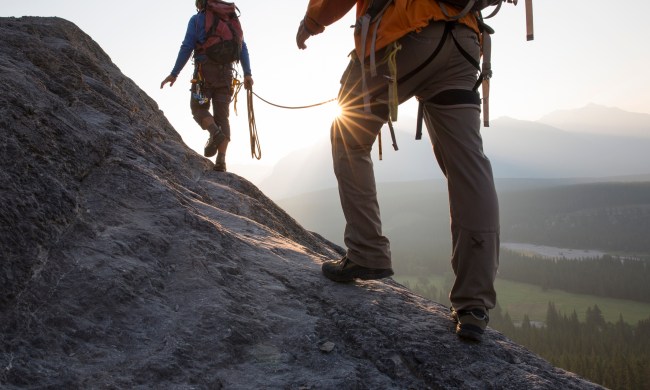
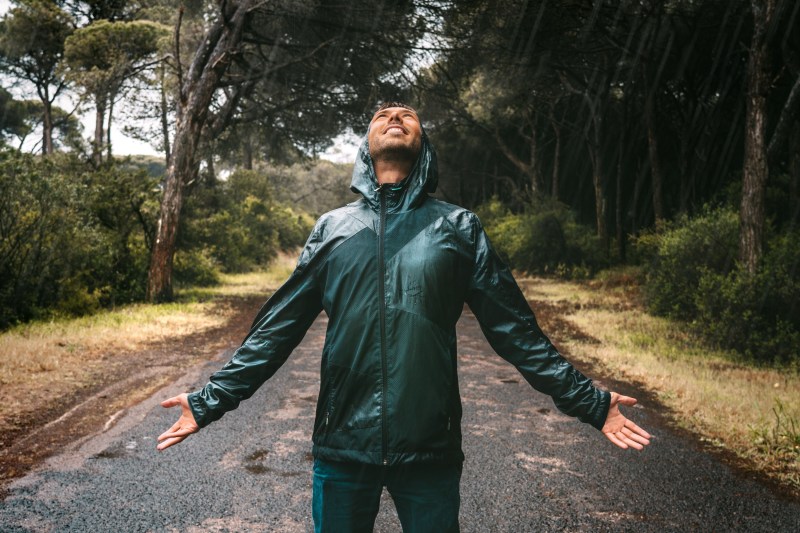
Do you have a favorite jacket that you wish you could go out in the rain in? I don’t blame you, especially if you live somewhere rainy. Waterproofing your jacket can transform a comfortable wardrobe staple into the ultimate waterproof rain jacket, and it’s really not as hard as you might think. Believe it or not, there are plenty of ways to make your jacket waterproof, and it can be done in as easy as 3 simple steps. 

Why waterproofing your jacket is important

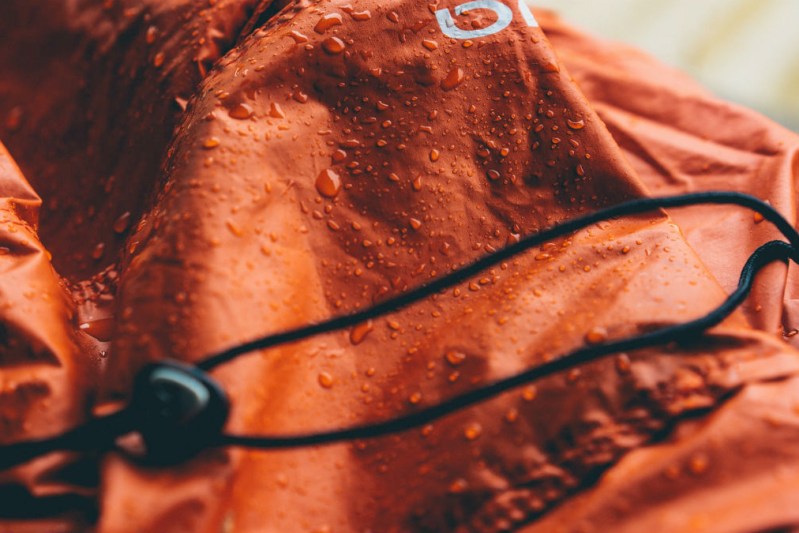
There are several reasons why you might want to waterproof your jacket. Protection from the rain is one, but waterproofing can also protect you from the wind, too. The extra coating adds an additional layer that can make your favorite jacket that much more comfortable. 

Recommended Videos

Waterproofing your jacket can also make it more durable in the long run. It can extend your jacket’s lifespan by preventing water damage and reducing wear and tear. You might also find that your new waterproofed jacket has a ton of versatility. It can now be worn in a variety of outdoor activities, from hiking to running, and you never have to worry about bringing an extra layer. 

StockSnap / Pixabay

How to waterproof a jacket 

Step 1: Choose your waterproofing method

There are several ways to waterproof your jacket, and it all depends on what kind of material it’s made of. There are several options on the market, including waterproof sprays, wash-in solutions, and wax-based solutions. 

Waterproof sprays are great for synthetic materials such as polyester and nylon. Windbreakers, softshell jackets, down jackets, and ski jackets are all water resistant to a certain degree, but they can be improved upon with a waterproof spray. 

Wash-in solutions are also fantastic for jackets that are machine friendly. It’s important to pay attention to the wash-in solution you choose and make sure that it’s compatible with your jacket. Some wash-in solutions require certain machine settings. They could need an extra rinse cycle, so make sure to read the directions thoroughly to ensure that you don’t ruin your jacket. 

Waxing is a traditional method of waterproofing that is often used to treat natural materials such as cotton, leather, or canvas jackets. Pay attention to which solution you buy because some may require heating with a hair dryer or a heat gun to melt the wax into the fabric. 

Step 2: Clean your jacket

Before applying the product, ensure that your jacket is clean of dust, dirt, and any other kind of residue. If you skip this step, don’t be surprised if you get patchy results. Use a mild detergent and warm water to thoroughly clean all the nooks and crannies, and then rinse it to remove all the soap. After that, hang the jacket to dry completely. 

Step 3: Apply the waterproofing product

If you’re using a spray, many brands recommend holding the can at a distance of six inches from the jacket and spraying evenly. With a wash-in solution, add it to the washing machine during the rinse cycle. If using a wax-based solution, apply it evenly with a soft cloth, then heat the jacket with a hair dryer or heat gun to melt the wax into the fabric.

Some brands recommend different application strategies, so be sure to follow the instructions on the waterproofing product before applying it to the jacket. 

After that, allow your jacket to dry completely before wearing it. Hang it in a well-ventilated area, and avoid exposing it to direct sunlight or heat. 

Waterproofing your jacket is a simple and effective way to protect it from the elements and extend its lifespan. By following these three easy steps, you can transform your favorite jacket into a versatile and reliable piece of gear that can be worn in any weather condition.

Sarah Joseph
Sarah is a lover of all things outdoors. With a bright sense of adventure and a heart for the mountains, she is always…
3 duct tape camping hacks: Why it should always be in your hiking or camping kit
Stick to duct tape while camping — here's how
Closeup of two friends setting up a tent in the woods.

One of the most useful scenarios for duct tape is out in the wilderness, but it can be tricky to figure out how to store it. One of my go-to ways is to simply wrap several feet of duct tape around an old credit card or a sturdy piece of cardboard. I've also seen people wrap duct tape around their water bottles, but that's never appealed to me since it can be a bit of a mess to clean. Regardless of how you do it, taking some duct tape with you might just make or break your next camping or hiking trip. Here's how.
3 uses for duct tape while out in the wilderness

Patch repairs with duct tape
Sleeping pads pop and nylon tears. We've all been there, and duct tape can save the day! It's great to have duct tape on hand to patch a hole or close a gap in my tent. If you happen to accidentally tear your sleeping bag, a patch of duct tape will get you through it. Reinforce broken straps, seams, zippers, or even sole separation in your shoes and you'll make it home all right.
Duct tape in first aid
When thinking about duct tape, first aid might not always come to mind. However, duct tape is great in a jiffy for splint support if you or someone in your party ends up breaking or spraining something. With a piece of clean cloth or gauze, you can create a makeshift bandage in an emergency. You can also use a small square as blister protection if your shoes start rubbing your feet raw.
Using duct tape as an organization tool
While masking tape might work a bit better in this case, duct tape can still be used to label and tag gear or mark items. That said, nothing is better than duct tape if you want to seal an open liquid container. Duct tape can also be used to keep loose cords, tent poles, or stakes bundled together in a pinch.

Read more
How to calculate hiking time and plan for being away
Calculating your hiking speed isn't as hard as you think
Two people hiking together

To most people, planning a hike can be tedious, but for me, packing my bag gets me even more excited for the adventure ahead. One of the most important aspects of preparing for my hike is determining how long it will take to complete it. This is important for several reasons. First, you'll be able to determine what kind of equipment you'll need during that timeframe, and second, you'll be able to tell someone when to expect you back in case you go missing. About 600,000 hikers get lost every year in the U.S., so if you're one of them, calculating this could mean your survival. Here's how to calculate hiking time.
How to calculate hiking time accurately

If you’re an experienced hiker, you might have noticed that sometimes there is an estimated time listed for a hike in a guidebook or app, which is termed "book time." Almost across the board, these hike time estimations are calculated using Naismith’s (Time Estimation) Rule, which essentially says that it takes about 1 hour to hike 3 miles plus an additional hour for every 2,000 feet of elevation gained.

Read more
Try these lunch ideas the next time you go backpacking
Got a rumbling tummy on the hiking trail? Try one of these backpacking lunch ideas
Hiker with a backpack in front of a mountain lake background

Trail mix has to be one of my personal favorite snacks while backpacking. That said, you can't live on it, especially when you're hiking for miles every day. I'll be honest — dinner is my favorite meal while out on the trail, mostly because there's a higher chance that I can start a safe fire and simmer something delicious. Lunch, however, has been a challenge. Not only do backpacking lunches have to be delicious and satisfying, but they also need to be easy to prepare. Hopefully these backpacking lunch ideas will help.
Things to consider for backpacking lunch ideas

When planning backpacking lunch ideas, it's more important than ever to choose foods that are nutritious, lightweight, nonperishable, high in energy, and most importantly, easy to prepare. You might not have access to a campfire while you're out backpacking, so here are a few considerations to keep in mind.
Easy preparation
I love preparing a hearty meal while backpacking or camping, but not during prime daylight hours when I could be making better time. That's why I always reach for easy-to-prepare meals. Sometimes, I even do a lot of the prep work while I'm still at home. That way, all I need to do is find a nice view.
Weight and packability
I've made the mistake of packing a huge cooler with sandwiches. Not only do you have to lug the entire thing up the mountain, but you've got to bring it down, too. Plus, on a multiday backpacking trip, no ice pack is going to last that long. Be careful that the food you take is lightweight, and avoid foods that require excess packaging or bulk.
Caloric density
Since backpacking is a high-energy sport, you'll want to select foods based on nutrients. High calories are one thing, but to get the most energy from your food, aim for a balance of carbohydrates, proteins, and fats. Make sure you're incorporating proteins so your muscles can repair after a long day of hiking.
Shelf stability
A lot of backpackers plan their trips for the summer, which means having to deal with the heat. This can definitely play a part in what kinds of foods you bring. Backpackers aim to bring as light as possible, so foods that don't spoil and don't need excessive cooking are going to be your best friend.
Our favorite backpacking lunch ideas

Read more