Snow has fallen, the groomers are rolling, and the lifts are swinging. It all amounts to one fact — winter has started. It's time to hit the slopes and that means busting out your snowboard gear and freshening your setup. If your board has been in your bag since last winter, it's probably needing a little care and attention before you hit the slopes this winter.
Unless you were on it at the end of last winter and remembered to storage wax your snowboard, then the most important part of getting ready for this ski season is going to involve waxing your snowboard. If you've never done it before, snowboard waxing can seem pretty daunting. Isn't it easier to just take it to a shop? Well, yes, but once you're a waxing pro you'll look at the price of a snowboard hot wax a little differently. The glide is worth the effort, and the effort is minimal after a few practices.
Follow our guide on how to wax a snowboard and put those saved dollars towards a few après beers after a day crushing the slopes.

How often should you wax a snowboard?
As you snowboard, the wax applied to the board will be rubbed off. So it makes sense that the more often you go out snowboarding, the more often you'll need to wax it. The general rule of thumb is that you should wax your snowboard after every three to four days of riding. If you're a more aggressive rider putting in long hours, that can be shortened to two to three days.
So how often you find yourself board waxing will really depend on how often you go snowboarding. That makes sense, right? Only going snowboarding a few times this season? Wax your board at the start of the season and you'll probably be set until next season. If you get out once a week and cruise around for a few hours, you might be fine waxing your board once a month. If you're out multiple days every weekend you might need to wave bi-monthly or maybe even once a week.
Other factors to consider are the terrain — icy terrain removes wax more quickly than powder — and how fast you want to go. Waxing your board more often will allow you to maintain speed on the snow.

Is it difficult to wax a snowboard?
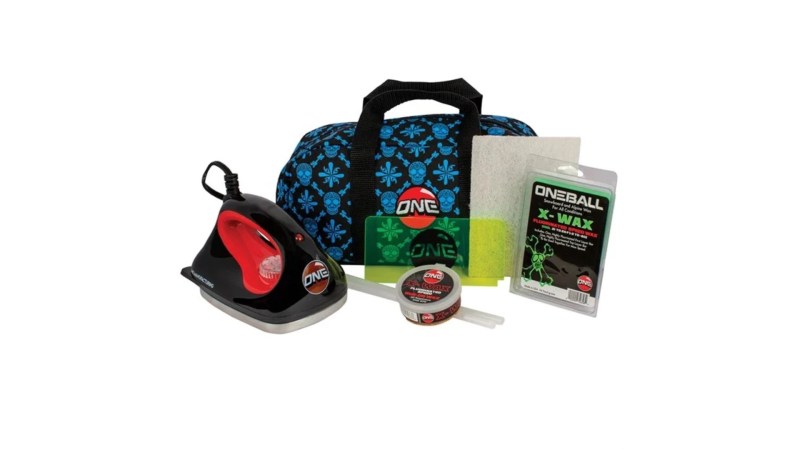
No, not particularly. You'll get better (and quicker) at it over time, as well. There is some up-front cost and learning that goes into it, though. If you only go snowboarding occasionally it may not be worth it to buy a wax kit and wax your board yourself. If you only plan to go out three to four times this season, taking your board to your local ski shop can be easier than waxing your board yourself.
But if you're planning to go snowboarding once a week, or more than that, getting a kit to wax your board at home will save you time and money in the long run.

How to wax a snowboard at home
If you're new to waxing a snowboard, check out this video then follow the steps below to nail the perfect glide.
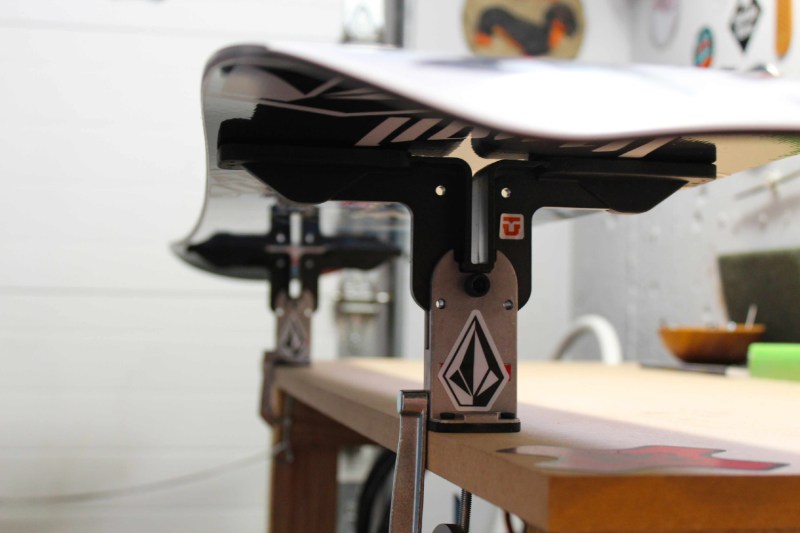
Step 1: Clean off any visible dirt and debris from the base (or underside) of your snowboard with a brush or a rag. Many people with either loosen or remove their bindings, as well, as your board will expand with the heat of the iron in Step 4.
Step 2: Further clean the base of your board by wiping it down with rubbing alcohol or base cleaner.
Step 3: Heat up your tuning iron and melt wax over your board. Make sure the iron isn't smoking. If it is, turn it down. Hold the wax and iron a few inches above your board and allow the wax to fall in drops. You can be as creative as you want with the pattern, but the goal is to coat the board with drops of wax.
Step 4: Set aside your wax and move the iron slowly over the base of the board. The drops of wax will melt as you move the iron. The goal here is to coat the entire bottom of your board with the melted wax.
Step 5: Go and get a cup of coffee, or a beer. Perhaps watch an episode of your favorite TV show. Whatever you do, let your board cool down before the next step. Keep it at room temperature though, don't be tempted to put it outside to cool it down too quickly
Heating the board opens the pores on the base and allows the wax to take. The cooling process lets the pores close and helps the wax take to the board. If you scrape the board — the next step — before it has cooled, then you've wasted all your work to this point.
Step 6: Use your scraper — included in tuning kits — to scrape off the excess wax. Scrape from the front to the back of the board. You really can't scrape off too much wax.
Step 7: Use a brush to clean the board from the front to the back, similar to how you just scraped your board. Double-check your edges as you do this to make sure there's no residual wax that can affect your turning.

Why should I wax my snowboard?
The main reason, other than wanting to glide faster during your runs, that you want to keep up to date on your snowboard waxing is to make sure your gear us in good condition so you can be at your best on the slopes.
Waxing a board helps protect it from the elements, after all, it's constantly in contact with snow and ice. Since the base of most snowboards can be porous, the wax also helps seal the base and keep it from drying out. Think of it as like moisturizing your skin, it makes the board healthier. So take care of that board, and it will take care of you.


