The world of mountain biking can be tricky to navigate. Mountain bikes no longer have just one category; even sub-categories are within categories. Are “downcountry” bikes technically trail bikes? Is “all mountain” still a category, or is it just “enduro” now?
Mountain bike categories aside, so many other oddities can pop-up inside the mountain biking world. Some pertain to mountain biking gear, while others are brand-specific. Some are industry standards.
All are confusing.
In some instances, with a bit of explanation, some light can be shed on why these mountain bike oddities exist. They may even make some sense. In other cases, despite some explanation, the reasoning still seems confusing.
Whether some light is shed or not, at least by the end, we will be able to sound like we know what we’re talking about.

Why are clipless mountain biking shoes called that?
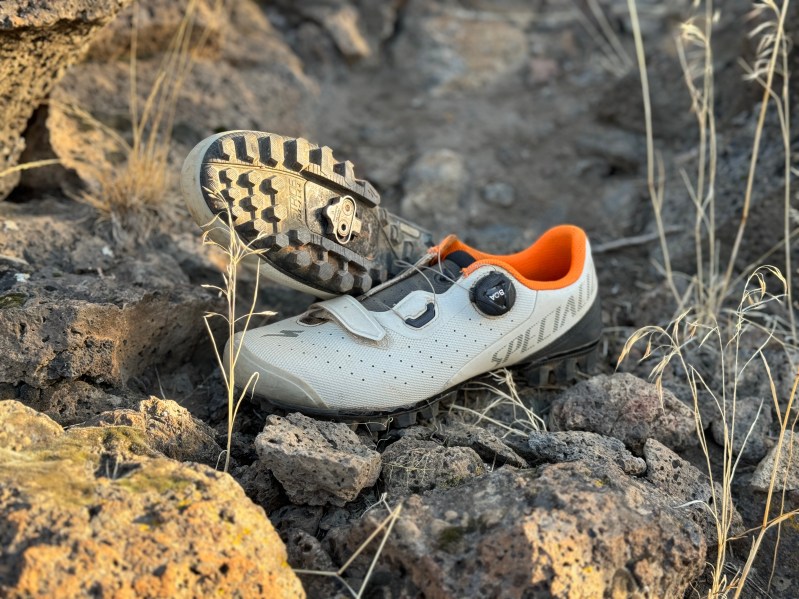
There are two different styles of mountain biking shoes. One is called “clipless.” As I am sure you can imagine, clipless shoes are the kind that clips into your pedals.
Wait. What? Clip-less—emphasis on “less”—are the shoes that clip to your pedals? Why does that make sense?
Yes, mountain biking shoes with clips, also called cleats, in the sole that attach to your pedals are “clipless” shoes. The pedals that go along with it are “clipless pedals.” So, literally having your feet attached to the pedals is called “clipless.”
But why “clipless” if your shoes are clipped to your pedals? Well, the phrase has its roots in road rather than on the mountain bike side of cycling.
Decades ago, as cyclists were looking for ways to generate more power and efficiency while pedaling their road bikes, they found that having their feet attached to the pedals would do the trick. Their shoes didn’t attach, so they fabricated metal cages, called “clips” or “toe clips,” onto their pedals. Along with some leather straps, their feet would stay in place.
As time passed, the cycling industry figured out how to design cycling-specific shoes with cleats incorporated into the soles, attaching directly to the pedals. Long gone were the metal cages, or toe clips, that cyclists had used for years. If you were a hardcore road cyclist, you went clipless.
As mountain biking grew in popularity, mountain bikers found that clipless pedals and shoes also helped them. Cross-country racers could generate momentum on the downstroke of the pedal revolution, and with their shoes attached to the pedals, they could also pull up.
Gravity riders, like downhill and enduro racers, have also popularized clipless pedals on mountain bikes. As you can imagine, riding a bike down a mountain over rough terrain can bounce feet off the pedals. Clipless can solve that. In fact, racers who don’t use clipless pedals are in the minority amongst the world’s greatest downhill and enduro racers.
Shoes and pedals that don’t attach while you ride are called “flats.” At least, that makes sense.
If you’re clipless curious, maybe stick with flats for a while. Build your skills on flats before going to clipless. Many people who only ride clipless pedals have developed bad habits due to having their feet permanently attached.
Fortunately, common sense may prevail after all. The mountain bike industry recognizes the confusion of calling shoes that clip to your pedals “clipless.” It is becoming more common to hear clipless shoes called “clips.” Clips and flats- that makes sense.

High-gear or low-gear?
If you have a modern mountain bike, you likely have a 1×12 drivetrain. Gone are the days of 21-speed mountain bikes with three chainrings up front. Designs have changed, and we now find a single chainring in the front with a 12-speed cassette in the rear.
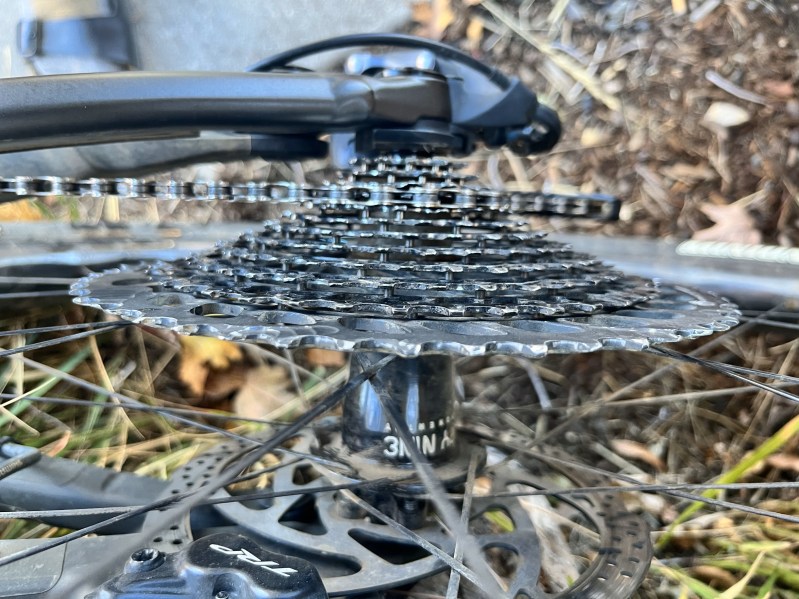
This 12-speed cassette on your mountain bike consists of 12 gears, or cogs, ranging from 10 teeth at the smallest to 52 teeth on the largest cog. Changing gears into these bigger or smaller cogs allows you to ride faster or pedal easier up a hill.
Due to the cone shape of the cassette, many mountain bikers may say they are “shifting down into a lower gear” when trying to go faster. This makes practical sense visually speaking, but it is wrong. On the cassette, down is up, and up is down.
Smaller gears are for going fast, like descending a hill. Bigger gears are for slow pedaling, like climbing up a hill. When approaching a hill and needing to shift to a bigger gear, we are actually shifting down into a lower gear. Bigger is lower, lower is easier.
When we get to the top and are ready to descend a trail, we want to be in the smaller cogs to go faster. Here, we are shifting up into a higher gear. Smaller is higher, higher is faster.
But why? It has to do with gear ratios. Higher gear ratios help us go faster; lower gear ratios help us climb. Therefore, shifting into “higher” gears means shifting into a smaller cog on the cassette and vice versa.

Mountain bike industry sizing
It makes sense for a niche industry, such as mountain biking, to have one standard across the industry for sizing. This, of course, isn’t the case. “To each their own” seems to be the mountain bike mantra.
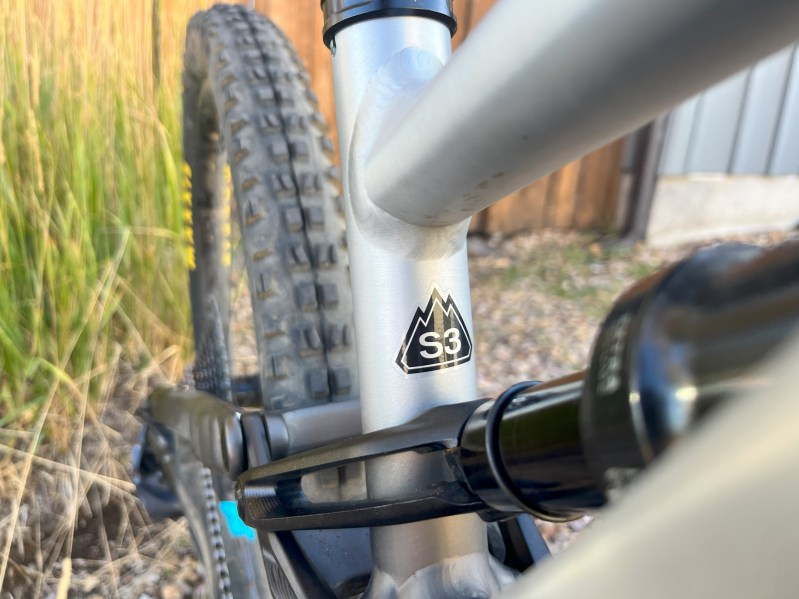
- Bike sizing: If you are riding a modern mountain bike, you are likely on a size medium, large, etc.. Or, depending on the brand, perhaps you are on a medium/large or an S3 or S4. Each brand has its way of defining the size of its mountain bike frames. However, when you look at the numbers, you realize it all basically means the same thing.
- Metric measurements: If you dive into the numbers and find that “S4” is basically the same as a large, you will find that mountain bikes use the metric system for measurements. Get used to it. Even companies based in the United States use the metric system. This is likely because much of the sport’s growth and popularity can be attributed to Europeans.
- Clothing and apparel: You are likely to find some European sizes in a lot of the mountain biking gear you are interested in. Mountain bike shoes will often have European sizing. Even clothing with “S, M, L, XL” for sizing can fit differently as companies try to accommodate American and European markets.
Now, on to sizing that could have you losing some money if you’re out of the loop. Aside from how mountain bike frames are sized and labeled, one more measurement is crucial to know: boost.
Most modern mountain bikes have a rear axle that is 148mm long. 148mm is called “boost” spacing and has become somewhat of a standard, except for the minority of mountain bike brands with “super boost” spacing.
Super boost pushes that measurement 9mm, making the rear axle on a super boost bike 157mm. Knowing if your mountain bike has boost or super boost spacing is essential, especially if you consider upgrading components like wheels.
That great deal you found on a new wheelset that turns out to be super boost won’t fit your boost frame. Major bummer.


