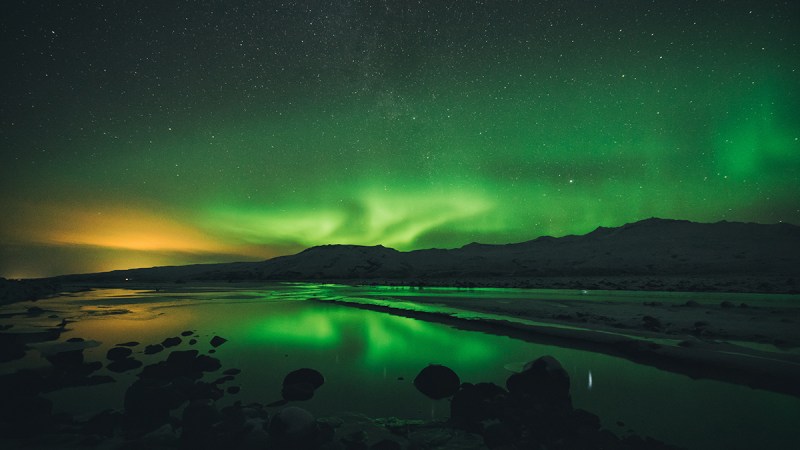
Where & When to Find the Northern Lights
Perhaps the most essential part of shooting the Northern Lights is to be in the right place at the right time. Of course, light pollution is the enemy, so the farther you can get away from any urban centers the better. Beyond that, head as far north as possible — ideally within the Arctic Circle (between 68-74 degrees latitude).
Anytime during the winter months is perfect, particularly when high-pressure systems are present as these create the perfect atmospheric conditions. The moon can also wreak havoc on your lighting, so it’s ideal to coordinate your trip to coincide with the lunar cycle. SpaceWeatherLive provides an excellent Aurora forecast that even the layperson can read.
Required Gear for Shooting the Northern Lights
You don’t need a 50-pound bag full of camera gear. The required photography equipment is surprisingly minimal. First and foremost, you’ll need a good, sturdy tripod (we’re partial to the ones from Manfrotto) and a shutter release mechanism to avoid camera shake.

A wide angle, prime lens is ideal — something in the 20mm range (like the Nikon 14-24mm f/2.8G AF-S ED). Longer, zoom lenses are nice-to-haves for tighter shots, but we’ll assume most photographers are looking to capture as much of the night sky as possible. Also, don’t forget to remove any filters, including UV filters, or you’ll wind up with nasty aberration in your photos.
Also, note that extreme changes in temperature can affect your gear. Try to avoid situations where you’re bringing your camera from a warm car immediately to sub-freezing outside temperatures or vice-versa. Instead, acclimate your equipment slowly whenever possible. While such changes won’t typically harm your gear, they can create condensation within lenses and screens which could ruin your shots or your overall shoot.
The “Best” Camera Settings for Photographing the Northern Lights
The bottom line is that, like almost any photography situation, there are no “best” settings for shooting the Aurora Borealis. It all depends on the available light and your style of shooting.
But, if we can provide some broad strokes:
- Set your camera to Manual Mode (this isn’t as scary as it sounds — just crack open your camera’s manual and read a few pages)
- Use Live View (if available) to find a sharp focus at infinity
- Start with an ISO of 800
- Aperture: f/2.8 to f/5.6 (a lower number means you’re allowing as much light in as possible)
- Shutter speed: a minimum of 5 seconds (anything higher than 15 is guaranteed to cause star movement)
- Lock your mirror up (again, consult your manual)
- Compose and fire away!

With these settings as a baseline, adjust accordingly depending on the exposure. If your photo isn’t bright enough, adjust your ISO upward until you get the desired lighting (just remember that a high ISO can introduce grain).
Skills Required to Shoot the Northern Lights
Like most nature photography, the most important skill a photographer can possess is patience. The Northern Lights can be relatively predictable in certain destinations. But, they’re never a guarantee. So, it pays to know how to wait. With plenty of Irish coffee, a hot fire (and ideally a warming hut), you likely won’t mind waiting a few hours for just the right moment.


