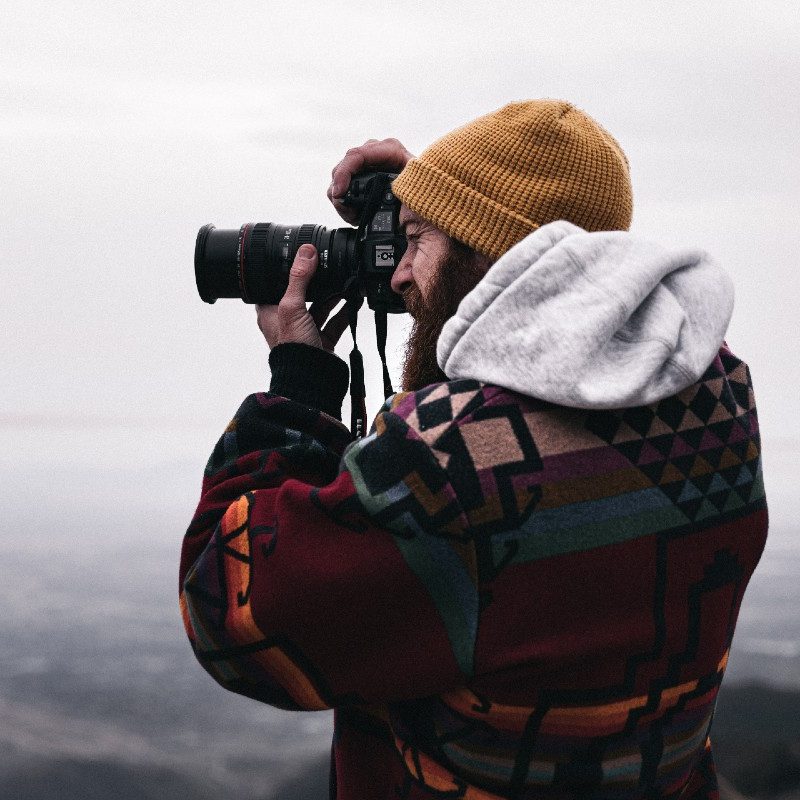
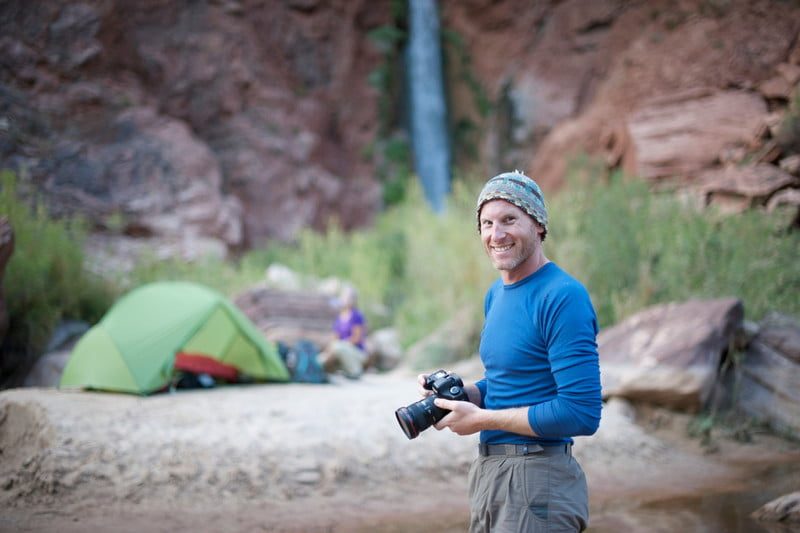
Travel photography done with slick smartphone cameras and getting Instagram likes on the photos may have tricked us all into thinking that we’re expert photographers when we travel, but the first time most of us finally make the jump to the real deal using real cameras — potentially even in a professional capacity — we quickly learn that Instagram filters do not the photographer make. Pro cameras, whether we’re talking film, DSLR, or mirrorless, require considerably more technical and practical knowledge, as well as the ability to recognize and capture a great shot.
To that end, we’re taking a look at a few things aspiring photographers can do to up their travel photography game. It takes having the right tools, the proper know-how, and plenty of practice.
Travel photography starter gear
One key thing to consider when it comes to travel photography is that, while your intention should always be to pack as little as possible, the need for photography gear works in diametric opposition to this goal. Sometimes you’ll encounter those high-level shooters whose work requires that they lug a suitcase full of expensive, fragile lenses and equipment, but for your average person just trying to get a solid article or content-quality shot, you don’t need very much.
Get one quality, easy-to-use camera, and one or two versatile lenses. We’ll go into lenses a bit more below, but suffice it to say that you need to take tightly framed shots and wider angles for landscapes and more expansive street views.
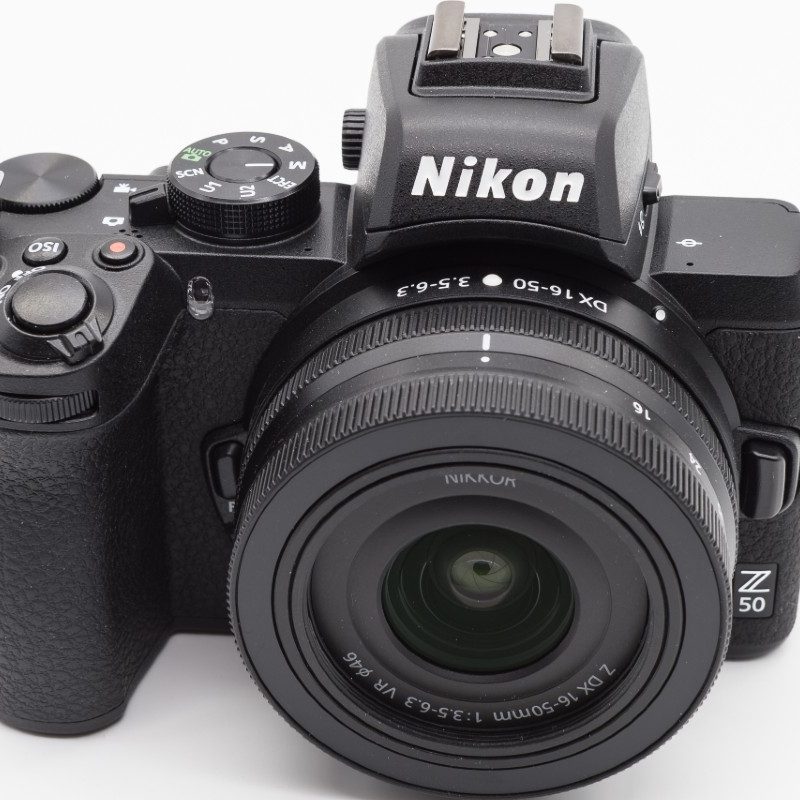
The Nikon Z50 is a good choice for beginners as it takes great photos without demanding an abundance of expertise. It’s not a perfect camera, but for its relatively low price, it offers everything you need to take quality photos and learn how to do it. The main problem with Nikon’s Z series is that they require that you use one of a fairly narrow range of their Nikkor branded lenses. Fortunately, the company has released an adapter that opens that up a bit. Besides, if you’re sticking to the one- or two-lens rule, you don’t need much to choose from.
Which lens or lenses you’ll need comes down to the specifics of what you’re working on, but generally speaking, you want what’s called a “prime” lens for everyday street shooting and a wide lens of some kind for capturing city and landscape shots. A 35mm lens is a popular choice for the former as it provides a fairly middle-of-the-road sized frame to work with, along with the gorgeous photo quality you can only get from a fixed lens. For wide shots, a lens that adjusts between 14 and 30mm can be a great travel option as it can open up for wide angles and zoom in for closer details, lending a lot of versatility to a single lens.
If you don’t want to make a big investment in a camera and lenses, an ultra-light gear alternative is the Moment series of lenses that attach to a smartphone-specific case. They dramatically expand your phone’s photo capabilities without eating up much bag space.
Travel photography starter skills
There are a million techniques and camera functions that you’ll be learning for the rest of your life, but starting there are only a few key things you need to understand: aperture, shutter speed, ISO, and lighting. The first three are settings you control via your camera, and the last will primarily be a question of the sun conditions when it comes to travel photography.
The aperture is the size of the lens opening that lets light into your camera. The shutter speed determines the amount of time that light will be allowed through that lens opening. ISO is the sensitivity to light. How you combine these factors — and in what light conditions — will determine the outcome of your photo.
When all is said and done, learning how the three settings interact is largely a question of practice. One free video course that explains the use of these settings with the utmost clarity is Chris Bray’s 10-part beginner photography series on YouTube.
Framing your travel photos
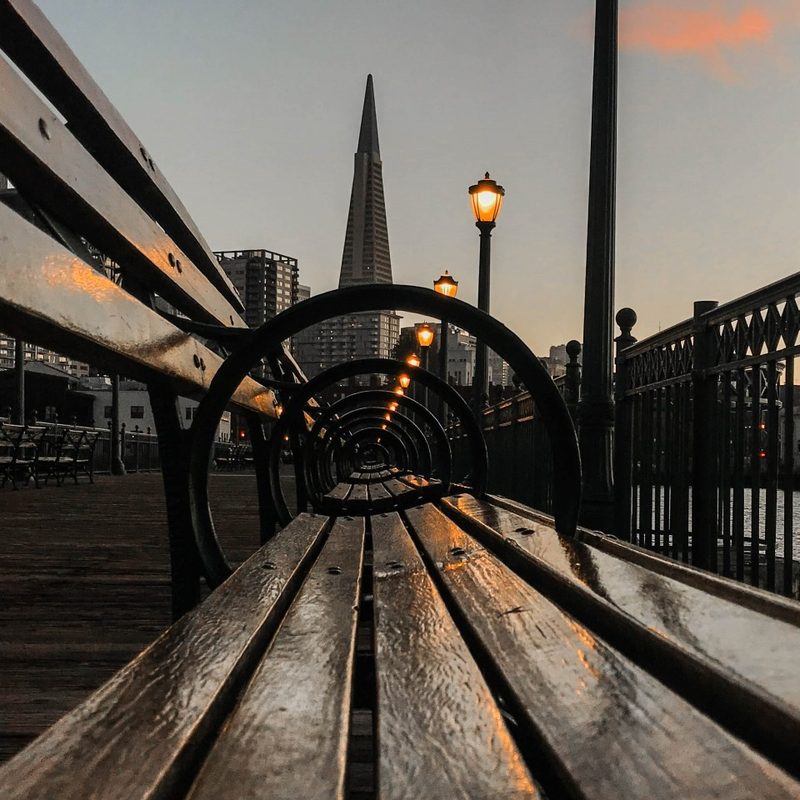
In the most general sense, travel photos tend to be wide shots showing landscapes, large buildings or monuments, or street scenes. Your goal in these cases should be to consider what perspective will provide the most unique look at what you’re trying to capture, and how you can frame things in a way that causes some emotion in the viewer. The more you practice, the more you’ll find that might not always mean going with a wide landscape.
A generic shot of the Eiffel Tower off in the distance, for example, might not do much for the viewer. But if you walk up close to it and get a photo of it looming upward, it can impart a more dramatic sense of scale.
Framing is a skill that can take a lot of practice and experimentation, but few things will get you out and exploring a destination like trying to figure out how to best photograph it.
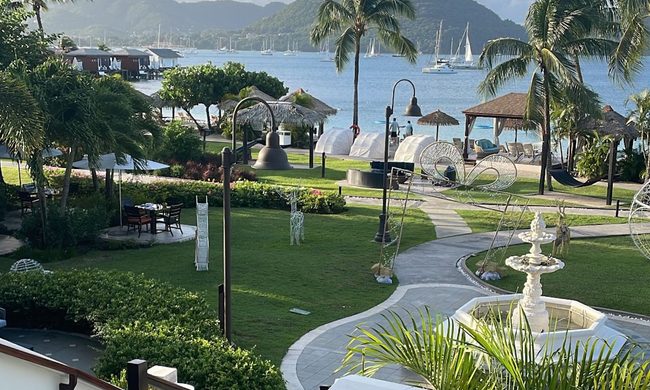
The best places to practice travel photography
This list is endless. Literally anywhere and everywhere is the perfect place for taking photos. That being said, there are a few destinations that have reputations for photographic greatness and offer relatively easy access to an abundance of variety with which to experiment.
Epic natural spaces like Moab, Banff, or Oaxaca in Mexico, for example, can offer a wide variance of conditions in short spans of time and space — crazy geological opportunities everywhere all within a brief distance — and plenty of chances to play around with the light at different times of the day. You’ll definitely want to have your wide-angle lens handy in these places.
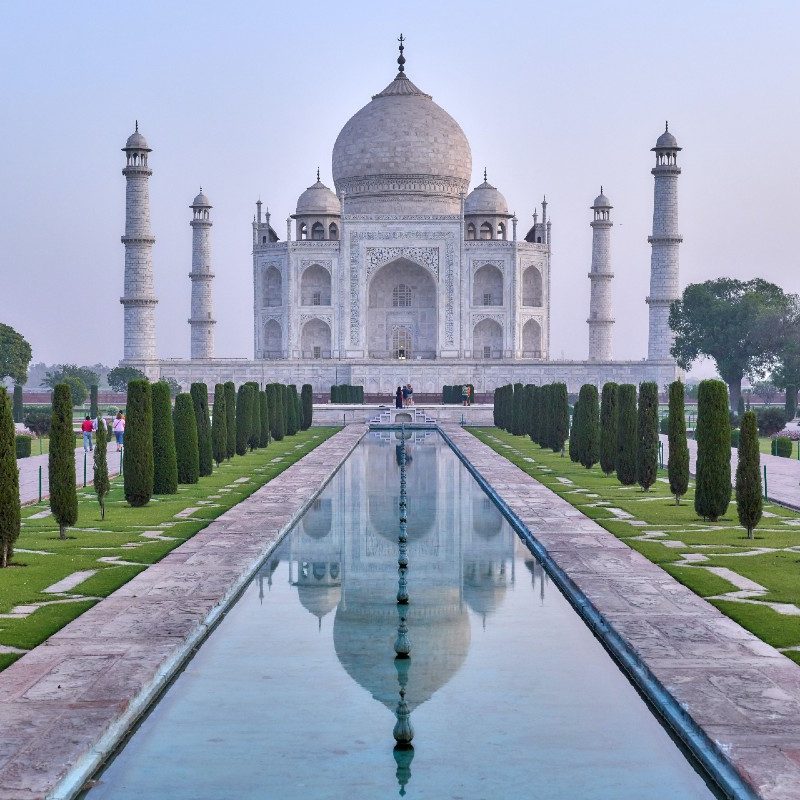
On the other hand, renowned urban spaces like New York, Bangkok, and Istanbul are a photographer’s dream and it goes without saying that Paris is a prime destination for travel photography. There’s so much happening all the time that you can’t help but stumble across something interesting to photograph. Always have your prime lens on the ready.
But when all is said and done, with the right light and framing, you can make anywhere look beautiful, or at least interesting. It all comes down to practice, both in terms of learning the technical aspects of your camera and understanding photo composition. The more you practice and experiment, the more you’ll produce quality photos and develop your own style.
More travel photography tips
High-quality gear and technical photography knowledge will go a long way in improving your travel photography, but knowing what you want to shoot before you get to the location, and more importantly, when to shoot, can help bring your photos from ordinary to extraordinary.
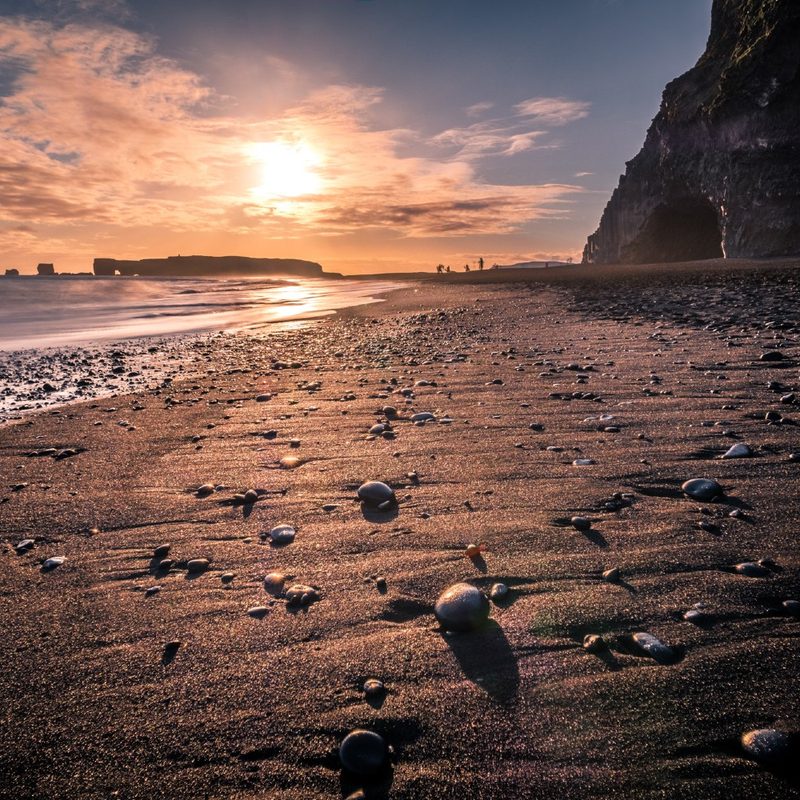
According to the travel blog Nomadasaurus, getting the right light for your photos plays a major role in how they look. They suggest trying to shoot during the “golden hour” and the “blue hour.” The golden hour comes early in the morning when the sky is glowing as the sun rises. There is also a golden hour in the evening when the sun is getting low and the sky is alive with color. The blue hour comes before the sun is over the horizon in the morning or the time after the sun is no longer visible at sunset, but there is still light in the sky.
Planning is important as well. Instead of just winging it when you get to your location, spend some time before you go thinking about what you want to shoot and if there are any specific buildings, statues, memorials, or other things you want to photograph. If you’re going to a location that is new to you, turn to social media to get some inspiration.